Are you curious about creating your own electronic gadgets but feel overwhelmed by the complexity? You’re not alone.
Many people think that making electronic things at home is reserved for tech experts. However, with a few simple tools and a bit of guidance, you can easily dive into this exciting world. Imagine the thrill of building a gadget that not only works but also brings your unique ideas to life.
You’ll discover easy-to-follow steps and tips that will help you get started. Whether you’re looking to impress your friends or simply enjoy a new hobby, this guide will show you how to make electronic projects that are both fun and rewarding. Stay with us, and let’s unlock the potential of your creativity together!
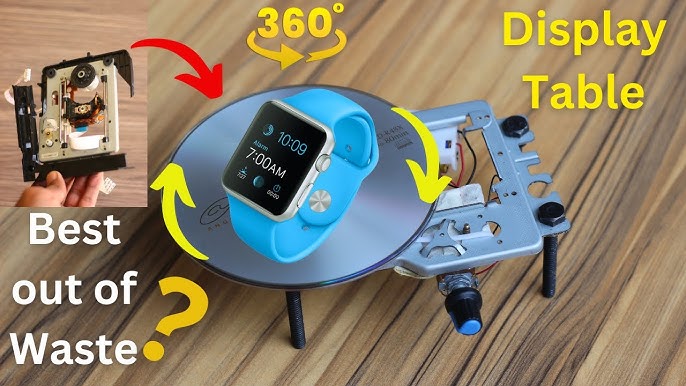
Credit: www.youtube.com
Basic Tools And Materials
Starting electronic projects at home requires some basic tools and materials. These items help you build, test, and fix simple circuits. Knowing the right tools and parts can make your DIY experience easier and more fun.
You don’t need expensive equipment. A few common tools and components are enough to create many electronic gadgets. Safety is also important to avoid accidents during your projects.
Essential Electronics Tools
- Soldering iron for joining wires and parts
- Wire cutters to trim wires and leads
- Needle-nose pliers for bending and holding small parts
- Multimeter to measure voltage, current, and resistance
- Screwdrivers for assembling and opening devices
- Breadboard for testing circuits without soldering
- Helping hands tool to hold parts steady
- Desoldering pump or braid to fix solder mistakes
Common Components For Diy Projects
- Resistors to control electric current
- Capacitors for storing and releasing energy
- LEDs as simple indicator lights
- Transistors for switching and amplifying signals
- Push buttons and switches to control circuits
- Batteries and battery holders for power
- Wires and jumper cables for connections
- Microcontrollers like Arduino for smart projects
Safety Tips For Home Electronics
- Always unplug devices before working on them
- Work in a dry area to avoid electric shocks
- Use safety glasses to protect your eyes
- Handle soldering irons carefully to prevent burns
- Keep small parts away from children and pets
- Check battery polarity before connecting power
- Follow instructions and datasheets for components
- Dispose of old batteries and parts properly

Credit: www.youtube.com
Simple Circuit Projects
Simple circuit projects are a great way to start learning electronics at home. They require few parts and simple tools. These projects help understand how electricity flows and how components work together.
Each project uses basic components like resistors, LEDs, batteries, and switches. Building them improves your skills and confidence. These projects are fun and practical for beginners.
Building A Basic Led Circuit
Creating a basic LED circuit is a perfect first project. You need a battery, an LED, a resistor, and some wires. Connect the resistor to the positive side of the battery. Then connect the LED’s longer leg to the resistor. Attach the LED’s shorter leg to the battery’s negative side. The LED lights up, showing current flow. This simple setup explains how circuits work and introduces key components.
Creating A Simple Alarm System
A simple alarm system uses a battery, buzzer, switch, and wires. Connect the buzzer to the battery through the switch. When you close the switch, the buzzer sounds. This project teaches how switches control devices. It also shows how circuits can create alerts or alarms. You can customize the switch to trigger the alarm in different ways.
Making A Diy Light Sensor
A DIY light sensor uses a photoresistor, resistor, LED, and battery. The photoresistor changes resistance based on light levels. Connect it in series with a resistor and LED. When light hits the photoresistor, the LED brightness changes. This project demonstrates how sensors work in circuits. It also helps understand how light affects electrical resistance.
Diy Audio Gadgets
DIY audio gadgets are perfect projects for anyone interested in electronics and sound. These simple devices let you experiment with sound amplification, reception, and recording right at home. Not only do you learn the basics of circuits, but you also get a functional gadget at the end.
Building audio gadgets yourself gives you a deeper understanding of how everyday devices work. It’s satisfying to hear your own mini amplifier boost sound or catch a radio signal you assembled. Plus, making your own microphone can help you grasp the core principles of sound conversion and electronics.
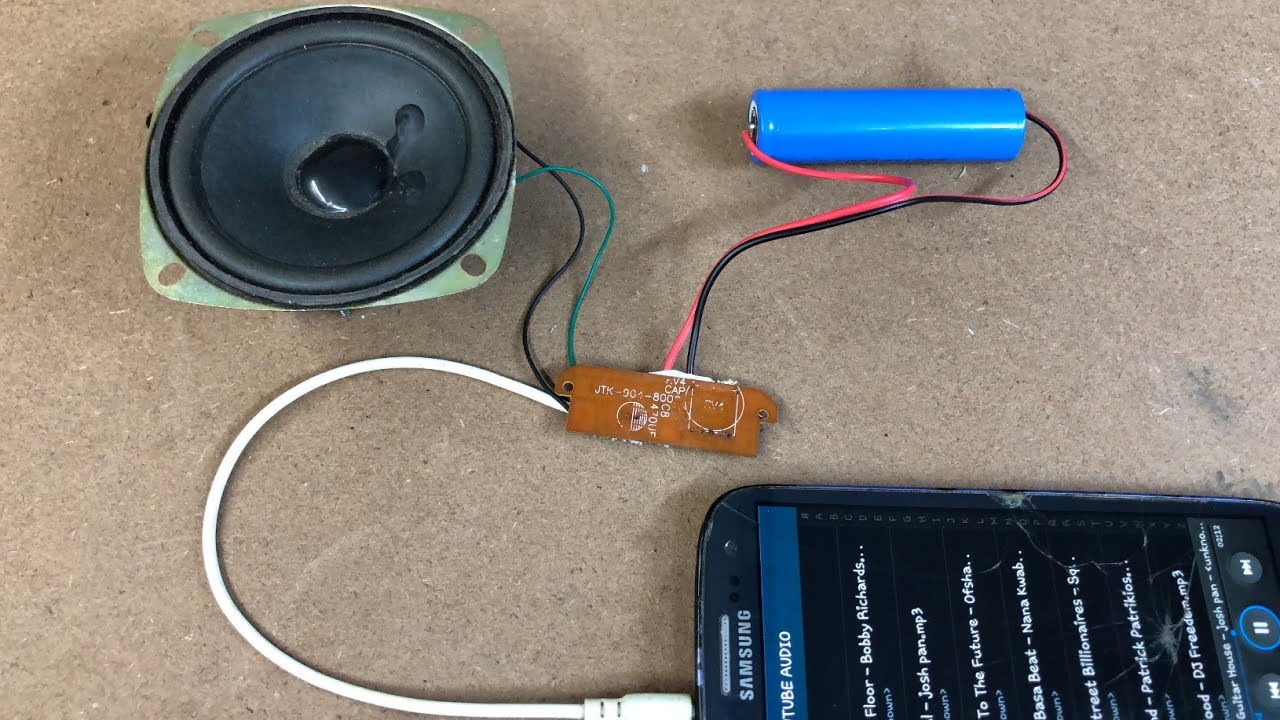
Assembling A Mini Amplifier
A mini amplifier can make your phone or computer speakers louder. You only need a few parts: a small amplifier chip (like the LM386), a battery, a speaker, and some wires.
- Start by connecting the amplifier chip to the battery and speaker.
- Add input wires from your audio source (phone, MP3 player).
- Use a breadboard to test your connections before soldering.
Once connected, turn it on and adjust the volume. You’ll be amazed at how a tiny circuit can boost sound. Have you ever wondered how much power a small chip can handle?
Constructing A Simple Radio Receiver
Building a simple radio receiver helps you catch local AM or FM stations. You’ll need an antenna, a coil, a diode, a capacitor, and earphones.
- Wind the coil using insulated copper wire around a tube.
- Connect the coil to the diode and capacitor to filter signals.
- Attach earphones to hear the radio waves converted into sound.
This project sharpens your understanding of radio waves and signal tuning. Tuning the coil can be a fun challenge—how fine can you get the signal without interference?
Building A Basic Microphone
Creating a basic microphone introduces you to sound-to-electric signal conversion. A simple carbon microphone requires carbon granules, a diaphragm, and two metal plates.
- Place carbon granules between the plates with the diaphragm on top.
- Sound vibrations cause the diaphragm to press the granules and change resistance.
- Connect the plates to a power source and output device to capture sound.
Testing your microphone can be thrilling—you’ll hear your voice as electric signals. What sounds would you try recording first with your homemade mic?
Home Automation Basics
Home automation can transform your living space by adding convenience and energy efficiency without a hefty price tag. It’s easier than you think to start with simple projects that make your home smarter. Focusing on basic setups helps you learn and gain confidence before tackling more complex systems.
Setting Up A Remote Light Control
Imagine turning your lights on or off without leaving your couch. Remote light control lets you do exactly that using a smartphone or a remote switch. You can use affordable Wi-Fi smart bulbs or connect regular bulbs to a smart plug for instant control.
Start by choosing a smart bulb that matches your fixture. Most come with an app for easy setup and scheduling. Think about your daily routine—do you want lights to turn on at sunset or off when you leave the house? Setting these schedules can save energy and improve comfort.
Creating A Temperature Monitor
Monitoring the temperature inside your home helps you maintain comfort and reduce heating or cooling costs. A simple DIY temperature monitor uses a sensor connected to a small microcontroller like an Arduino or Raspberry Pi. These devices can display real-time temperature or send alerts if it goes beyond your preferred range.
This project teaches you about sensors and data reading, which are essential for many smart home applications. You can place the sensor in different rooms to understand temperature variations in your house. Have you noticed how some rooms stay colder or warmer? Tracking this data helps you make smarter decisions about heating and cooling.
Automating A Fan With Sensors
Automating a fan is a practical way to keep your room cool without manual effort. Using a temperature sensor, you can program a fan to turn on when the room gets too warm and off when it cools down. This setup requires a sensor, a microcontroller, and a relay switch to control the fan’s power.
Try placing the fan near where you spend the most time and adjust the temperature threshold to your comfort level. This project not only saves energy but also shows how sensors and automation work together. Wouldn’t it be nice if your fan knew exactly when you needed it?
Troubleshooting Tips
Troubleshooting is a key part of making electronic projects at home. It helps find and fix problems quickly. With the right tips, you can save time and avoid frustration. Understanding common issues and how to test circuits makes the process smoother. Regular maintenance keeps your projects working well longer. Here are some useful tips to help you troubleshoot effectively.
Common Issues In Diy Electronics
- Loose connections can stop circuits from working.
- Wrong component placement often causes errors.
- Short circuits may damage parts or cause failures.
- Power supply problems lead to unstable operation.
- Incorrect wiring can prevent the project from running.
Testing And Debugging Circuits
Use a multimeter to check voltage and resistance. This helps spot broken or misplaced parts. Test each section of the circuit separately. Look for cold solder joints or damaged components. Use simple tools like LEDs to see if power flows correctly. Take notes on what works and what does not. This makes it easier to find the problem.
Maintaining Your Projects
- Keep circuits clean and dust-free to avoid shorts.
- Check solder joints for cracks or weak spots regularly.
- Store your projects in a dry place to prevent corrosion.
- Use protective cases to guard delicate parts.
- Run your projects now and then to ensure all parts work well.

Credit: www.youtube.com
Frequently Asked Questions
What Basic Tools Do I Need For Easy Electronics Projects?
You need a soldering iron, multimeter, wire cutters, screwdrivers, and a breadboard. These tools help you build and test circuits effectively.
Which Simple Electronic Projects Are Best For Beginners?
Start with LED blinkers, basic alarms, or simple radios. These projects teach fundamental skills without complex components or coding.
How Can I Source Affordable Electronic Components At Home?
Use old gadgets, local electronics stores, or online marketplaces. Salvaging parts from broken devices is cost-effective and eco-friendly.
Is Soldering Necessary For All Home Electronics Projects?
Not always. Breadboards allow circuit building without soldering, ideal for beginners and testing. Soldering is needed for permanent, durable connections.
Conclusion
Making simple electronic projects at home can be fun and rewarding. Start with easy kits and basic tools. Practice helps build your skills step by step. Small projects teach you important ideas and safety tips. You don’t need fancy equipment or lots of space.
Just patience, curiosity, and a little time each day. Enjoy learning by doing and watch your confidence grow. Creating electronics at home opens many doors for future projects. Give it a try and see how much you can create!
Leave a Reply