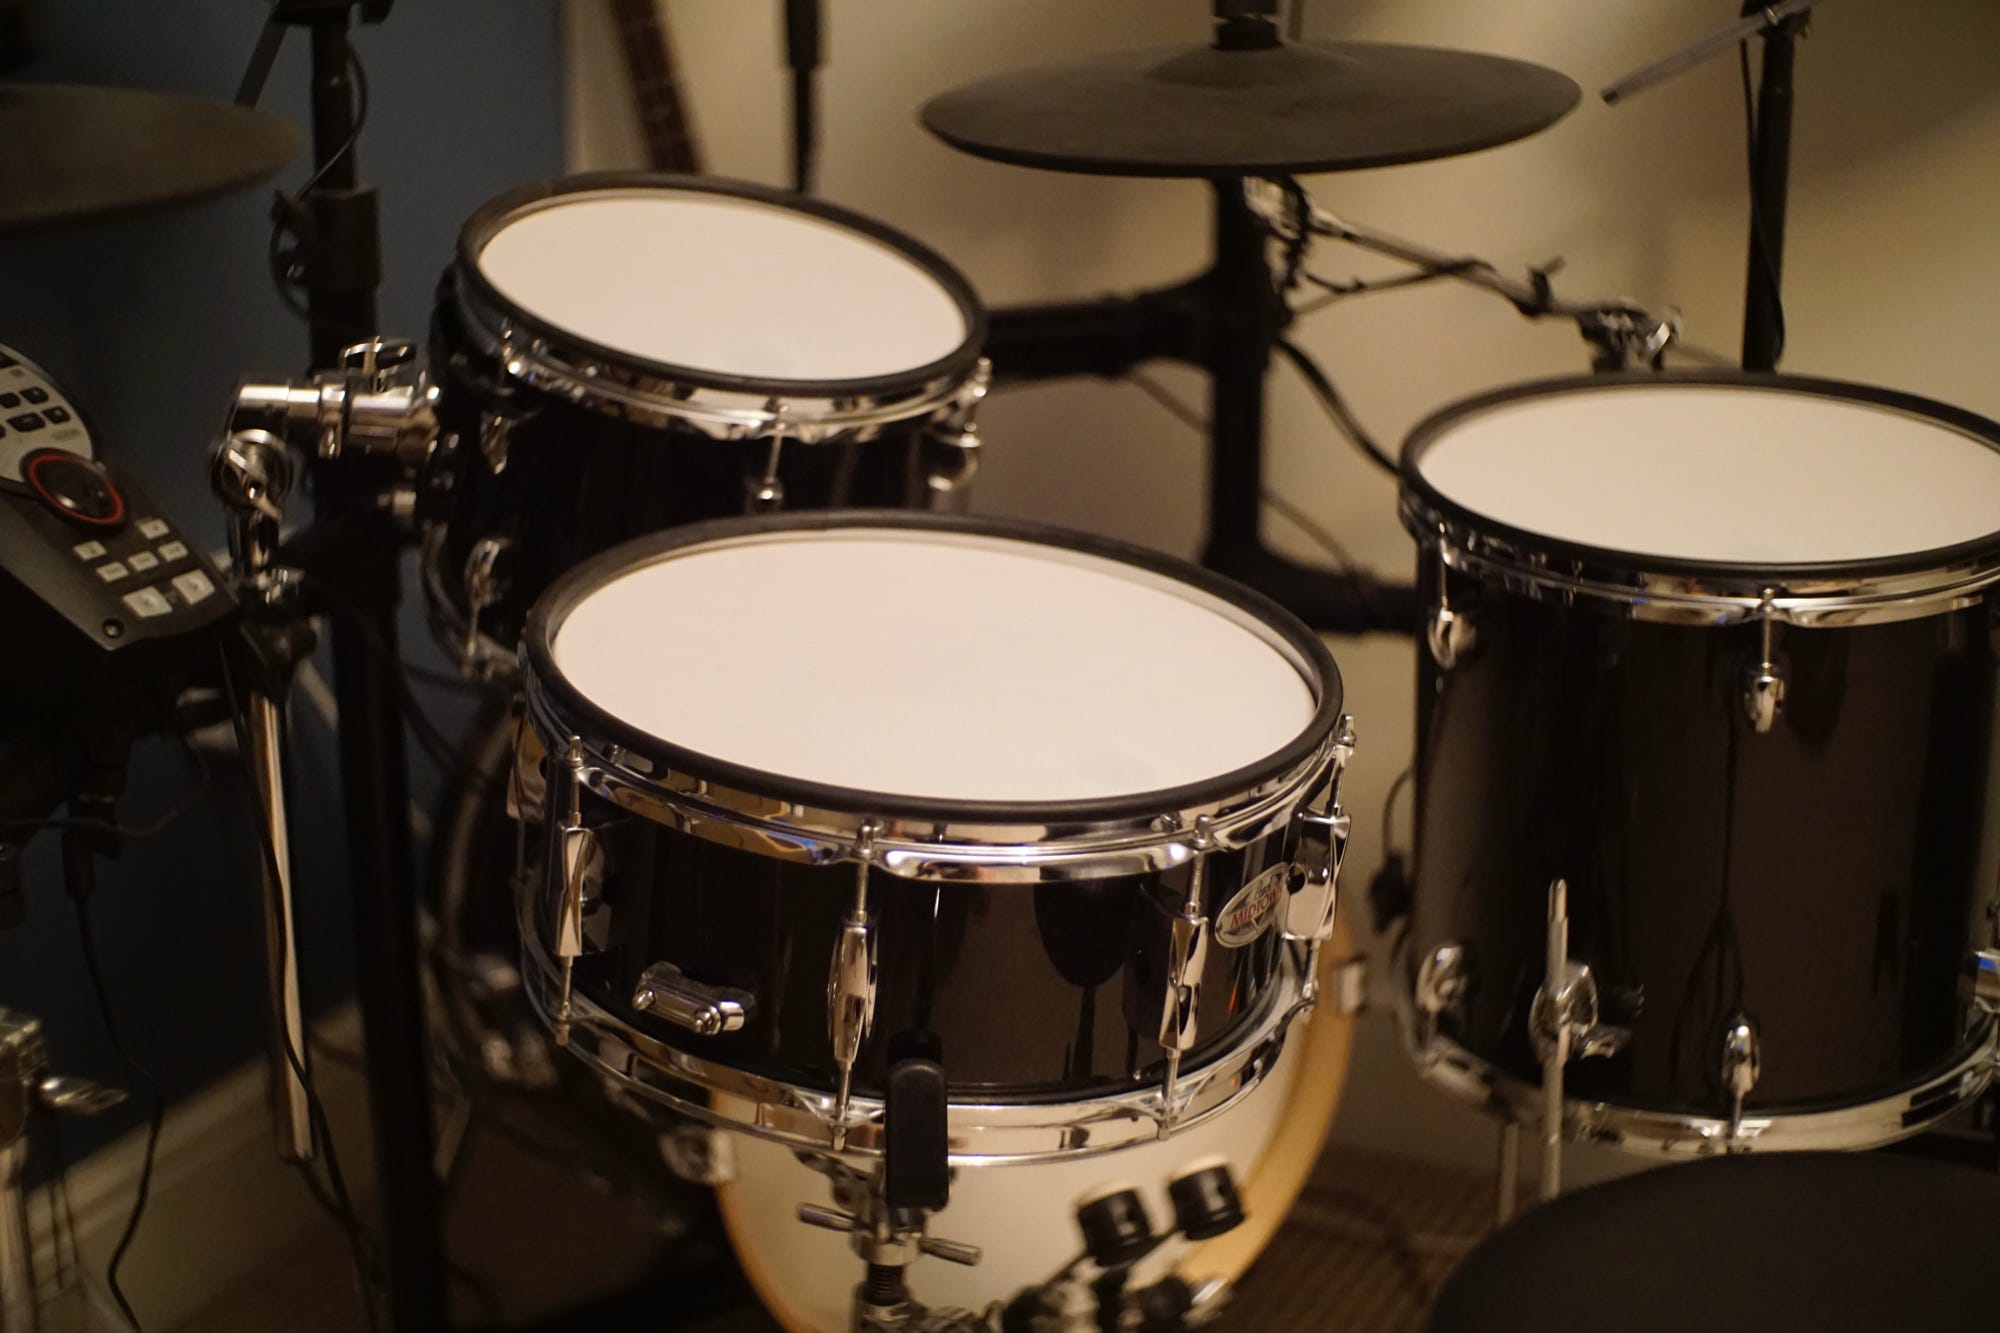
Have you ever wanted to create your own electronic drum pads but didn’t know where to start? Imagine having a custom set of drum pads built by you, tailored exactly to your style and needs.
Making DIY electronic drum pads is easier than you think, and it can save you money while giving you a unique musical tool. In this guide, you’ll discover simple steps and insider tips to build your own drum pads from scratch.
Ready to turn your ideas into rhythm? Keep reading and let’s get your DIY project drumming!
Choosing Materials
Choosing the right materials affects the sound and feel of your DIY electronic drum pads. Each component plays a key role in performance and durability. Picking good materials ensures your drum pads respond well and last long.
Focus on three main areas: the drum pad surfaces, sensors and electronics, and the tools and accessories needed. Quality in each part creates a better overall result.
Selecting Drum Pad Surfaces
The surface impacts the drum pad’s bounce and comfort. Choose materials that are tough but provide a soft touch. Rubber sheets or silicone pads work well because they absorb impact and feel natural.
Look for surfaces that are thick enough to protect sensors underneath. Avoid hard plastics since they might damage electronics or feel too stiff while playing.
Picking Sensors And Electronics
Sensors detect your hits and convert them into electronic signals. Piezo sensors are popular for DIY drum pads. They are sensitive and affordable.
Make sure the sensors fit under your pad surfaces without being crushed. Also, select a simple circuit board or microcontroller that can read sensor signals and connect to your sound module or computer.
Gathering Tools And Accessories
Prepare tools to cut, shape, and assemble your drum pads. Common tools include scissors, a soldering iron, screwdrivers, and a hot glue gun.
Accessories like wires, connectors, and mounting hardware help secure parts together. Having all necessary tools and extras ready speeds up your project and avoids frustration.
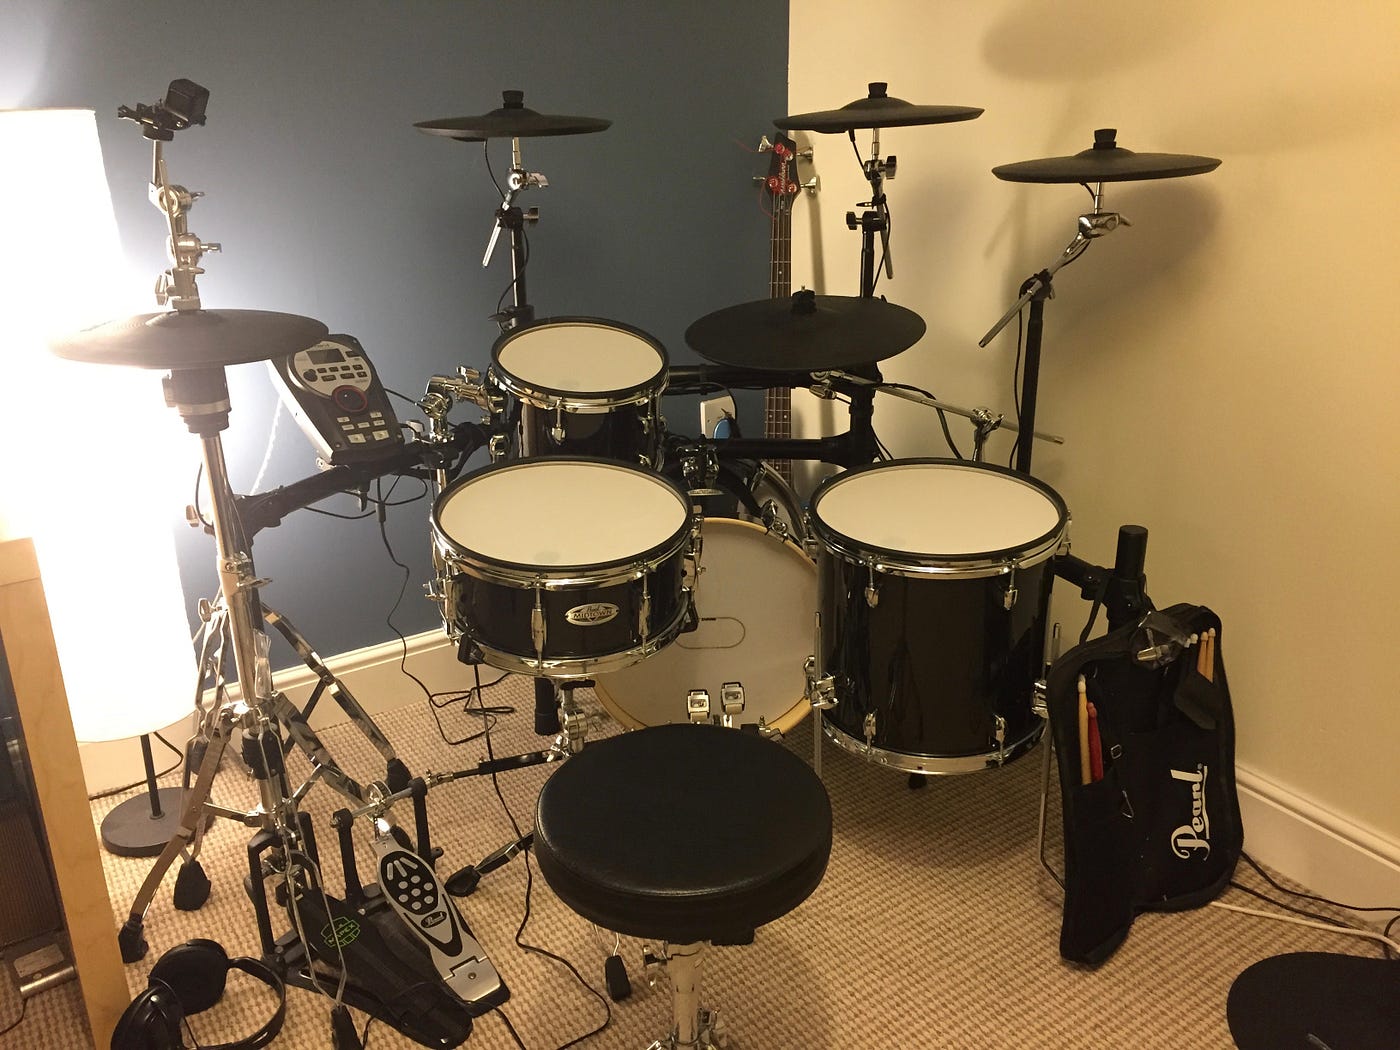
Credit: medium.com
Building The Drum Pad Base
Building the drum pad base is a crucial part of your DIY electronic drum pads project. It provides the foundation that supports your sensors and withstands the impact of your drumming. A well-constructed base not only ensures durability but also improves your playing comfort and response.
Cutting And Shaping The Surface
Start by selecting a sturdy material like plywood or medium-density fiberboard (MDF) for the drum pad surface. Use a jigsaw or a handsaw to cut the board into your desired shape—circular or square works best for drum pads.
Sand the edges carefully to remove splinters and create a smooth playing surface. Have you thought about the size that fits your playing style? Smaller pads offer quicker response, while larger surfaces give more room to strike.
Assembling The Frame
Create a frame to hold the drum pad surface firmly. You can use wooden strips or metal brackets to build a simple frame that adds stability. Secure the surface to the frame with screws or strong adhesive, ensuring it doesn’t wobble during use.
Consider adding rubber feet or non-slip pads beneath the frame to prevent movement while you play. This small detail can dramatically improve your drumming experience by keeping the pad steady.
Adding Padding For Comfort
Adding padding to your drum pad base reduces fatigue and protects your hands. Use foam rubber or neoprene sheets cut to size and glued to the surface beneath your playing area.
Experiment with different thicknesses to find the right balance between comfort and sensor sensitivity. Have you noticed how a cushioned pad feels less tiring during long practice sessions? That’s the kind of comfort padding brings to your setup.
Installing Sensors
Installing sensors is a key part of building DIY electronic drum pads. Sensors detect hits and convert them into electronic signals. Proper installation ensures accurate sound and responsiveness. This section explains how to position piezo sensors, make wiring connections, and secure components effectively.
Positioning Piezo Sensors
Place piezo sensors under the drum pad surface. Centering the sensor gives the best response. Avoid placing sensors near edges to prevent false triggers. Use a small foam or rubber layer to cushion the sensor. This layer protects the sensor and improves sensitivity.
Wiring Connections
Connect sensor wires carefully to the circuit board or microcontroller. Use solder or secure connectors for strong contacts. Keep wires short to reduce noise and signal loss. Label wires to avoid confusion during assembly. Test connections with a multimeter before finalizing.
Securing Components
Fix sensors and wires firmly to prevent movement. Use hot glue or double-sided tape for stability. Make sure the sensor surface stays flat and does not bend. Secure wires along the pad frame to avoid damage. Proper securing keeps the drum pad reliable and long-lasting.

Credit: www.reddit.com
Connecting To A Sound Module
Connecting your DIY electronic drum pads to a sound module is the moment your project truly comes to life. This step transforms your hard work into playable beats and rhythms. Understanding how to choose the right module, set up wiring correctly, and test the signal ensures smooth performance without frustrating troubleshooting later.
Choosing A Compatible Module
Not all sound modules will work seamlessly with your DIY drum pads. You need one that accepts trigger inputs compatible with your pads’ sensors. Look for modules with multiple trigger inputs and adjustable sensitivity settings.
Some popular options include Roland TM-2, Alesis Nitro, or Yamaha DTX modules. These support various trigger types like piezo sensors, which are common in homemade pads. Think about your budget, sound preferences, and future expansion possibilities before deciding.
Setting Up The Wiring
Wiring your drum pads to the sound module requires careful attention to ensure clear signal transmission. Use shielded cables to reduce noise and interference. Each pad’s sensor typically has two wires: signal and ground.
Connect the signal wire to the input jack on the module and the ground wire to the module’s ground terminal. Avoid loose connections by soldering or using secure connectors. Label each wire to keep track of which pad it belongs to, simplifying troubleshooting.
Testing Signal Transmission
Once wired, test each pad by gently striking it while watching the module’s input indicators. If the module lights up or produces a sound, the connection works. If not, recheck wiring for loose contacts or reversed polarity.
Adjust the trigger sensitivity on the module to respond accurately to your playing style. Don’t hesitate to experiment with different strike strengths and positions on the pad to find what triggers best. Have you noticed how some pads respond better near the center or edges? That insight can improve your setup drastically.
Programming And Calibration
Programming and calibration are the heart of creating effective DIY electronic drum pads. Without proper setup, even the best hardware won’t deliver satisfying results. This stage ensures your drum pads respond accurately and trigger the sounds you want, making your playing experience smooth and enjoyable.
Adjusting Sensitivity Settings
Sensitivity controls how hard or soft you need to hit the pad for it to register a sound. If your pad is too sensitive, it might trigger unintentionally. Too low, and you’ll have to hit it harder than feels natural.
Use your drum module or microcontroller’s software to tweak sensitivity. Hit the pad softly and then harder to test the response. Adjust the threshold until it feels just right—responsive but not overly sensitive.
Think about where you’ll be playing. Will you use drumsticks or hands? This can affect the ideal sensitivity setting.
Assigning Drum Sounds
Assigning sounds to each pad gives your setup personality. You can map different drum samples like snare, kick, hi-hat, or even unique effects. This customization is what makes your DIY kit truly yours.
Most drum modules or software allow you to upload your own sounds or select from built-in libraries. Experiment with different samples to find what fits your style.
- Load a sound into the module for each pad.
- Test each pad to make sure the correct sound triggers.
- Adjust volume levels per pad for balanced output.
Have you tried assigning unexpected sounds, like a clap or a cymbal crash, to test your creativity? It might inspire new rhythms.
Troubleshooting Common Issues
If your pad doesn’t respond, start by checking connections. Loose wires or poor solder joints are frequent culprits.
Look at the sensitivity settings again—sometimes they drift or reset after power cycles. Also, verify that the correct sound files are loaded and the module firmware is up to date.
Interference and grounding problems can cause false triggers. Try moving your setup away from other electronic devices or test with different cables.
When troubleshooting, keep a log of what you’ve tried. This helps identify patterns and prevents repeating the same steps.
Customizing Your Drum Pads
Customizing your electronic drum pads makes your setup unique and personal. It allows you to match your style and improve your playing experience. Small changes can make a big difference in how your pads look and feel.
Think about the colors, materials, and size that fit your needs. Customization also helps protect your pads and makes them easier to carry around. Focus on details that enhance both function and style.
Adding Visual Designs
Choose colors and patterns that reflect your personality. Use stickers, paint, or vinyl wraps to decorate the surface. Simple designs can make your drum pads stand out during performances.
Try using waterproof markers for easy changes or permanent paint for a lasting look. Keep the design clean so it does not distract from playing. Balance style with visibility of the pad’s surface.
Enhancing Durability
Protect your drum pads with strong materials. Use clear adhesive films or silicone covers to guard against wear and tear. Reinforce edges with tape or corner guards to prevent damage.
Choose materials that resist moisture and dust. Make sure your pads stay reliable even after long practice sessions. A durable pad means less repair and replacement cost.
Optimizing Portability
Keep your drum pads lightweight for easy transport. Use compact designs and foldable stands if possible. Add handles or straps to carry them comfortably.
Store cables and accessories in small pouches or cases. Organize everything to avoid tangling and damage. Portable pads let you play anytime, anywhere without hassle.

Credit: www.youtube.com
Frequently Asked Questions
What Materials Are Needed For Diy Electronic Drum Pads?
You need piezo sensors, a microcontroller, a drum pad surface, wires, and a sound module. These parts create a responsive, functional drum pad.
How Do I Connect Piezo Sensors To A Microcontroller?
Connect piezo sensors to analog input pins on the microcontroller. Use resistors to protect the circuit and ensure accurate readings.
Can I Customize Sounds On Diy Electronic Drum Pads?
Yes, you can assign custom sounds via software or sound modules. This flexibility lets you create unique drum kits.
How Do I Make Diy Drum Pads Responsive To Touch?
Ensure proper wiring and use sensitive piezo sensors. Calibrate the microcontroller to detect varying pressure levels for responsiveness.
Conclusion
Creating DIY electronic drum pads can be a fun project. You save money and learn new skills. The process involves basic tools and materials. Follow the steps carefully for best results. Customize your pads to suit your needs. Experiment with different sounds and effects.
Your homemade drum pads offer endless creativity. Share your experience with friends and music lovers. Enjoy making music with your personal touch. Explore further possibilities with your new skills. Keep practicing and improving. Your musical journey has just begun.
Leave a Reply