Imagine a world where you can create a secure electronic door lock right from the comfort of your home. Sounds intriguing, right?
Whether you’re a DIY enthusiast or someone looking to enhance your home security, crafting your own electronic door lock can be both rewarding and practical. You might think it’s complicated, but it’s not as daunting as it sounds. With the right guidance and a few simple tools, you can transform your door into a high-tech entryway, ensuring safety and convenience.
Ready to unlock the secrets? Let’s dive into the step-by-step process and empower you to boost your home’s security effortlessly.

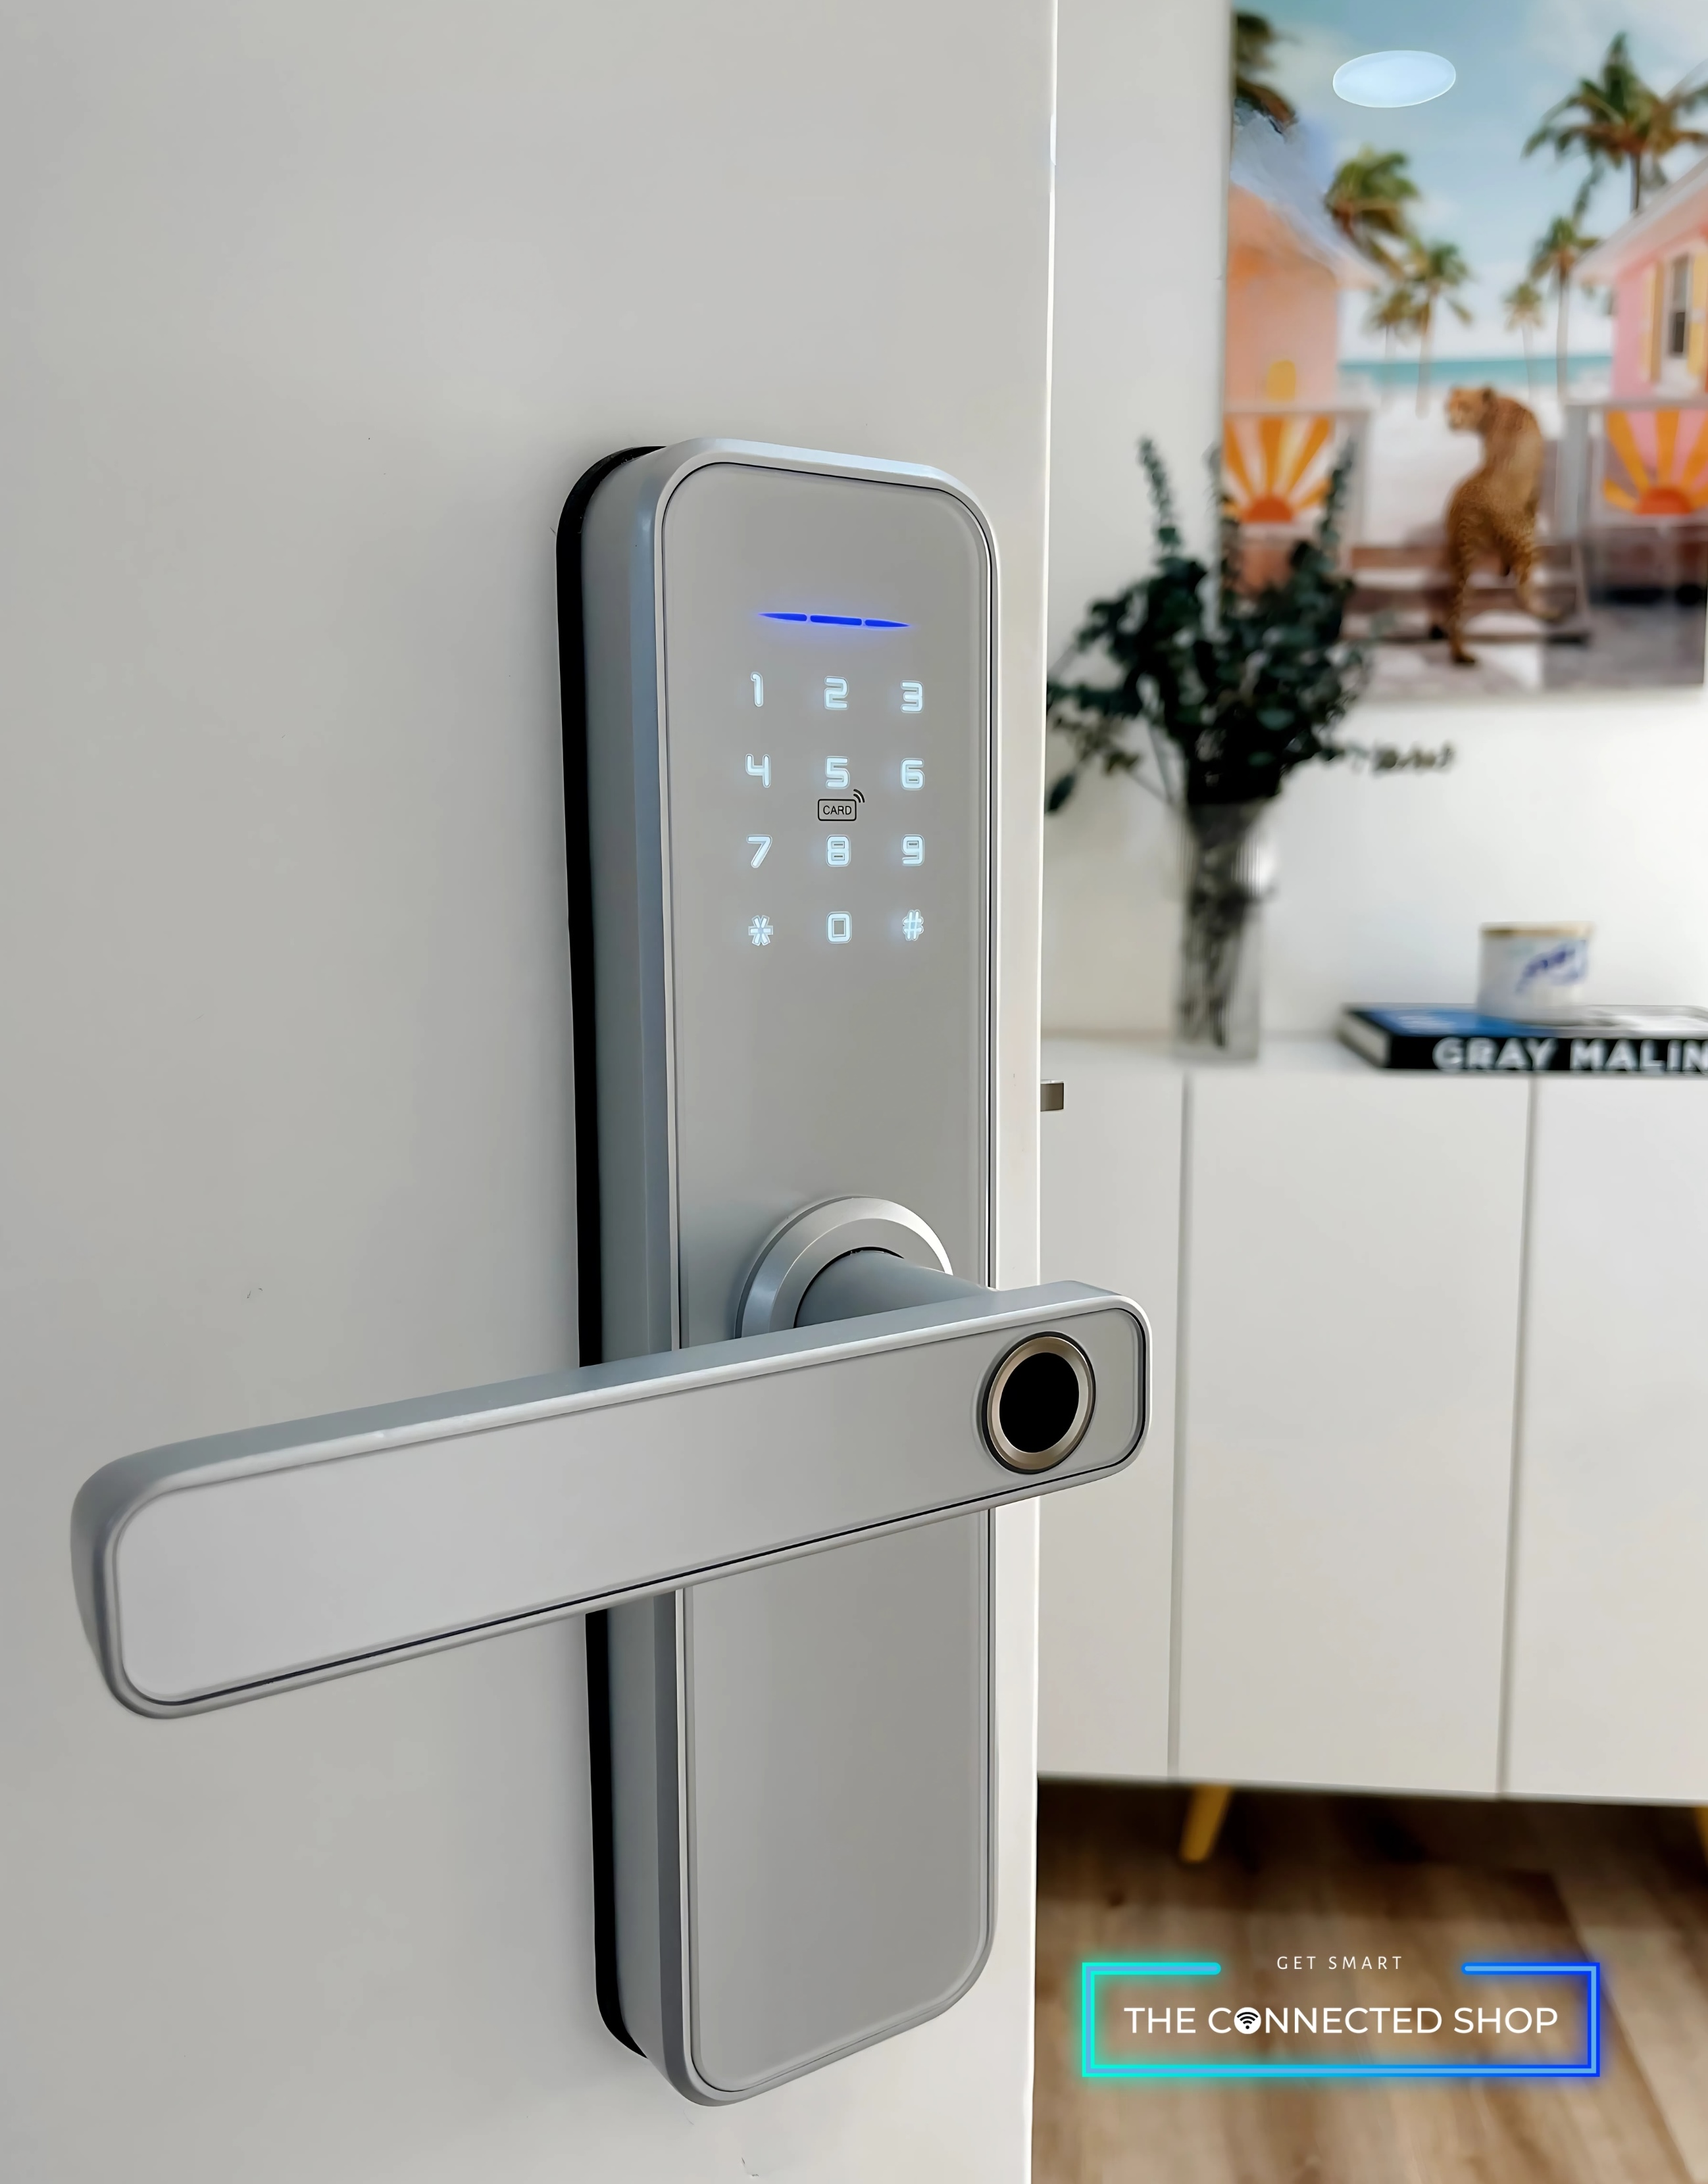
Credit: www.youtube.com
Materials Needed
Before you start building your electronic door lock, gathering the right materials is key. Having everything ready will save you time and avoid frustration during assembly. Let’s break down what you’ll need into clear categories.
Electronic Components
- Microcontroller:An Arduino or Raspberry Pi works well to control the lock’s operations.
- Electric Strike or Solenoid Lock:This is the locking mechanism that will physically secure your door.
- Keypad or RFID Module:For entering codes or scanning tags to unlock the door.
- Power Supply:A reliable 5V or 12V adapter, depending on your components’ requirements.
- Relay Module:To safely switch the lock on and off using the microcontroller.
- Wires and Connectors:For connecting all parts without loose ends.
- Resistors, Diodes, and LEDs:Useful for circuit protection and status indicators.
Have you thought about how the power source will impact your lock’s reliability? Choosing the right voltage and current rating is crucial.
Tools Required
- Soldering Iron:Essential for making secure electrical connections.
- Wire Strippers:To strip insulation without damaging wires.
- Screwdrivers:Various sizes to install the lock and mount components.
- Multimeter:Helps you check circuit continuity and voltage levels.
- Drill:For creating holes in your door or mounting board.
- Hot Glue Gun:To fix components in place and reduce vibration.
Having these tools ready can make your build smoother and more enjoyable. Missing one might cause unexpected delays or shaky connections.
Safety Gear
- Safety Glasses:Protect your eyes from solder splashes or metal shards.
- Heat-Resistant Gloves:To avoid burns while soldering or handling hot tools.
- Ventilation Mask:Helps you avoid inhaling solder fumes during assembly.
Prioritizing safety gear is not just about protecting yourself but also about maintaining focus. Have you noticed how minor injuries can derail your workflow? Taking simple precautions keeps your project on track.
Credit: www.newswire.com
Basic Principles
Understanding the basic principles behind electronic door locks gives you the confidence to build one at home. It’s not just about wiring and components; it’s about how the lock interacts with you and your security needs. Knowing how these locks function and what types exist helps you decide the best fit for your project.
How Electronic Locks Work
Electronic locks use electricity to control the locking mechanism instead of a traditional key. When you enter a code or use a card, the lock’s circuit activates a motor or solenoid to open the door.
These locks often include sensors to detect valid entry inputs like PINs, RFID signals, or biometric data. They’re designed to respond quickly and securely, ensuring only authorized access.
Have you ever wondered why some locks beep or flash lights? That’s feedback to let you know the system recognized your input or detected an error. This interaction is essential for user confidence and security.
Types Of Electronic Locks
Electronic locks come in various forms, each serving different purposes and security levels. Here are the common types you might consider:
- Keypad Locks:Require entering a numeric code. Simple to install and program.
- RFID Locks:Use cards or fobs to unlock. Convenient for quick access without remembering codes.
- Biometric Locks:Use fingerprints or retina scans. Offer high security by verifying physical traits.
- Smart Locks:Connect to your smartphone via Bluetooth or Wi-Fi. Allow remote control and monitoring.
Each type has its pros and cons depending on your setup and how much technology you want to handle. Which one suits your lifestyle and skill level best? This question will guide your DIY electronic lock project efficiently.
Designing Your Lock
Designing your electronic door lock is a crucial step. It sets the foundation for your project’s success. A good design ensures the lock works smoothly and safely. Focus on simplicity and reliability. Think about the parts you need and how they fit together. Planning carefully saves time and effort later.
Choosing The Lock Mechanism
Selecting the right lock mechanism depends on your needs. Some common types include:
- Electromagnetic locks – use magnets to secure doors.
- Solenoid locks – use an electric coil to move the bolt.
- Motor-driven locks – use small motors to turn the lock.
Consider power use, ease of installation, and security level. Electromagnetic locks are simple but need constant power. Solenoid locks use less power but have limited strength. Motor-driven locks offer more control but can be complex. Choose one that matches your skill and budget.
Circuit Diagram Basics
A clear circuit diagram helps visualize your lock’s electronics. It shows how parts connect and work together. Basic components include:
- Power supply – provides voltage to the circuit.
- Microcontroller – controls the lock’s actions.
- Input device – keypad or RFID reader.
- Output device – the lock mechanism itself.
- Relay or transistor – switches power to the lock.
Draw the circuit with simple symbols. Label each part clearly. This plan guides your wiring and testing. Start with a basic diagram. Add details as you progress. A well-made diagram reduces errors and helps troubleshooting.
Assembling The Circuit
Assembling the circuit is a crucial phase in making your electronic door lock at home. This step brings together all the components you’ve gathered and sets the foundation for the lock’s functionality. Precision and patience here can save you a lot of troubleshooting later.
Wiring The Components
Start by laying out all your components on a clean, static-free surface. Connect the microcontroller to the keypad and the electronic lock mechanism using jumper wires. Make sure to follow the circuit diagram closely; mixing up connections can cause the lock to malfunction or damage parts.
Use a breadboard for easier connections and adjustments. This allows you to test different wiring setups without soldering. Keep your wires organized and avoid crossing them unnecessarily to prevent short circuits.
Double-check the power supply connections next. The circuit needs a steady voltage to function correctly, so confirm the positive and negative terminals are correctly aligned. Remember, a loose connection here can cause intermittent failures that are hard to diagnose.
Testing The Circuit
Before mounting the circuit into a case or attaching it to the door, test it thoroughly. Power up the circuit and observe if the keypad input registers on the microcontroller. If it doesn’t respond, inspect each connection for possible loose wires or incorrect placements.
Try entering the programmed code to see if the lock activates. If the lock doesn’t open, check the relay or transistor controlling the lock mechanism. Sometimes, swapping out these components can solve unexpected issues.
Have you considered how you will troubleshoot if the circuit doesn’t work the first time? Keep a multimeter handy to measure voltages and continuity. Testing each part separately can isolate problems efficiently, saving you time and frustration.
Installing The Lock
Installing the electronic door lock is a key part of the project. It secures the lock firmly and ensures it works smoothly. Careful installation helps avoid damage and guarantees long-term use.
Mounting The Lock On Door
Start by aligning the lock with the door’s edge. Mark the spots for screws and holes with a pencil. Use a drill to create holes for screws and the lock body.
Fit the lock into the drilled space. Secure it tightly with screws to prevent movement. Check the lock’s position by closing the door slowly. Make sure the lock bolt slides easily into the door frame.
Connecting Power Supply
Locate the power input on the lock. Use a power adapter or batteries as the power source. Connect wires carefully to avoid loose contacts or shorts.
Test the power connection by activating the lock. Ensure the lock responds correctly to commands. Tidy up wires and secure them away from moving parts. This prevents accidental disconnection or damage.
Programming The Lock
Programming your electronic door lock turns a simple device into a smart security solution. This step allows you to control who can enter your home and how they do it. Clear programming ensures your lock responds exactly the way you want, keeping your space safe without hassle.
Setting Up Access Codes
Start by creating unique access codes for different users. Most locks let you add multiple codes, so family members or trusted friends can have their own. Choose codes that are easy for them to remember but hard for others to guess.
Think about how many codes you’ll need. You might want a temporary code for a house sitter or cleaner. Setting an expiration date for these codes adds an extra layer of security.
Always test each code after programming it. This simple check can save you from lockouts or security gaps. Have you considered how you’ll manage forgotten codes? Writing them down securely or using a password manager helps.
Adding Remote Control Features
Remote control lets you operate your lock from anywhere using your smartphone. This feature is handy when you’re away but need to let someone in. To add this, connect your lock to a compatible app or smart home system.
Ensure your Wi-Fi or Bluetooth connection is stable and secure. Poor connectivity can cause delays or failures when unlocking remotely. Also, set up notifications to alert you whenever the lock is used—this keeps you informed in real-time.
Ask yourself: how often will you use remote access? If it’s frequent, prioritize a lock model with a user-friendly app and reliable support. Adding remote control can change how you manage home security every day.
Troubleshooting Tips
Troubleshooting your homemade electronic door lock can save time and frustration. Small problems often cause the lock to stop working correctly. Understanding common issues helps you fix your lock quickly. Regular care keeps your lock working smoothly for a long time.
Common Issues And Fixes
- Lock does not respond:Check the power source. Replace batteries if needed.
- Keypad buttons not working:Clean the keypad gently. Remove dirt or dust.
- Lock jams or sticks:Lubricate the moving parts with a small amount of oil.
- Incorrect code acceptance:Reset the code carefully. Follow instructions step-by-step.
- Weak signal or connection:Check wiring connections. Secure loose wires firmly.
Maintaining Your Lock
Keep your lock clean and dry to avoid damage. Wipe it regularly with a soft cloth. Avoid using harsh chemicals that harm the lock’s surface.
Test your lock often to ensure it works well. Change batteries before they run out. This prevents lock failure at important times.
Store backup keys safely. Have a manual override plan ready. This helps in case electronic parts fail.
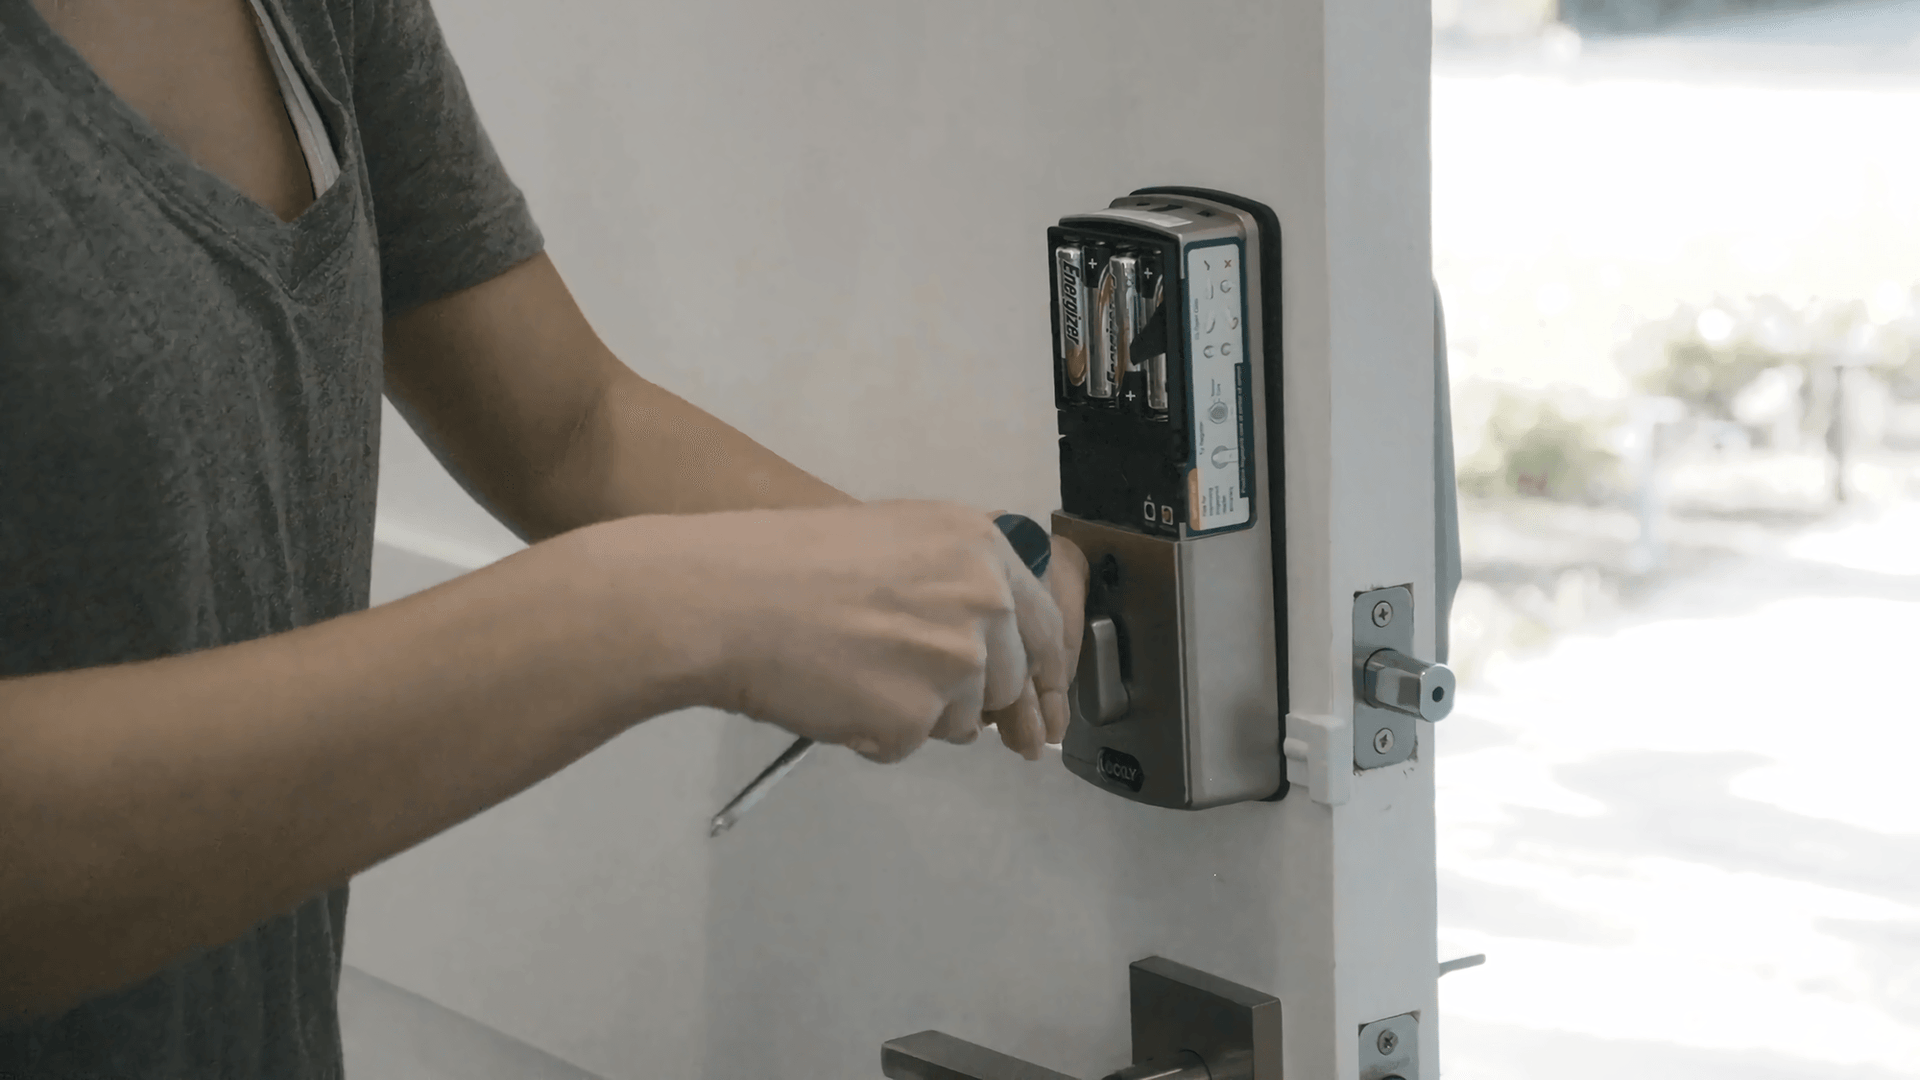
Credit: lockly.com
Frequently Asked Questions
How Can I Build An Electronic Door Lock At Home?
You can build an electronic door lock using a microcontroller, keypad, servo motor, and power supply. Program the microcontroller to control the servo based on the keypad input. This DIY project requires basic electronics skills and components.
What Materials Are Needed For A Homemade Electronic Door Lock?
You need a microcontroller (Arduino or similar), a keypad, a servo or solenoid lock, jumper wires, a power source, and a casing. Additionally, basic tools like a soldering iron and a breadboard help in assembly and testing.
Is Making An Electronic Door Lock Safe For Home Use?
A homemade electronic lock can be secure if built correctly with proper components and programming. However, it may lack advanced encryption and durability compared to commercial locks. Use it cautiously for low-risk areas or as a learning project.
How Much Does It Cost To Make An Electronic Door Lock?
The cost typically ranges from $20 to $50 depending on the components used. Microcontrollers and keypads are affordable, while servo motors and power supplies add to the expense. DIY projects often save money compared to commercial locks.
Conclusion
Building an electronic door lock at home is simple and rewarding. You control your security with easy steps. Using basic tools and parts, anyone can do it. This project saves money and adds convenience. Safety increases without complex gadgets or high costs.
Try it yourself and see how well it works. Small changes can bring big peace of mind. Keep learning and improving your skills over time. Your home will feel safer and smarter every day.
Leave a Reply