Are you struggling to keep your electronic components organized and easy to find? Imagine how much time you could save if every resistor, capacitor, and transistor had its perfect place.
When your components are arranged neatly, your projects flow smoother, mistakes become fewer, and your creativity can truly shine. You’ll discover simple, practical ways to arrange your electronic components so you can work smarter, not harder. Ready to transform your workspace and boost your efficiency?
Let’s dive in.
Credit: medium.com
Importance Of Component Layout
Component layout plays a key role in building electronic devices. A well-planned layout ensures the device works efficiently and lasts longer. Poor arrangement can cause signal problems, overheating, or even device failure. Careful layout saves time during assembly and troubleshooting.
Understanding the importance of component layout helps avoid common errors. It also improves the overall quality of the circuit. Good layout guides the flow of electricity smoothly and reduces noise.
Enhancing Circuit Performance
Proper placement of components reduces interference and signal loss. It keeps wires short and direct, which lowers resistance. This leads to faster and more reliable operation. Clear paths for power and ground improve stability.
Improving Heat Management
Components that produce heat need space and good airflow. Spacing them apart prevents overheating. Heat-sensitive parts stay cooler and last longer. Strategic layout helps spread heat evenly across the board.
Facilitating Easier Assembly And Repair
Organized layouts make assembling faster and reduce mistakes. Clear labeling and grouping similar parts help during repairs. It is easier to find and replace faulty components. This saves time and cost in the long run.
Reducing Electromagnetic Interference
Good layout minimizes unwanted electromagnetic noise. Separating high-frequency parts from sensitive ones is vital. Shielding and grounding techniques help maintain signal integrity. This ensures the device works smoothly in different environments.
Credit: medium.com
Types Of Electronic Components
Electronic components come in various types. Understanding each type helps in arranging them correctly. Each type serves a unique role in circuits. Grouping components by type simplifies building and troubleshooting projects.
Active Components
Active components control the flow of electricity. They can amplify or switch electronic signals. Common examples include transistors, diodes, and integrated circuits. These parts need a power source to work. They are essential for signal processing and control in devices.
Passive Components
Passive components do not control current flow directly. They store or dissipate energy without amplification. Resistors, capacitors, and inductors fall in this group. These parts help manage voltage, current, and signal timing. They are simple but vital for circuit stability.
Electromechanical Components
Electromechanical components combine electrical and mechanical functions. Switches, relays, and connectors are common examples. They physically change the circuit state or connect parts. These components help control and route electricity safely. Arranging them properly ensures reliable operation.
Designing For Functionality
Designing for functionality is the backbone of arranging electronic components effectively. It’s not just about placing parts on a board; it’s about ensuring everything works smoothly together. Your goal should be to create a layout that supports performance, reliability, and ease of troubleshooting.
Signal Path Considerations
Think about how signals travel between components. Shorter paths reduce delays and interference, improving overall performance. Keep high-speed signals away from noisy parts to avoid signal degradation.
Grouping related components close together helps maintain clean and clear signal flow. For example, placing the microcontroller near memory chips minimizes the length of critical data lines. Have you checked if your signal paths cross power lines? That could cause unwanted noise.
Power Distribution Strategies
Power should reach each component efficiently and without voltage drops. Use wide, low-resistance traces for power lines to ensure stable voltage levels. Don’t forget to add decoupling capacitors near power pins to smooth out fluctuations.
Organize your power rails logically. You might separate analog and digital power supplies to prevent interference. What’s your plan for grounding? A solid ground plane can reduce noise and improve stability.
Thermal Management Solutions
Heat is a silent enemy of electronics. Components like regulators and processors generate heat that can damage nearby parts or reduce lifespan. Leave enough space around these to allow heat to dissipate naturally.
Consider adding heat sinks or thermal vias if your design runs hot. Also, placing heat-generating parts near the edges of the board can help heat escape more easily. Have you measured the temperature rise during testing? It might reveal hotspots you missed.
Space Optimization Techniques
Space optimization techniques help make the most of limited area on circuit boards. Efficient use of space improves performance and reduces costs. These techniques also simplify assembly and maintenance.
Here are key methods to arrange electronic components effectively.
Vertical Layering
Vertical layering stacks components in multiple layers. This saves horizontal space on the board. Designers use multi-layer printed circuit boards (PCBs) for this purpose.
Signal paths are shorter, which improves speed and reduces interference. Vertical layering also allows better heat dissipation. It is common in compact devices like smartphones and laptops.
Component Grouping
Group related components close together. This reduces wiring length and clutter. Grouping simplifies troubleshooting and repairs. It also helps in managing power distribution efficiently.
Arrange components by function or signal flow. Keep analog and digital parts separate to avoid noise. Proper grouping improves overall circuit reliability and performance.
Miniaturization Trends
Miniaturization uses smaller components to save space. Surface-mount technology (SMT) replaces bulky through-hole parts. This allows denser component placement on the board.
New materials and designs enable smaller chips with better power use. Miniaturization supports lightweight and portable electronic devices. It also reduces material costs and assembly time.
Avoiding Common Mistakes
Avoiding common mistakes when arranging electronic components saves time and prevents failures. Careful planning helps maintain signal clarity and system reliability. Poor layout can cause issues that are hard to diagnose later.
Interference Issues
Electronic components can create unwanted noise. This noise affects nearby parts and weakens signals. Place sensitive parts away from high-frequency or high-current components. Use shielding or grounding to reduce interference. Keep signal lines short and separate from power lines.
Overcrowding Risks
Overcrowding makes assembly and repair difficult. Crowded boards increase heat buildup, causing components to fail. Leave enough room for airflow and cooling. Organize parts by function to avoid confusion. Use multi-layer boards if space is tight.
Inadequate Spacing
Spacing affects component performance and safety. Too little space can cause short circuits or shorts. Follow manufacturer spacing guidelines for each part. Allow space for soldering and inspection. Proper spacing ensures long-term durability and easy maintenance.
Tools For Layout Design
Designing the layout for electronic components requires more than just placing parts on a board. The right tools can make your process smoother, more accurate, and less frustrating. They help you visualize, test, and refine your designs before committing to physical assembly.
Software Solutions
Choosing the right software can change how you approach layout design. Programs like Eagle, KiCad, and Altium Designer let you create precise schematics and PCB layouts. They offer libraries of components, drag-and-drop interfaces, and automatic routing features to speed up your work.
Think about how much time you save by quickly moving parts around and instantly checking for errors. Have you ever spent hours fixing a layout only to find a simple mistake? These tools help you catch those issues early.
Simulation Tools
Simulation tools let you test your circuits without building them first. Software like LTspice or Multisim can simulate voltage, current, and signal behavior under different conditions. This prevents costly mistakes and ensures your design will work as expected.
Running simulations can feel like having a safety net. Imagine discovering a design flaw before soldering a single component. What if you could tweak values and instantly see the impact? That’s the power simulation tools give you.
Prototyping Methods
Once your layout looks good on screen, building a prototype is the next step. You can use breadboards for quick, temporary setups or order custom PCBs for a more accurate test. Each method has its place depending on how complex your design is.
Prototyping helps you understand real-world challenges like component fit and heat dissipation. Have you noticed how a circuit sometimes behaves differently on a breadboard versus a finished PCB? Prototyping bridges that gap, giving you confidence before final production.
Best Practices For Beginners
Arranging electronic components can seem tricky at first. Beginners often face challenges in organizing parts clearly and efficiently. Following best practices helps build confidence and creates functional circuits. Good habits from the start save time and reduce errors.
Starting With Simple Circuits
Begin with basic circuits to understand component placement. Use breadboards for easy testing and changes. Keep components spaced to avoid confusion. Use clear labels for each part to track connections. Simple layouts help visualize the circuit flow and function.
Learning From Existing Designs
Study circuit diagrams and PCB layouts made by others. Notice how components are grouped by function. Observe routing paths and placement strategies. Copying proven designs builds understanding and skill. Analyze mistakes and improvements in these examples.
Iterative Improvement
Test your circuit often during assembly. Make small changes to improve layout and connections. Fix any issues before adding more complexity. Redraw or reorganize your design to enhance clarity. Each revision teaches new lessons and strengthens skills.
Future Trends In Component Arrangement
Looking ahead, the way electronic components are arranged is evolving rapidly. New technologies and design philosophies are shaping smarter, faster, and more efficient setups. Understanding these future trends can help you stay ahead in your projects and improve your overall workflow.
Advancements In Automation
Automation is becoming a game-changer in arranging electronic components. Machines can now place parts with incredible precision and speed, reducing human error significantly.
Think about automated pick-and-place machines that handle tiny components effortlessly. This not only speeds up production but also lets you focus on design improvements instead of manual labor.
Are you using the right tools to automate repetitive tasks in your workflow? Automation might free up your time to innovate rather than just assemble.
Integration With Ai
Artificial intelligence is starting to assist in optimizing component layouts. AI algorithms analyze multiple factors like heat dissipation, signal interference, and space constraints to suggest the best arrangement.
Imagine having a smart assistant that predicts potential issues before you even start soldering. This can save countless hours troubleshooting and reworking designs.
Could your next project benefit from AI-driven layout recommendations? Trying out AI-powered software might reveal unseen possibilities in your designs.
Sustainable Design Practices
Environmental concerns are pushing for greener electronic component arrangements. Designers now consider energy efficiency and material reuse when planning layouts.
Using fewer materials and minimizing waste are becoming key goals. For example, arranging components to reduce heat buildup can lower cooling requirements, saving energy.
How often do you evaluate your design choices through the lens of sustainability? Small changes in component placement could make your projects more eco-friendly and cost-effective.
Credit: medium.com
Frequently Asked Questions
What Is The Best Way To Organize Electronic Components?
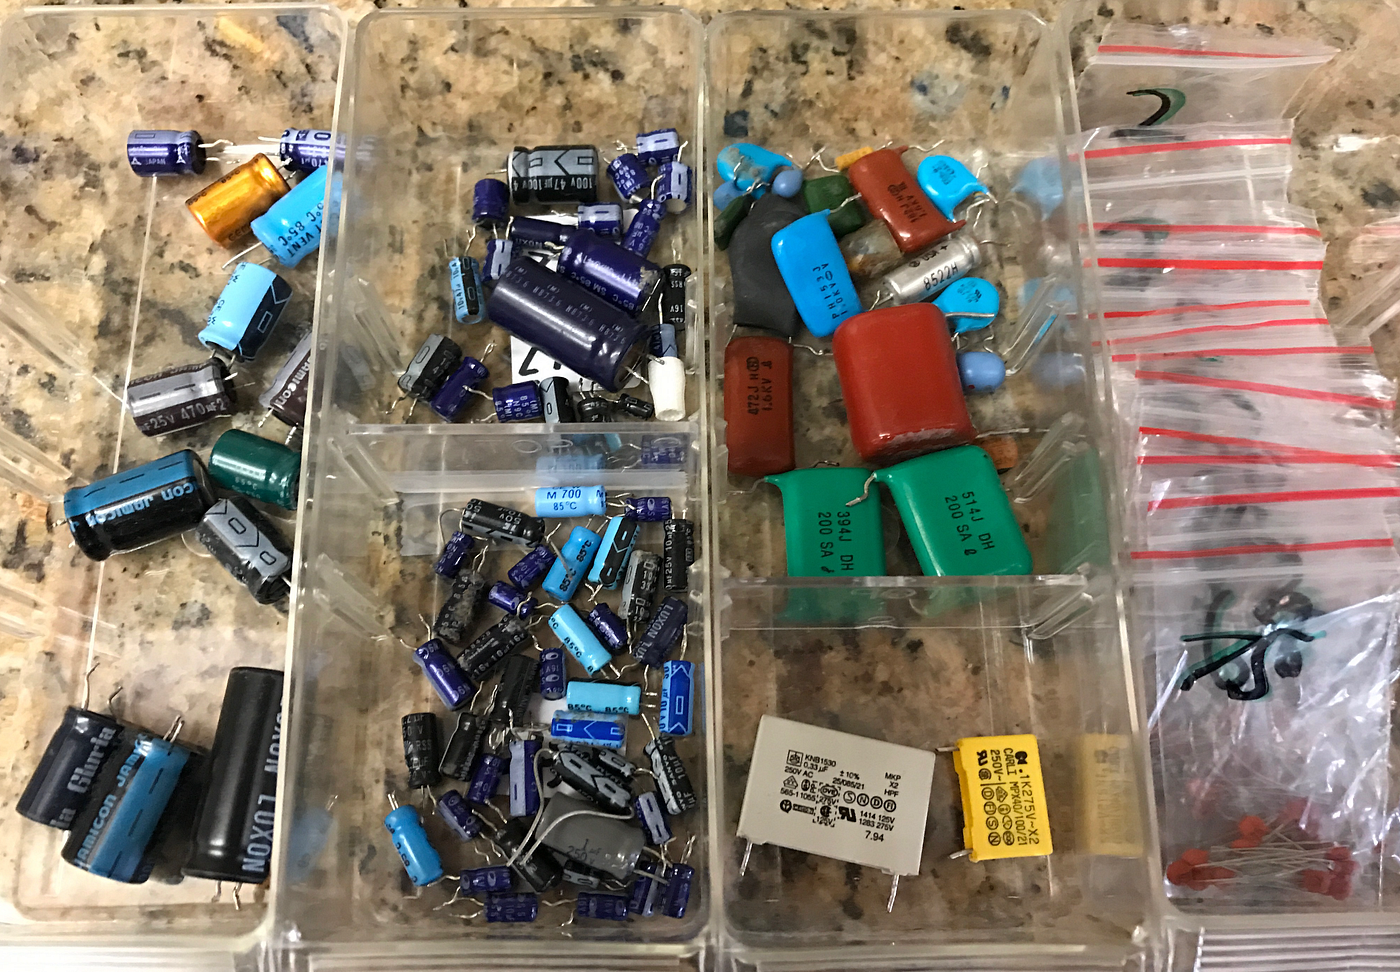
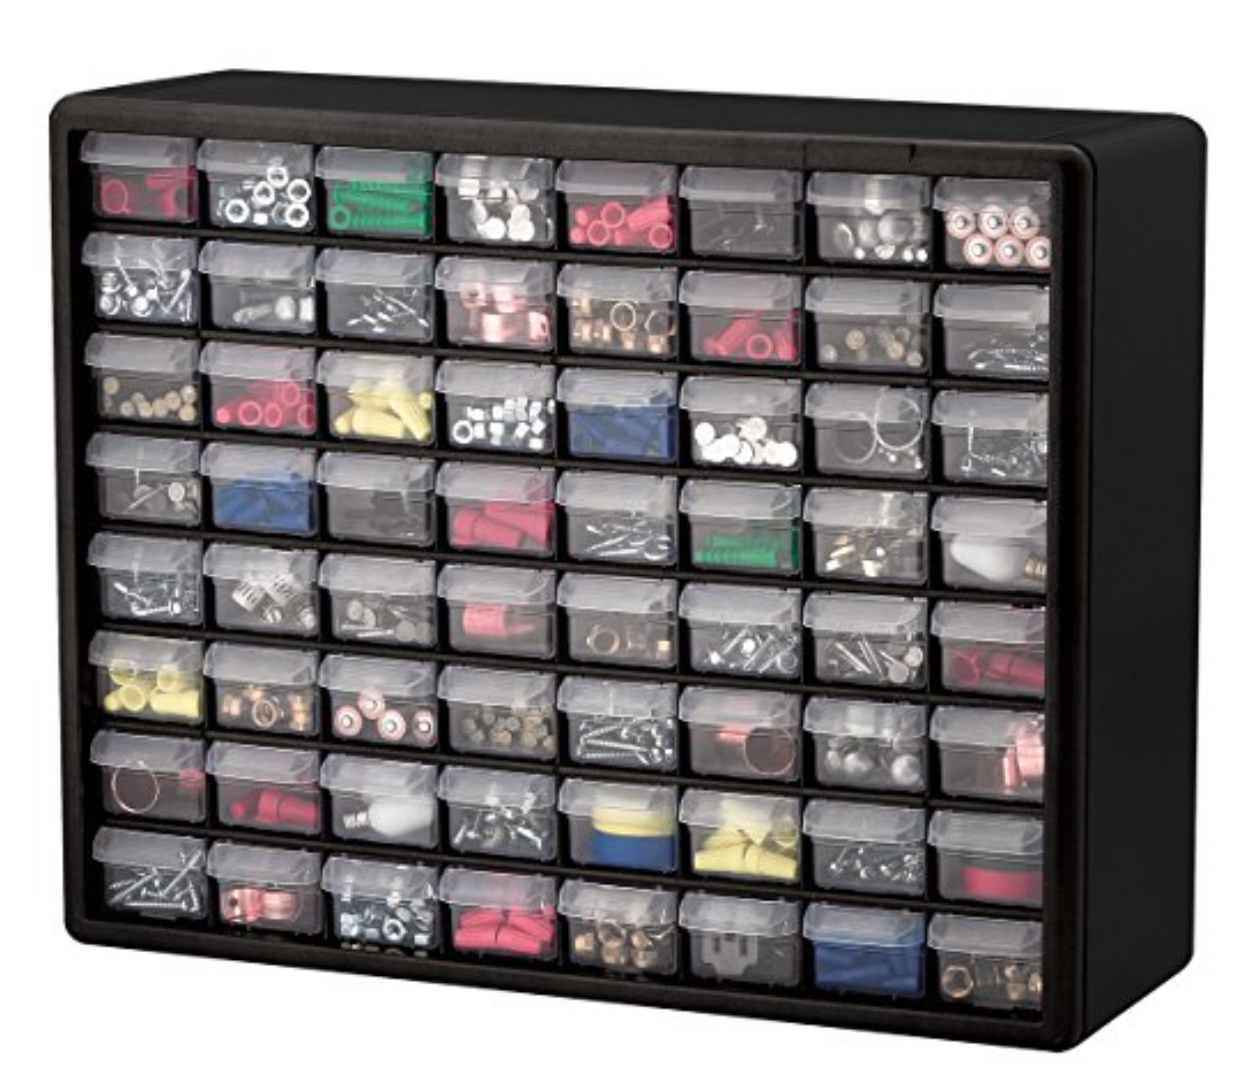
The best way is to categorize by type, value, and usage frequency. Use labeled storage bins or drawers to keep components accessible and tidy. This method speeds up project assembly and reduces errors in identifying parts.
How Do I Prevent Damage To Electronic Components?
Store components in anti-static bags or containers to avoid static electricity damage. Keep them in a dry, cool place away from direct sunlight and moisture. Handle parts gently and avoid touching pins to maintain their integrity.
Which Tools Help Arrange Electronic Components Efficiently?
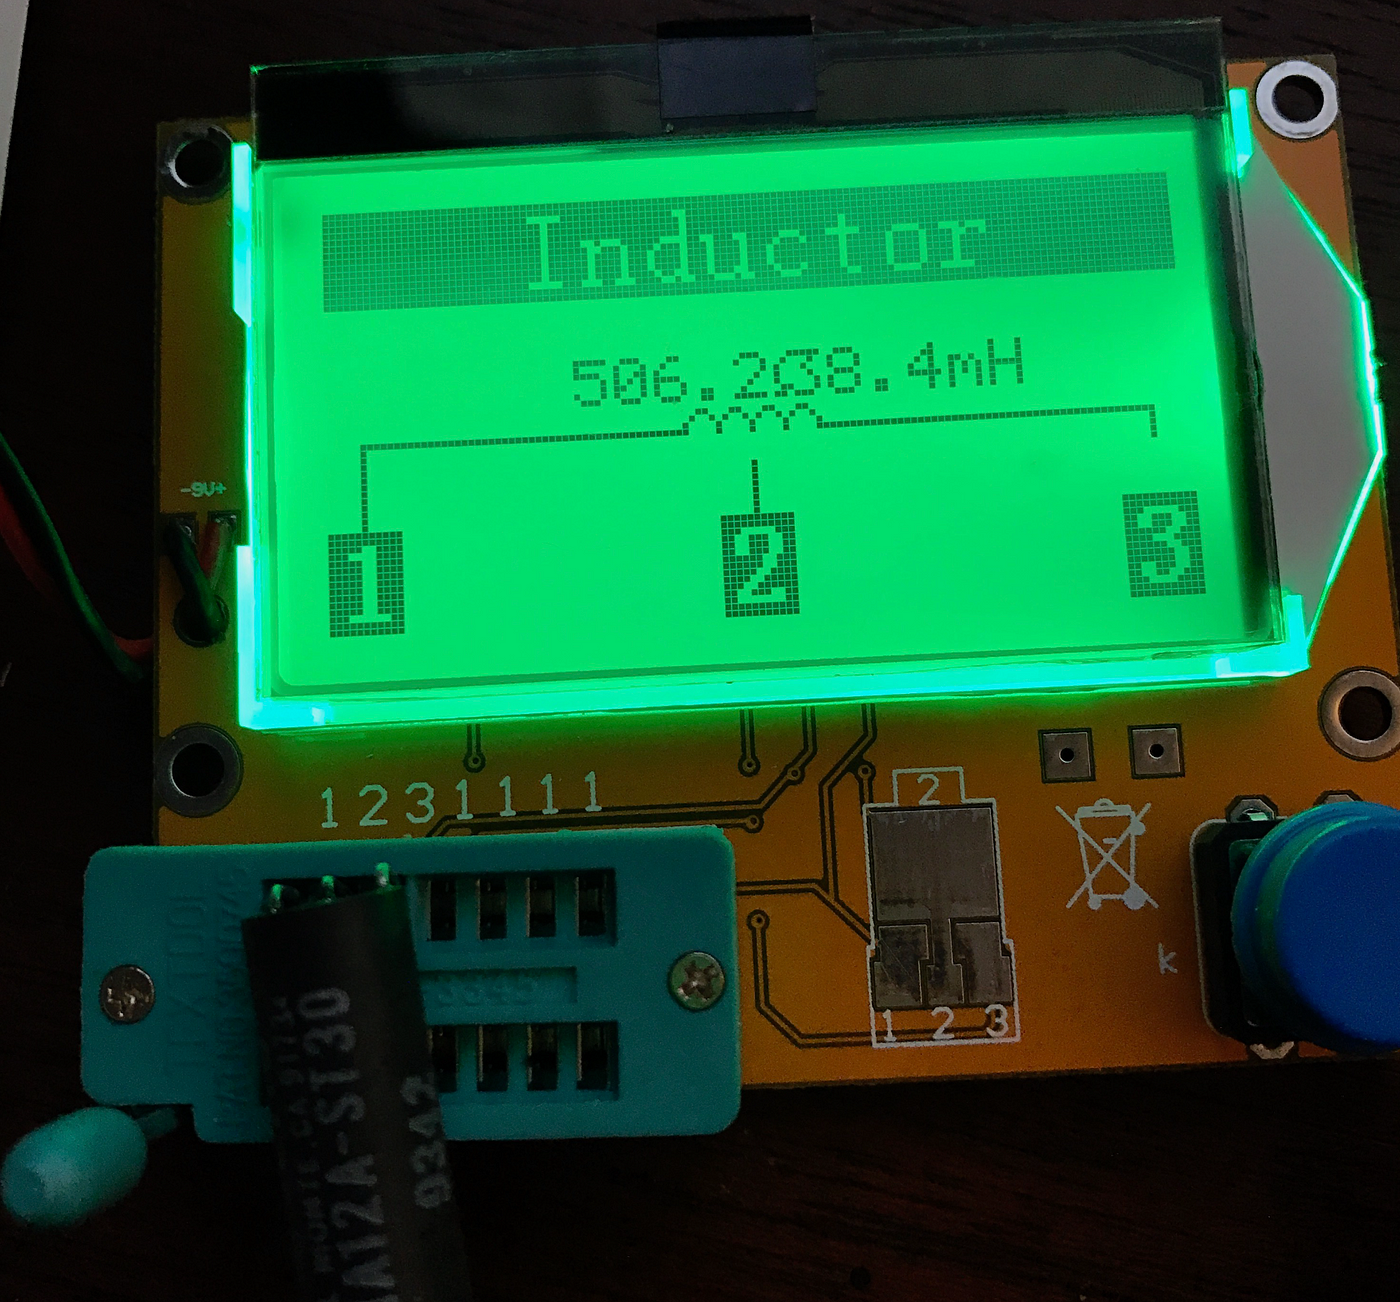
Use component organizers, labeled storage boxes, and clear plastic bins. Tweezers and small screwdrivers assist in handling tiny parts. A digital inventory app can also help track components and streamline organization.
How To Label Electronic Components Correctly?
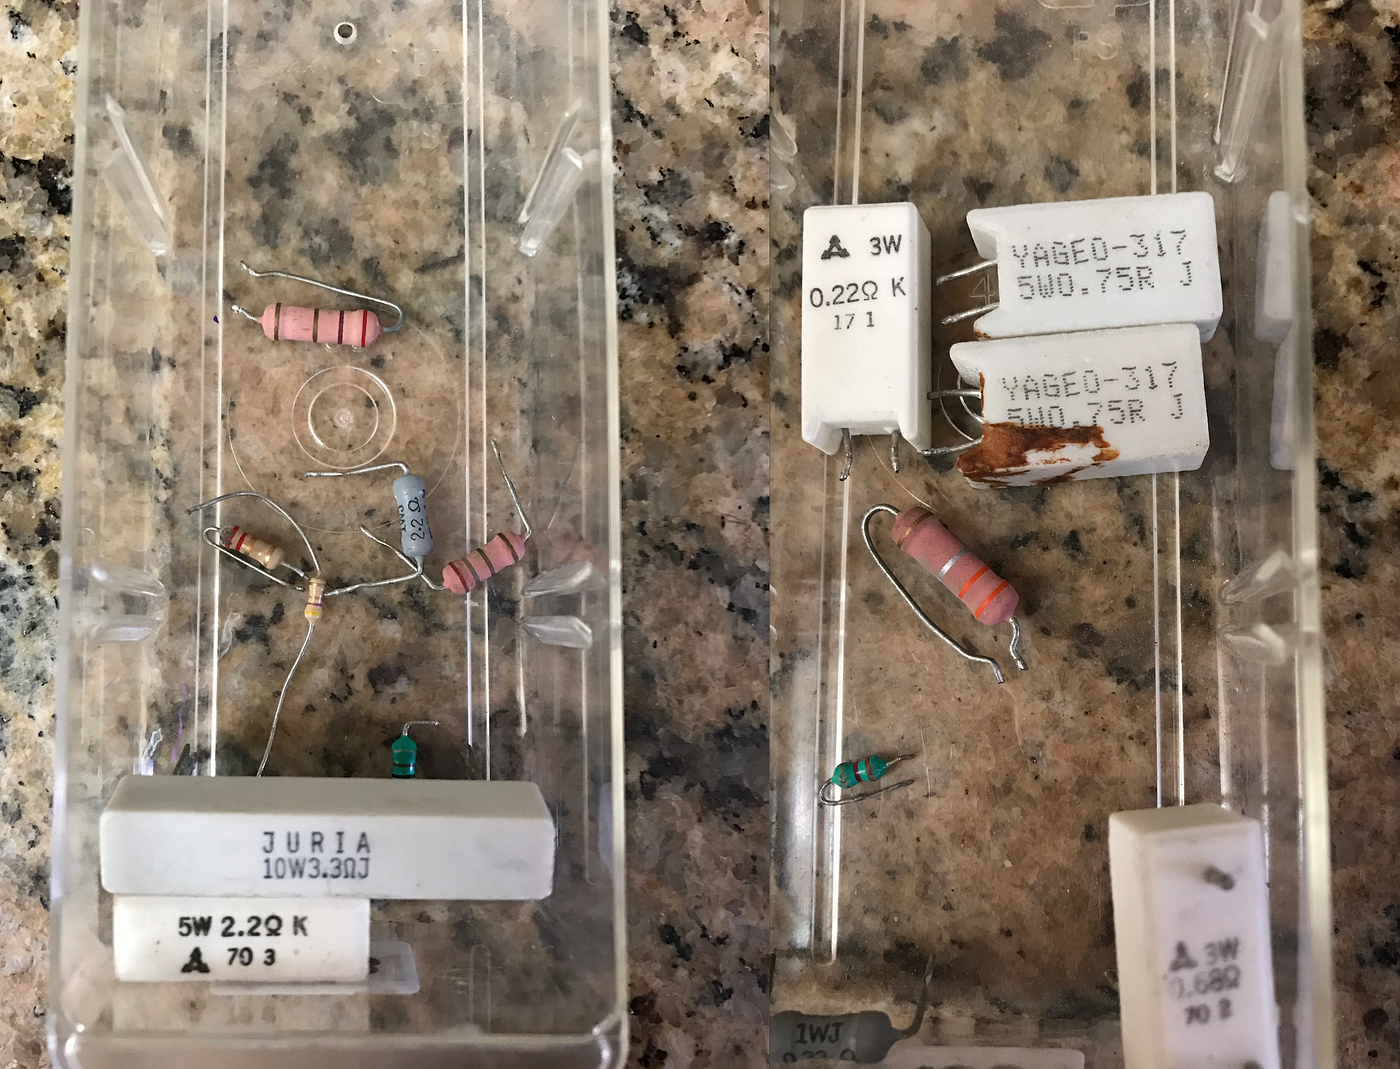
Label components with their type, value, and tolerance clearly. Use small stickers or write directly on storage containers with a permanent marker. Consistent labeling ensures quick identification and reduces assembly time.
Conclusion
Arranging electronic components takes careful planning and patience. Keep parts organized by type and size. Use clear labels to find items quickly. Place components in a neat, logical order on your workspace. This helps avoid mistakes and saves time. Always handle parts gently to prevent damage.
A clean setup makes your projects easier and more fun. Practice these steps regularly to build good habits. Soon, arranging components will feel natural and simple. Small efforts lead to better results in electronics work.
Leave a Reply