Have you ever wondered how to create an electron beam right in your own home? Imagine being able to explore a powerful science experiment without needing expensive lab equipment.
You’ll discover simple steps to build your own electron beam setup safely and effectively. Whether you’re a curious hobbyist or a student eager to learn, this guide will give you clear instructions and helpful tips to make the process easy and exciting.
Keep reading, and you’ll soon unlock the secrets behind one of physics’ most fascinating phenomena—right at your fingertips.

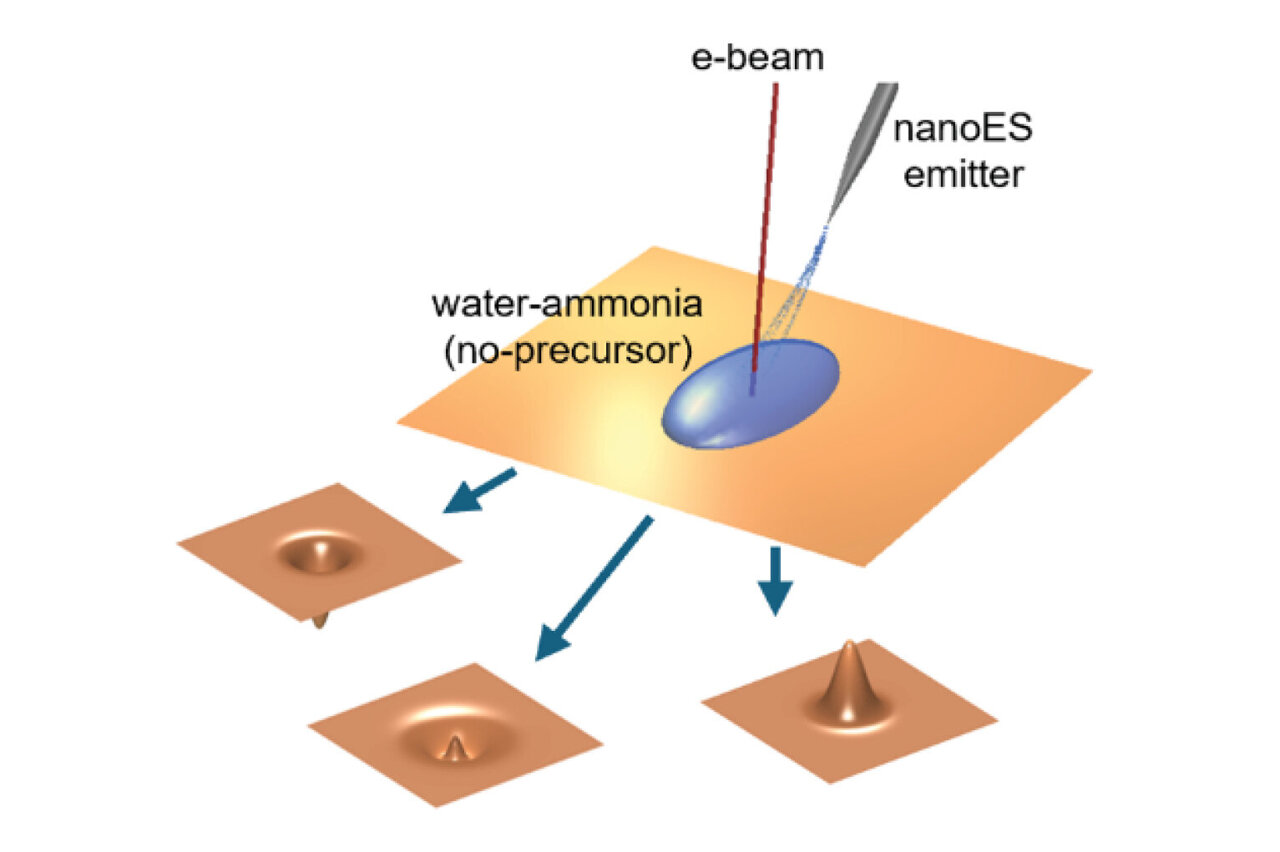
Credit: alliedguru.com
Basics Of Electron Beams
Electron beams are streams of electrons moving at high speeds. They are used in many scientific and industrial applications. Creating an electron beam at home is challenging but possible with the right knowledge.
Understanding the basics of electron beams is essential. It helps in safely experimenting with them.
What Is An Electron Beam
An electron beam is a focused stream of electrons. These beams have high energy and travel in a straight line. They are generated using devices like cathode ray tubes or electron guns.
Electron beams are controlled by electric and magnetic fields. These fields steer and focus the electrons. This control allows precise application in various fields.
Applications Of Electron Beams
Electron beams have diverse applications. They are used in medical equipment, like X-ray machines. They play a role in welding and cutting materials.
In manufacturing, electron beams are used for precise drilling. They also help in material analysis through electron microscopy.
These applications demonstrate the versatility of electron beams. Understanding these uses is vital for anyone making them at home.
Safety Precautions
Safety is crucial when working with electron beams. High-energy beams can be hazardous. They can cause burns or electrical shocks.
Always wear protective gear, like gloves and goggles. Ensure that the workspace is well-ventilated and free from flammable materials.
Use proper shielding to contain the electron beam. This reduces exposure to harmful radiation.
Understanding the risks and precautions is vital for safe experimentation. Always prioritize safety when working with high-energy equipment.
Essential Components
Creating an electron beam at home requires a clear understanding of the essential components involved. Each part plays a crucial role in generating and controlling the beam safely and effectively. Knowing what you need helps you avoid costly mistakes and ensures your setup works as intended.
Electron Source Options
The electron source is where your beam starts. You can use a simple heated filament, like tungsten wire, which emits electrons when heated. Alternatively, a cold cathode, such as a field emission tip, can produce electrons without heating.
Choosing the right source depends on your budget and desired beam quality. Filaments are easier to handle but wear out faster. Cold cathodes last longer but need precise control. Have you thought about which source matches your skills and goals?
Vacuum Chamber Setup
Electrons travel best in a vacuum, free from air particles that scatter them. A small vacuum chamber is essential to keep the electron beam focused. You can repurpose glass or metal containers, but they must be airtight and connected to a vacuum pump.
Maintaining a strong vacuum can be tricky. Consider adding pressure gauges to monitor the chamber’s status. I once underestimated the vacuum quality, and the beam scattered too much—so don’t skip this step!
Power Supply Requirements
Your power supply must provide stable voltage and current to the electron source. Typically, a high-voltage DC supply between 1,000 to 10,000 volts is needed, depending on your electron source and beam energy.
Safety is critical here; use insulated cables and proper grounding. A variable power supply lets you adjust the beam intensity, giving you better control. What safety measures will you put in place to protect yourself while experimenting?
Step-by-step Assembly
Assembling an electron beam at home involves careful attention to detail and a clear understanding of each component’s role. You’ll be piecing together parts that must work harmoniously to generate and control the beam effectively. Let’s break down the process into manageable steps that make the build both practical and rewarding.
Building The Electron Gun
The electron gun is the heart of your setup. It emits and accelerates electrons to form the beam. Start by selecting a suitable cathode—often a heated tungsten filament or a cold cathode made of a metal like nickel.
Mount the cathode securely inside a small metal tube that acts as the electron emitter housing. Attach an anode plate a short distance away to accelerate the electrons. Make sure the spacing is tight but allows free electron flow; this controls the beam’s focus and intensity.
Remember, precise alignment here improves beam quality dramatically. Have you considered how small shifts in this part might affect your final output? Experimenting with the gap can teach you a lot about beam control.
Creating The Vacuum Environment
An effective vacuum chamber is essential because electrons scatter in air, ruining the beam. You can use a glass or metal tube sealed at both ends for this purpose. Attach a vacuum pump capable of reaching pressures below 10^-3 torr to remove air molecules.
Seal all connections tightly using vacuum-grade grease or O-rings to prevent leaks. A personal tip: test your setup with a simple vacuum gauge to monitor pressure levels accurately. It’s surprising how small leaks can disrupt your entire beam!
If you don’t have access to a commercial vacuum pump, consider salvaging one from old electronics or a refrigeration unit. This approach saves money and adds a layer of DIY satisfaction.
Connecting The Power And Controls
Powering the electron gun requires a high-voltage supply, typically between 5,000 and 15,000 volts. Use a transformer designed for this voltage range, paired with a current limiter to protect your circuit. A variable power supply lets you adjust the beam intensity easily.
Integrate a control panel with switches and dials for turning the gun on and off and adjusting voltage. This setup not only enhances safety but allows precise tuning during operation. I found that simple digital voltmeters made monitoring much easier and kept surprises at bay.
Don’t forget proper insulation on all wiring to avoid shocks or shorts. Have you planned your layout to minimize exposed high-voltage points? Safety first always pays off in these projects.
Credit: rrkabel.com
Testing And Calibration
Testing and calibration are vital steps in creating a stable electron beam at home. Without proper checks, the beam may be weak or unstable. Careful testing helps ensure your setup works safely and effectively. Calibration improves the beam’s focus and power for best results.
Initial Power-on Procedures
Start by checking all electrical connections. Make sure your power supply matches the electron gun’s requirements. Turn on the power slowly to avoid sudden surges. Watch for any unusual noises or smells. Use a multimeter to verify voltage levels. Allow the system to stabilize for a few minutes before proceeding.
Beam Focus Adjustments
Adjust the focusing coil or lens to sharpen the beam. Move the focus control slowly while observing the beam on the screen. A clear, bright spot means good focus. If the beam looks blurry or scattered, tweak the controls gently. Repeat adjustments until the beam is tight and stable. Keep the room dark to see the beam clearly.
Troubleshooting Common Issues
- Weak or no beam: Check power supply and filament connections.
- Beam flickers: Inspect wiring for loose contacts or interference.
- Blurred beam: Readjust focus controls or clean the electron gun.
- Overheating: Reduce power and improve ventilation around the device.
- Unstable voltage: Use a regulated power supply for steady output.
Experiment Ideas
Experimenting with an electron beam at home opens up a world of discovery. You get to observe physics in action and deepen your understanding of electron behavior. These experiment ideas range from simple tests to more advanced projects that challenge your creativity and technical skills.
Simple Beam Deflection Experiments
Start by observing how the electron beam changes direction when exposed to magnetic or electric fields. You can create a basic setup using small magnets placed near the beam path. Watch how the beam bends—this visualizes fundamental principles of electromagnetism.
Try varying the strength and position of the magnets. Notice how small shifts affect the beam angle. This hands-on approach helps you grasp how electrons respond to forces around them.
Material Interaction Observations
Point your electron beam at different materials to see how they react. Metals, plastics, and glass all interact uniquely with electrons. You might observe changes in brightness, scattering, or even slight damage spots.
Keep a notebook to record your findings. Which materials absorb the beam? Which reflect or scatter it? These observations can lead to deeper questions about conductivity and electron-material interactions.
Advanced Diy Projects
If you want to push your skills, try building a simple electron microscope or a cathode ray tube display. These projects require more precise components and careful assembly but offer rewarding results. Imagine creating your own miniature device that can reveal tiny details invisible to the naked eye.
Consider integrating sensors or cameras to capture electron beam patterns. Could you use software to analyze beam behavior automatically? This kind of project sharpens both your hardware and software skills.
What unexpected results will your experiments reveal? Only by trying can you find out.

Credit: lightsources.org
Frequently Asked Questions
What Materials Are Needed To Make An Electron Beam At Home?
You need a vacuum tube, electron gun, power supply, and focusing magnets. These components help generate and control the electron beam safely and effectively.
How Does An Electron Beam Work In A Homemade Setup?
Electrons are emitted from the cathode, accelerated by voltage, and focused into a beam. This beam can then be directed for experiments or demonstrations.
Is It Safe To Create An Electron Beam At Home?
With proper insulation, vacuum conditions, and safety precautions, it is generally safe. Always handle high voltage equipment carefully and avoid direct exposure to the beam.
What Are Common Uses For A Homemade Electron Beam?
They are used for educational demonstrations, physics experiments, or simple welding tests. Electron beams help visualize electron behavior and study material properties.
Conclusion
Creating an electron beam at home is a fun and educational project. It helps you learn about physics and electronics. Always follow safety rules to avoid accidents. Use the right materials and tools carefully. Experiment step by step to see how the beam works.
This project shows how science can be simple and exciting. Keep exploring and enjoy discovering new things!
Leave a Reply