Are you curious about the inner workings of your car’s electronics? Imagine having the power to test and troubleshoot your vehicle’s electronic systems from the comfort of your home.
It’s not only possible but can also save you time and money. Whether you’re dealing with a pesky dashboard warning light or just want to ensure everything is running smoothly, understanding how to test auto electronics is a valuable skill.
In this guide, you’ll discover simple, step-by-step methods to diagnose and fix common electronic issues. Equip yourself with the knowledge to take control of your car’s health and boost your confidence as a savvy car owner. Dive into the article to unlock these secrets and empower yourself with practical, hands-on expertise.
Essential Tools For Auto Electronics Testing
Testing auto electronics at home requires the right set of tools. Without them, troubleshooting can become frustrating and inaccurate. Having these essential tools will save you time, help you diagnose issues correctly, and even boost your confidence working on your vehicle’s electrical systems.
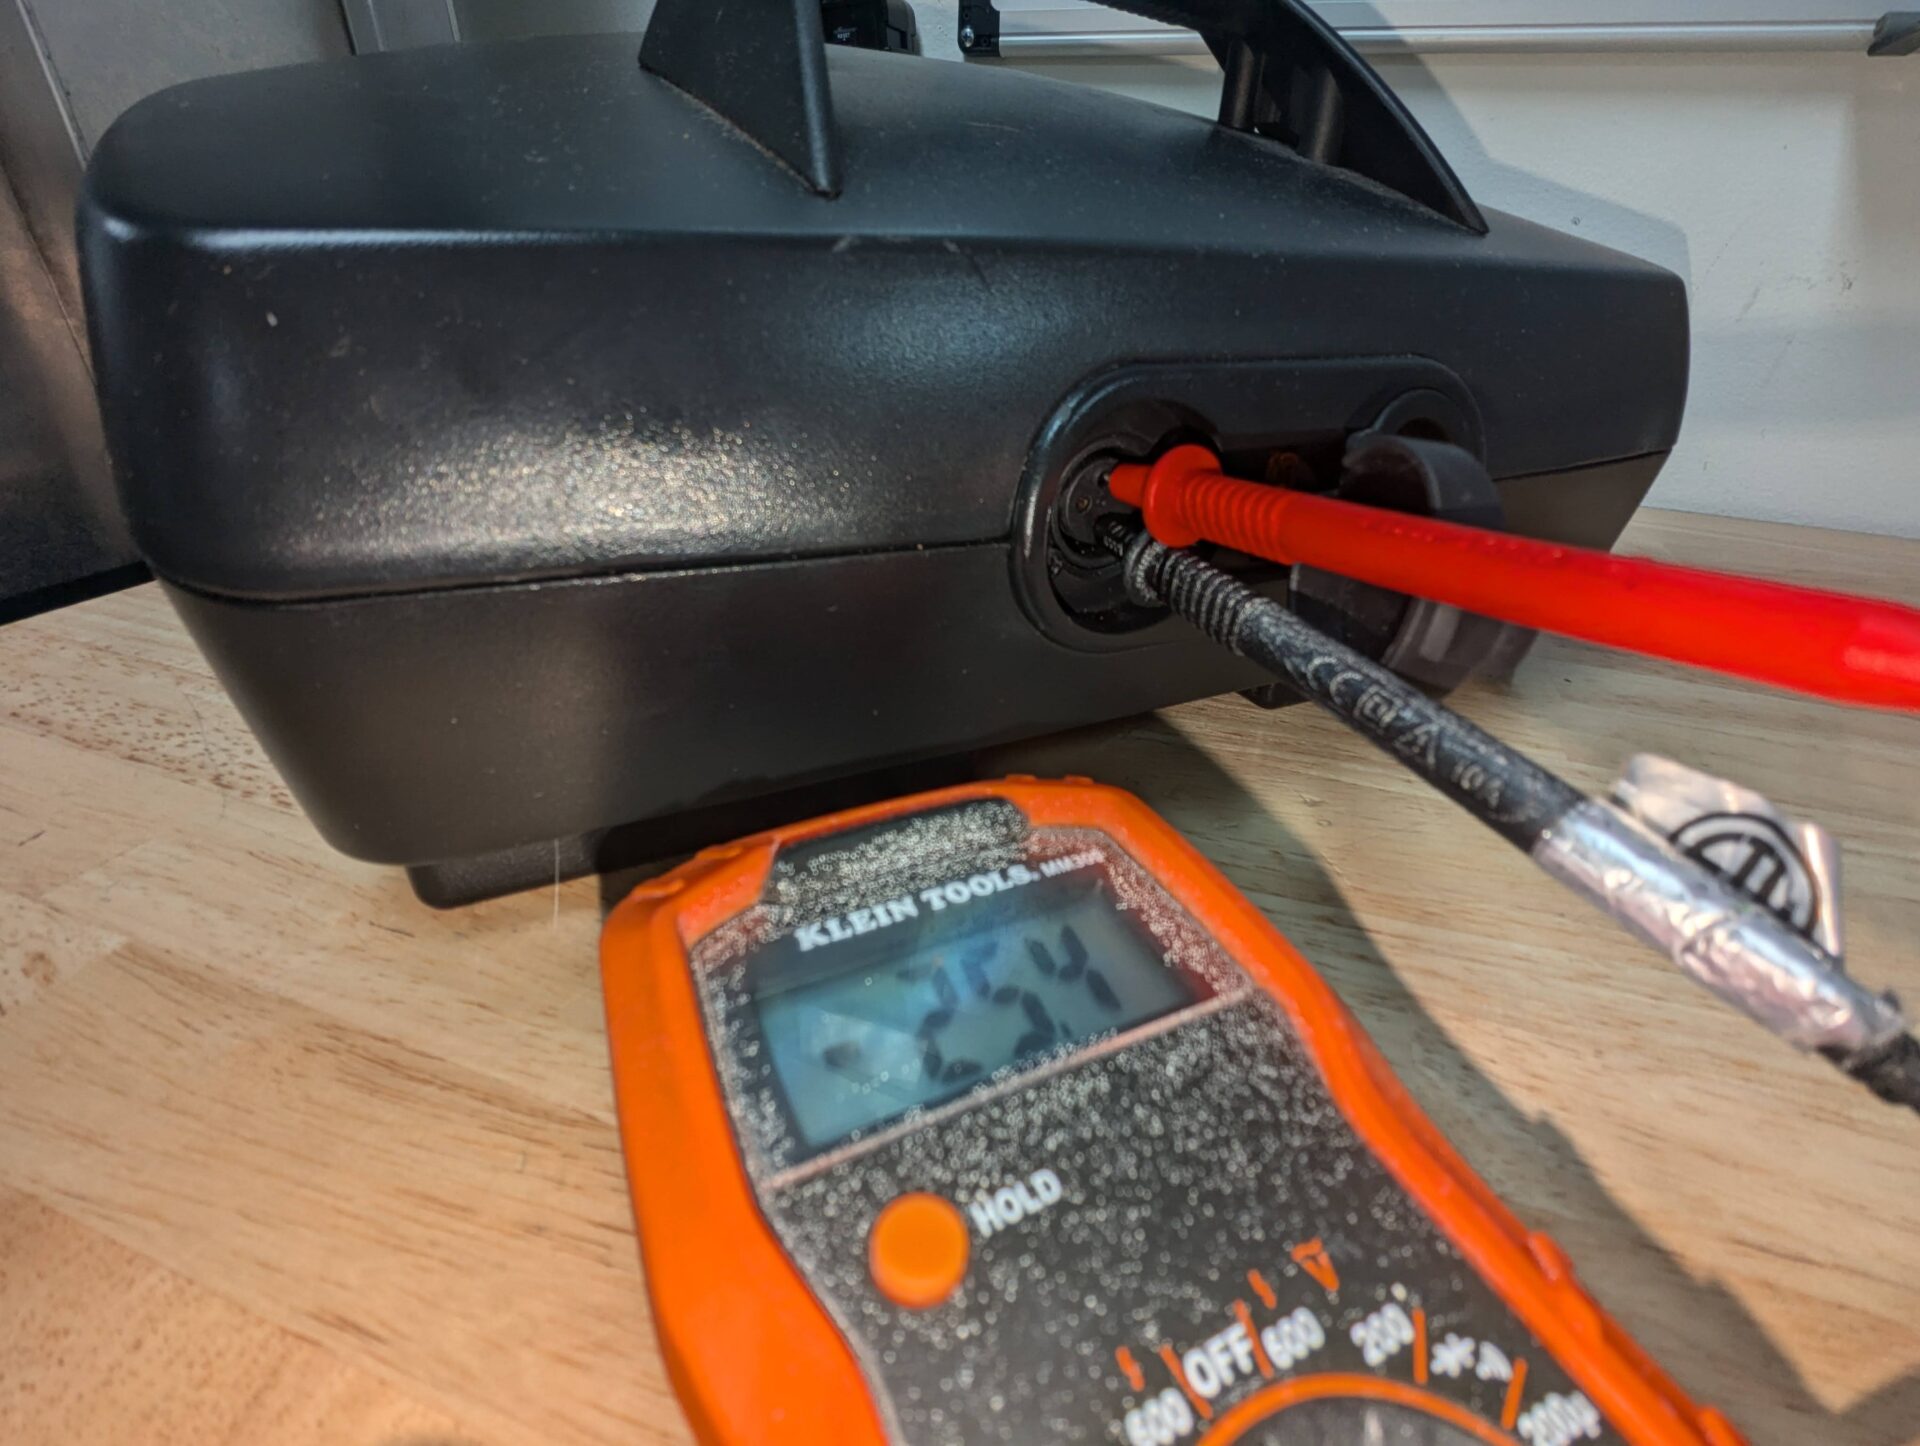
Multimeter Basics
A multimeter is your best friend for testing voltage, current, and resistance in auto electronics. It lets you check if circuits are live, find shorts, or verify battery health. You don’t need an expensive model; a basic digital multimeter with clear readings will do the job well.
Think about the last time you dealt with a flickering dashboard light. Using a multimeter, you can quickly check if the power is reaching the bulb or if the issue lies elsewhere. It’s a simple tool that saves you from guessing and unnecessary part replacements.
Using Test Lights
Test lights are handy for quick checks on circuits that carry power. You just connect the clip to a good ground and touch the probe to the wire or terminal you want to test. If the light glows, the circuit has power; if not, there’s a break or a blown fuse.
Test lights are especially useful for beginners because they’re easy to use and provide instant feedback. Have you ever wondered why a fuse keeps blowing? A test light can help you track down the problematic circuit fast.
Understanding Circuit Testers
Circuit testers come in various forms, from simple continuity testers to advanced pulse testers. They help you check if a circuit is complete or broken without relying solely on voltage readings. This can be crucial for testing sensors, switches, and wiring harnesses in your car.
When working on complex systems like fuel injectors or ignition coils, a circuit tester can confirm if the control signals are reaching the components. Have you ever struggled to know if a sensor is faulty or just the wiring? Using a circuit tester clears that doubt easily.
Credit: www.mobilityscootersdirect.com
Safety Precautions Before Testing
Testing auto electronics at home can save you time and money, but it comes with risks. Handling electrical components without proper care can lead to damage or injury. Taking safety precautions seriously protects both you and your vehicle’s electronics.
Disconnecting The Battery
Always disconnect your car’s battery before starting any electronic tests. This prevents accidental shorts or shocks while you work on the circuits. I once skipped this step and ended up blowing a fuse—don’t make the same mistake.
Remove the negative terminal first, then the positive. This order reduces the chance of sparks. Keep the terminals apart to avoid accidental reconnection during testing.
Wearing Protective Gear
Electronics testing involves electricity, and that means a risk of burns or sparks. Wearing safety goggles protects your eyes from unexpected flashes. Gloves provide insulation and keep your hands safe from sharp edges and hot components.
Choose gloves that offer good dexterity so you can handle tools easily. Don’t rely on your clothes alone—cover your arms and avoid loose sleeves that might catch on wires.
Avoiding Short Circuits
Short circuits are a common hazard and can cause serious damage. Use insulated tools and keep metal objects away from exposed wires. Double-check your connections before powering anything back on.
Ask yourself: Are all wires secured and insulated? If you spot any frayed wires or loose connections, fix them before proceeding. This simple check can save you from costly repairs and dangerous sparks.
Testing Car Battery And Charging System
Testing your car’s battery and charging system helps avoid unexpected breakdowns. These checks show if the battery holds charge and the alternator works properly. Simple tools and a few steps can give clear results at home.
Checking Battery Voltage
Use a digital multimeter to measure the battery voltage. Set the meter to DC voltage and connect the red lead to the positive battery terminal. Connect the black lead to the negative terminal.
A healthy battery shows about 12.6 volts when the car is off. If the reading is below 12.4 volts, the battery might be weak or discharged. Check the voltage again after starting the car. It should rise to 13.7 to 14.7 volts, showing the charging system works.
Testing Alternator Output
Start the engine and keep it running. Use the multimeter to measure voltage at the battery terminals. A good alternator will produce between 13.7 and 14.7 volts at idle.
If the voltage is lower, the alternator may not charge the battery well. If the voltage is higher than 15 volts, the alternator might be overcharging, which can damage the battery.
Inspecting Battery Terminals
Check the battery terminals for corrosion or loose connections. Corrosion looks like white or green powder on the terminals. Clean it carefully using a mixture of baking soda and water.
Make sure the terminal clamps fit tightly on the battery posts. Loose or corroded terminals cause poor electrical contact, leading to starting problems or dim lights.
Credit: www.jifelectrical.co.uk
Diagnosing Fuses And Relays
Diagnosing fuses and relays is a key skill if you want to troubleshoot auto electronics right at home. These small components protect your vehicle’s electrical system and help control many functions. Understanding how to locate and test them can save you time and money, and help avoid unnecessary trips to the mechanic.
Locating Fuse Boxes
Start by finding your vehicle’s fuse boxes. Most cars have at least two—one under the dashboard and another in the engine compartment. Your owner’s manual is the best guide to pinpoint their exact location.
Once you find the fuse box, take a moment to study the fuse diagram usually printed on the cover. This shows which fuses control different circuits, helping you focus on the right one. Have you ever been frustrated trying to find a tiny fuse among dozens? This step clears that up quickly.
Testing Fuses For Continuity
Testing a fuse is simple and requires just a multimeter set to continuity mode or a basic test light. Remove the fuse you want to check and place the multimeter probes on both ends of the fuse.
If the multimeter beeps or shows a reading close to zero, the fuse is good. No beep means the fuse has blown and needs replacement. Remember, a fuse blowing often points to an underlying electrical issue, so don’t just replace it blindly.
Checking Relay Functionality
Relays can be trickier to test because they are switches controlled by electricity. First, locate the relay using your car’s fuse box diagram. You can often swap it with another identical relay in the box to see if the problem moves with the relay.
For a hands-on test, use a multimeter to check the coil resistance and listen for a clicking sound when power is applied. If you don’t hear a click or the resistance is off, the relay may be faulty. Have you ever swapped relays and suddenly fixed a stubborn electrical issue? It’s a quick way to diagnose without expensive tools.
Examining Wiring And Connectors
Examining wiring and connectors is a crucial part of testing auto electronics at home. Faulty or damaged wiring can cause intermittent issues or complete failure of electronic components. Taking the time to carefully check wires and connectors helps you spot problems before they worsen, saving you time and money on repairs.
Inspecting For Damage
Start by visually examining all wiring harnesses and connectors. Look for cracked insulation, burnt spots, or exposed wires that could cause shorts. Pay special attention to areas where wires bend or pass through tight spaces, as these spots often wear out first.
Have you noticed how a tiny nick in a wire sometimes leads to a bigger electrical headache? Catching these early signs can prevent unexpected breakdowns on the road.
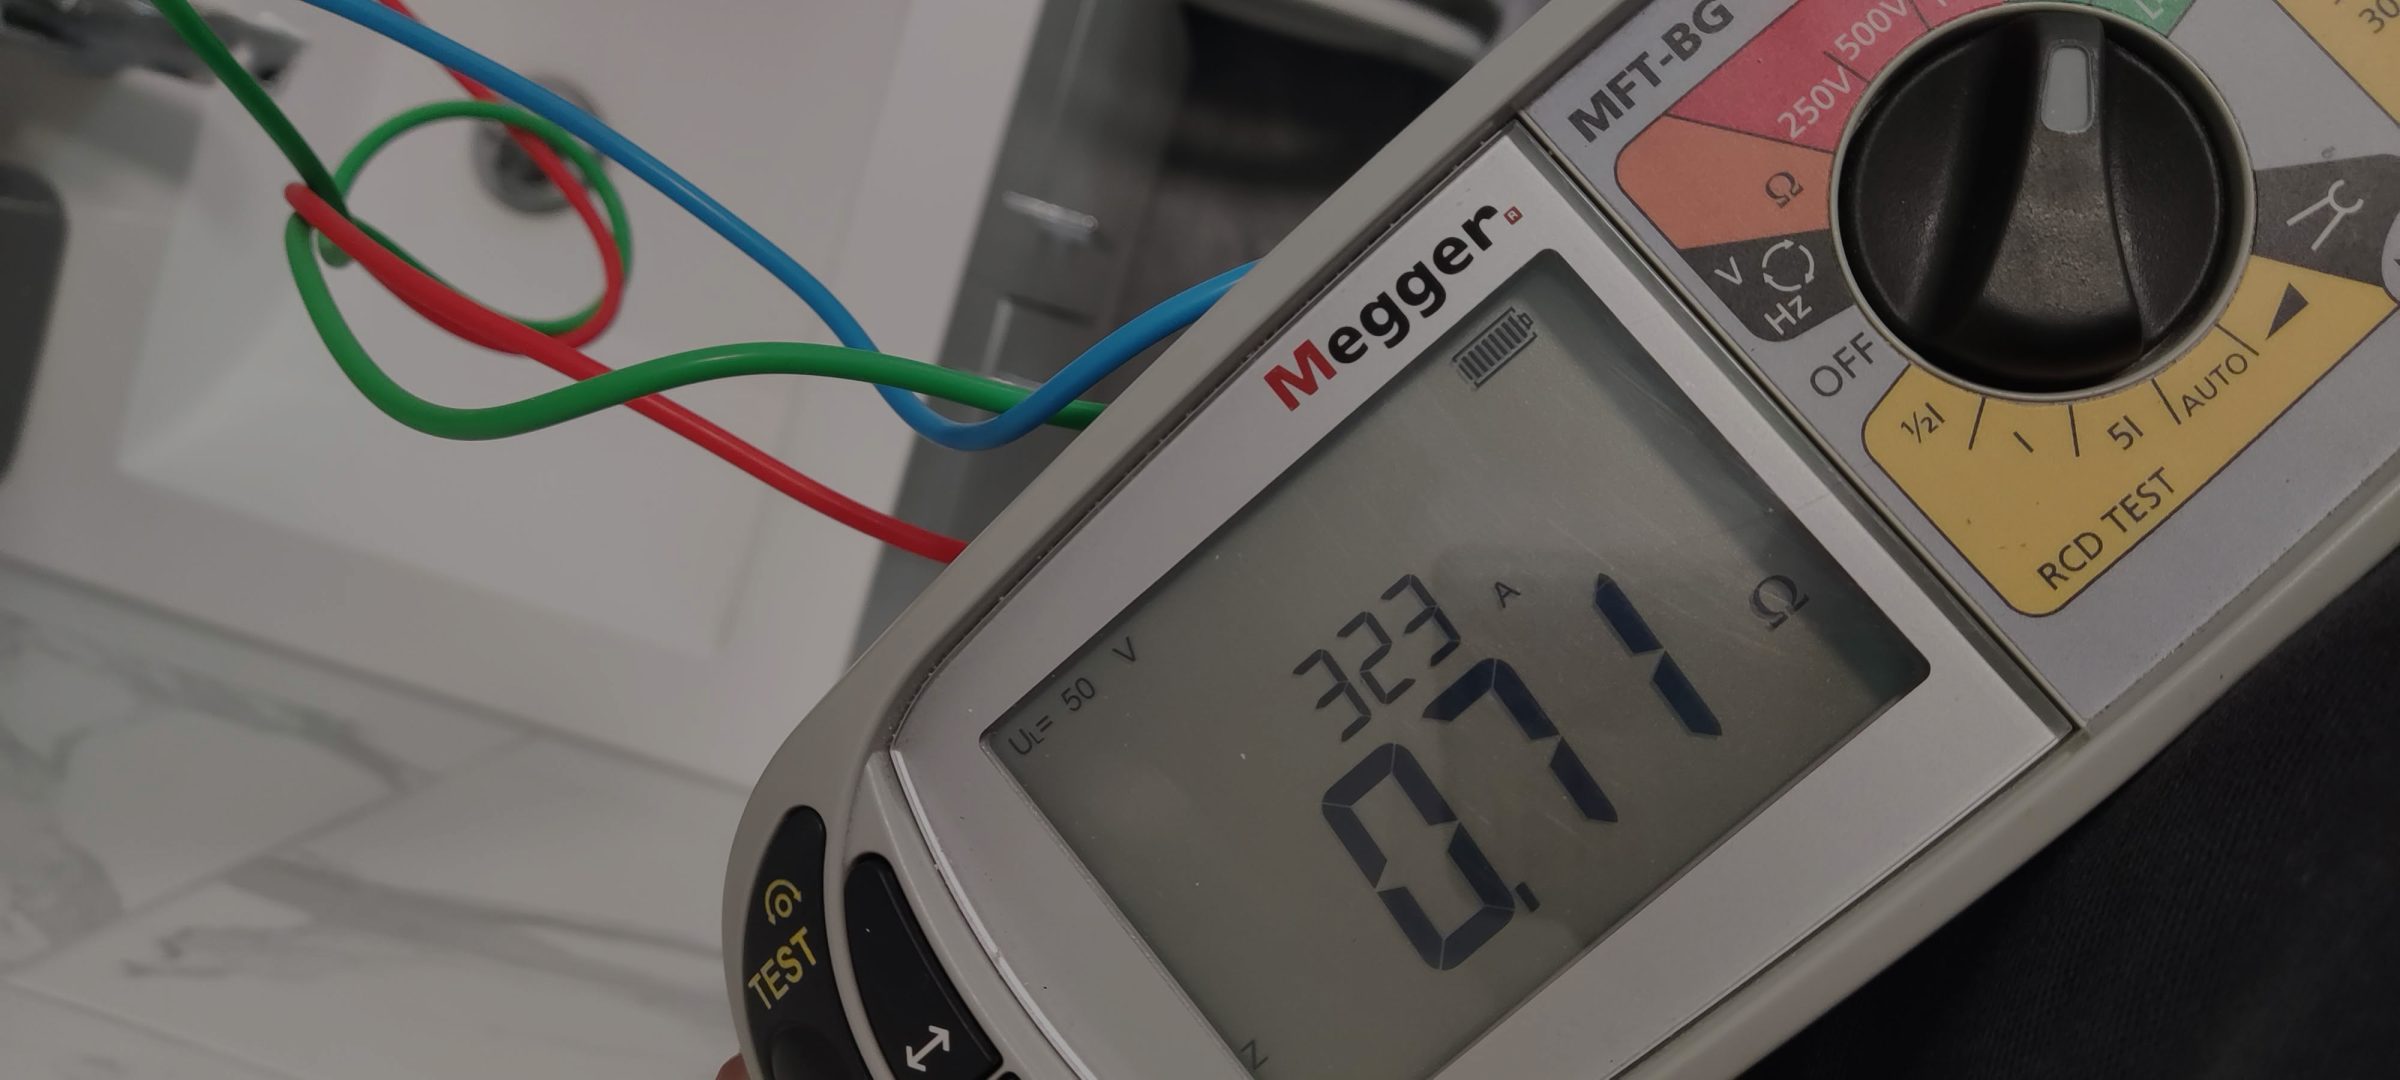
Testing Wire Continuity
Use a multimeter set to continuity mode to check if wires are intact. Touch the probes to each end of a wire and listen for a beep or look for a zero reading on the meter. No beep means the wire is broken somewhere along its length and needs repair or replacement.
Testing continuity is straightforward but powerful. It can reveal hidden breaks that visual inspection might miss, especially inside thick insulation or bundled wires.
Cleaning And Securing Connections
Corrosion and dirt on connectors reduce electrical flow and cause issues. Use electrical contact cleaner and a small brush to clean connector pins and sockets. After cleaning, ensure all connectors snap firmly into place without any looseness.
Loose connections can cause intermittent faults that are tough to diagnose. Securing connectors tightly restores reliable contact and improves system performance.
Testing Sensors And Switches
Testing sensors and switches in your auto electronics at home can save you time and money. These components control many essential functions, so ensuring they work correctly is crucial. Understanding how to test them yourself makes troubleshooting more straightforward and empowers you to maintain your vehicle’s electronics confidently.
Common Sensors To Test
Several sensors in your vehicle are vital for its operation and safety. Some common ones include:
- Oxygen sensors:Monitor the air-fuel mixture for better fuel efficiency.
- Temperature sensors:Track engine or coolant temperature to prevent overheating.
- Throttle position sensors:Measure how far the throttle is open to control engine power.
- Speed sensors:Provide data on vehicle speed for systems like ABS and cruise control.
Knowing which sensor is malfunctioning helps you focus your testing efforts and avoid unnecessary repairs.
Using A Multimeter On Switches
A multimeter is your best tool for checking switches in auto electronics. It measures voltage, current, and resistance, helping you determine if a switch is functioning properly.
To test a switch:
- Set your multimeter to the continuity or resistance mode.
- Touch the probes to the switch terminals.
- Activate the switch and watch for a change in the reading.
If the multimeter shows a low resistance or continuity when the switch is on, it’s working well. No continuity or infinite resistance usually means the switch is faulty.
Interpreting Sensor Readings
Sensor readings can sometimes be confusing if you don’t know what to expect. Start by checking the sensor’s specifications in your vehicle’s manual or online resources.
Compare the actual readings to the expected values at different operating conditions. For instance, a temperature sensor should show a rise in voltage or resistance as the engine warms up.
If the reading stays flat or behaves erratically, the sensor may be defective. Asking yourself whether the sensor’s behavior matches how the vehicle is performing can guide your diagnosis.
Checking Automotive Lighting
Checking automotive lighting is essential for your safety and the safety of others on the road. Faulty lights can lead to accidents or traffic violations. Regularly inspecting your vehicle’s lighting helps you spot issues before they become serious problems.
Testing Headlights And Taillights
Start by turning on your headlights in a dark area or during dusk. Walk around your vehicle to ensure both the low and high beams are working properly. For taillights, have someone press the brake pedal while you observe the rear lights; they should light up brightly.
If you notice dim lights or flickering, it might indicate a wiring issue or a bulb nearing the end of its life. Testing headlights and taillights regularly keeps you visible to other drivers, especially in poor weather or at night.
Inspecting Turn Signals
Activate each turn signal one at a time and watch the lights on both the front and rear of your vehicle. The blinking should be steady and consistent. Fast blinking or no blinking often means a bulb is burnt out or there is an electrical fault.
Don’t forget to check the hazard lights too; they use the same bulbs as turn signals and are crucial during emergencies. Have a friend help you or use reflective surfaces to see the lights clearly from all angles.
Replacing Faulty Bulbs
When you find a faulty bulb, replace it promptly to avoid safety risks. Before buying a new bulb, check your vehicle’s manual for the correct type and wattage. Using the wrong bulb can cause electrical problems or reduce lighting effectiveness.
Wear gloves or use a clean cloth to handle new bulbs; oils from your skin can shorten their lifespan. After replacing the bulb, test the light again to make sure it works perfectly. This simple task can save you from unexpected breakdowns or fines.
Troubleshooting Common Electrical Issues
Troubleshooting common electrical issues in your car can feel overwhelming, but with a clear approach, you can identify and fix many problems yourself. Understanding the symptoms and knowing where to look saves time and keeps you safe. Let’s break down some frequent issues and how to test for them effectively.
Intermittent Electrical Problems
Intermittent electrical issues are tricky because they come and go. You might notice your headlights flicker or your dashboard lights dim only sometimes. These problems often point to loose connections or corrosion in wiring.
Start by gently wiggling wires and connectors while the circuit is on. If the problem appears or disappears, you’ve found a weak spot. Cleaning terminals with electrical contact cleaner can restore a solid connection.
Have you ever had a device that works perfectly one moment and then suddenly cuts out? That’s exactly what intermittent issues feel like in car electronics—unpredictable but usually fixable.
Diagnosing Blown Fuses
Fuses protect your car’s circuits by breaking the connection if the current is too high. A blown fuse stops the electrical flow, causing components like the radio or power windows to stop working. To test a fuse, remove it from the fuse box and check for a visible break in the metal strip inside.
If you have a multimeter, set it to continuity mode and test both ends of the fuse. No beep means the fuse is blown. Replace it with a fuse of the same rating—never use one with a higher rating, as this can cause damage or fire.
Remember, if a fuse blows repeatedly, it’s a sign of a deeper electrical issue that needs further inspection rather than just replacing the fuse again.
Dealing With Electrical Shorts
Electrical shorts happen when a hot wire touches a ground or another wire, causing a sudden surge of current. This can trip your fuses or blow a circuit breaker. Finding a short requires patience and a systematic approach.
Look for melted insulation, burnt smells, or visible damage in wiring. Use a multimeter to check for continuity between the power wire and ground where there shouldn’t be any. Disconnect sections of wiring to isolate the short.
Have you noticed a fuse blowing immediately after replacement? That’s a strong indication of a short circuit waiting to be found and fixed. Fixing shorts might mean replacing damaged wires or securing loose connections to avoid future issues.
Tips For Accurate Testing Results
Accurate testing of auto electronics at home requires careful attention and good habits. Small mistakes can lead to wrong results and wasted time. Follow these tips to improve accuracy and ensure reliable outcomes. Keep your process clear and organized for the best results.
Keeping A Testing Log
Write down every test you perform. Note the date, time, and device settings. Record the results clearly. A log helps track changes and spot patterns. It prevents repeating the same tests unnecessarily. Review your notes before testing again.
Double-checking Connections
Always check your wires and connectors twice. Loose or wrong connections cause false readings. Make sure all cables fit snugly and match the correct terminals. Inspect for damaged wires or corrosion. Fix any issues before proceeding to test.
Using Manufacturer Manuals
Read the manuals from the product makers carefully. They provide specific instructions and safety tips. Manuals show correct testing procedures and values. Use them as a guide to avoid errors. Follow their recommendations for your specific auto electronics.

Credit: www.oreillyauto.com
Frequently Asked Questions
How Can I Test Auto Electronics Safely At Home?
Use a multimeter to check voltage and continuity. Disconnect the battery before testing to avoid shocks. Follow the device manual for specific test points and procedures.
What Tools Are Needed To Test Auto Electronics?
Essential tools include a multimeter, test light, and screwdrivers. A scan tool can help read error codes. These tools ensure accurate and safe testing at home.
How Do I Identify Faulty Auto Electronic Components?
Look for visible damage, corrosion, or loose connections. Use a multimeter to check resistance and voltage levels. Faulty parts often cause error codes or malfunction symptoms.
Can I Test Car Sensors Without Professional Help?
Yes, basic sensors can be tested with a multimeter or scan tool. Follow the sensor’s wiring diagram and check signal output. Complex sensors might require specialized equipment.
Conclusion
Testing auto electronics at home saves time and money. Basic tools and clear steps make the process simple. Always follow safety rules to avoid accidents. Regular checks help keep your car running well. Practice makes the task easier and more confident.
Stay patient and take your time with each test. Your car will thank you with better performance. Keep learning, and enjoy the satisfaction of doing it yourself.
Leave a Reply