Have you ever dreamed of creating your very own electronic projector right from the comfort of your home? Imagine hosting movie nights with friends, showcasing presentations, or simply enjoying your favorite content on a big screen—all thanks to a DIY projector that you built yourself.
Sounds exciting, right? You’re about to discover how surprisingly simple and rewarding this project can be. By following a few straightforward steps and using materials you likely already have or can easily find, you can bring your idea to life.
Stick with us, and you’ll soon have your very own homemade projector ready to wow everyone. Get ready to dive into an exciting mix of creativity and technology that’s sure to impress!

Credit: www.amazon.ca
Materials Needed
Gathering the right materials is crucial before you start building your electronic projector at home. Having everything ready helps you stay focused and avoids unnecessary interruptions during the assembly process. Let’s break down what you’ll need to bring your DIY projector to life.
Basic Components
- LCD Screen or Smartphone Screen:This acts as the display panel for your projector. Many DIY projects use an old smartphone screen because it’s compact and bright.
- Lenses:A magnifying glass or a convex lens is essential to focus the image. The quality and size of the lens impact the clarity of the projection.
- Light Source:An LED flashlight or a small but powerful LED bulb works well. Brightness is key, so choose a light source that can shine through the screen clearly.
- Projector Box or Enclosure:A sturdy box or case to house your components. Cardboard or wood can work, but it must block out external light effectively.
- Power Supply:Batteries or a USB power bank to keep your light source running smoothly. Consistent power ensures a steady image without flickering.
- Reflective Material or Black Paint:To line the inside of the box and reduce internal light scattering, improving image sharpness.
Optional Enhancements
- Cooling Fan:If you use a high-power LED, a small fan prevents overheating and extends the projector’s life.
- Adjustable Lens Mount:Allows you to fine-tune the focus and zoom for a sharper picture.
- Bluetooth Speaker:To add sound without extra wires, enhancing the overall viewing experience.
- Tripod or Stand:For stable placement and easy angle adjustments during projection.
- Remote Control:Handy if you want to control power or focus from a distance, making your DIY projector feel more professional.
Which of these materials do you already have at home? Sometimes, repurposing old gadgets can save money and time while giving your projector a unique touch. Think about your space and how you want to use the projector—these choices will shape your material list.
Preparing The Lens
Preparing the lens is a crucial step in building your electronic projector at home. The lens directly affects the clarity and brightness of the projected image. Taking time to select, clean, and test the lens ensures your projector delivers sharp visuals.
Selecting The Right Lens
Choosing the right lens can be confusing, but focusing on a few key factors helps. Look for a convex lens with a focal length between 50mm and 100mm; this range works well for small to medium-sized projectors.
Check the lens diameter too. A larger diameter lets in more light, making your image brighter. You can find suitable lenses from old cameras, magnifying glasses, or even binoculars.
Ask yourself: What size screen do you want to project on? The lens focal length and diameter will influence the image size and focus distance. Picking the right lens for your space saves you from constant adjustments later.
Cleaning And Testing
Before installing the lens, clean it carefully to avoid smudges and dust that reduce image quality. Use a soft microfiber cloth and a gentle lens cleaner or distilled water.
Test the lens by holding it up to a light source and projecting onto a white wall. Move it closer and farther to find the sharpest focus point. This hands-on test helps you understand how your lens behaves.
Did you know a tiny scratch can blur your image? Inspect the lens under bright light to spot any damage. If you find imperfections, try a different lens or use lens polish kits designed for minor scratches.
Building The Projector Box
Building the projector box is a crucial part of making a home electronic projector. The box holds all the parts in place. It also helps to focus the image clearly on the screen. A well-built box ensures the projector works smoothly without light leakage or damage.
Choosing The Container
Pick a container that is strong and light. Cardboard boxes work well for beginners. You can also use plastic or wooden boxes for more durability. The size depends on your phone or projector lens. Make sure the box is big enough to hold all parts comfortably.
Look for these features in your container:
- Dark color inside to reduce light reflection
- Flat surfaces for easy cutting and assembly
- Enough depth to adjust the lens and phone position
Cutting And Assembly
Mark the areas on the box where you will place the lens and phone. Use a sharp knife or scissors to cut the holes carefully. The lens hole should be in the front center of the box. The phone holder hole goes at the back or side, depending on your design.
Seal the edges with tape or glue to avoid light leaks. Attach the lens firmly using hot glue or double-sided tape. Create a stand inside the box to hold your phone steady. Make sure all parts fit tightly and the box closes properly.
Setting Up The Light Source
Setting up the light source is a crucial step in building your electronic projector at home. The quality and type of light you choose will directly affect the brightness and clarity of your projected image. Paying close attention to this part can make a significant difference in your final result.
Led Vs. Bulb Options
Choosing between an LED and a traditional bulb for your projector can be tricky. LEDs are energy-efficient, run cooler, and last longer, making them a popular choice for DIY projects. On the other hand, bulbs often provide higher brightness but consume more power and generate heat.
Think about where you will use your projector. If portability and low power consumption matter, an LED is your best bet. If you need a brighter image for a larger screen or in a well-lit room, a bulb might serve you better. I once used a high-power LED for a small room setup and was amazed at how clear the image stayed, even without a fan for cooling.
Power Supply Setup
Your light source needs a stable power supply to work efficiently. Using a power adapter that matches the voltage and current requirements of your LED or bulb prevents flickering and extends lifespan. It’s worth investing a bit more in a reliable power supply to avoid interruptions during use.
Consider adding a switch or dimmer to control the light intensity easily. This gives you flexibility depending on the ambient light in your room. Have you thought about how you’ll power the projector? A USB power bank can work well for LEDs, making your projector truly portable.
Positioning The Screen
Positioning the screen correctly is vital for a clear and bright projection. The screen must be stable and placed where light can reflect well. Avoid places with direct sunlight or strong indoor lights to keep the image sharp. Choose a spot that allows easy adjustment of the projector distance.
Screen Material Choices
Pick a smooth, white surface for the screen. Matte white paint works well on walls. A white cloth or a projector screen fabric can also be used. Avoid shiny or glossy materials; they create glare and distort the image. The screen should be flat and free from wrinkles.
Adjusting Distance For Focus
Move the projector closer or farther from the screen to find the sharpest image. Start with the projector about one meter away and adjust slowly. Small changes can greatly improve focus. Use the projector lens focus ring if available. Test different distances until the image edges are crisp and clear.
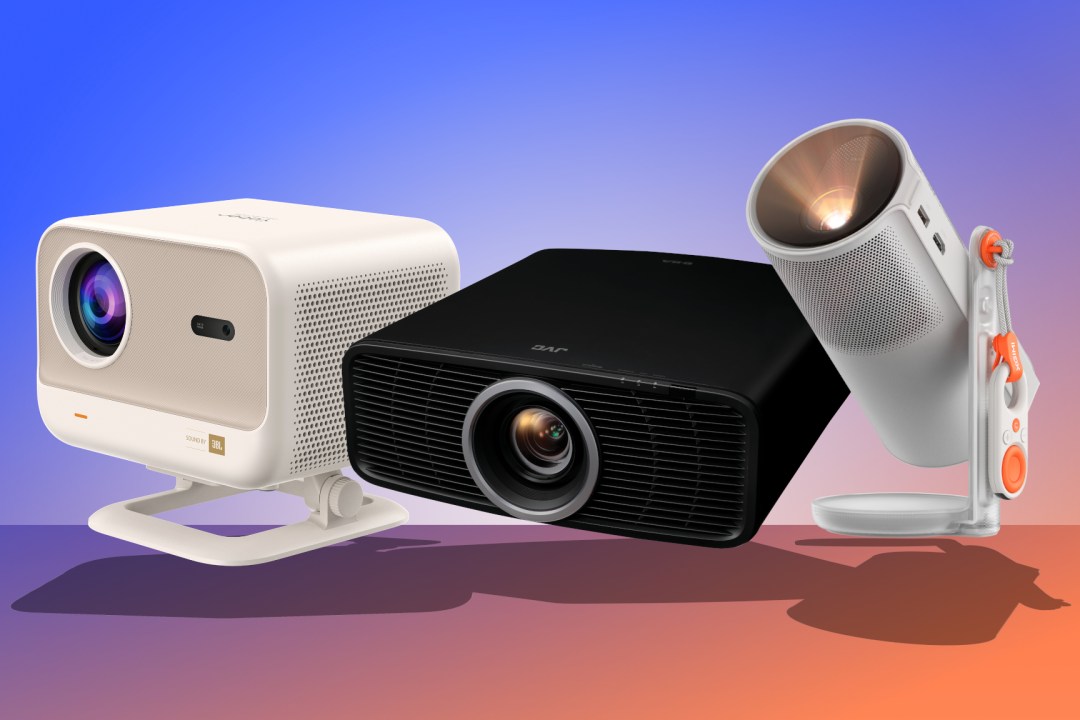
Credit: www.stuff.tv
Connecting The Electronics
Connecting the electronics is a key stage in making your electronic projector at home. It involves joining all parts carefully to create a working circuit. Proper connections ensure the projector will function smoothly and display clear images. Attention to detail helps avoid common mistakes and saves time during testing.
Wiring The Components
Start by arranging all components on a breadboard or circuit board. Use jumper wires to link parts such as the LED, resistors, and power supply. Follow the circuit diagram closely to match each connection. Keep wires short and organized to prevent confusion and shorts.
- Connect the LED to the correct resistor to control current flow.
- Attach the power supply wires to positive and negative terminals.
- Ensure the switch is placed to control the power input.
- Ground all necessary components properly to avoid electrical noise.
Double-check each connection before powering the circuit. Loose or wrong wiring can cause failures or damage.
Testing The Circuit
Power the circuit carefully after wiring is complete. Watch the LED and other parts for signs of proper operation. Use a multimeter to measure voltage and current at key points.
- Verify the LED lights up without flickering.
- Check voltage levels match the design specifications.
- Look for overheating parts or unusual smells.
- Test the switch to ensure it turns the projector on and off.
Make corrections if any problem appears. Testing early saves effort and improves the projector’s performance.
Final Adjustments
After assembling your electronic projector, the final adjustments are crucial to make sure your image looks sharp and bright. These tweaks can dramatically improve your viewing experience without needing expensive tools or complicated setups. Let’s focus on two key areas: focusing the image and enhancing brightness and clarity.
Focusing The Image
To get a crisp image, adjust the distance between the projector’s lens and the screen or wall. Move your projector slowly closer or farther until the picture edges become sharp. Small changes can make a big difference, so be patient and tweak it gently.
Some homemade projectors use a simple sliding mechanism for focus adjustment. If yours doesn’t, consider adding one with a few pieces of cardboard or wood. This lets you fine-tune the focus easily without rebuilding the entire setup.
Improving Brightness And Clarity
Brightness depends largely on your light source. If your projector image looks dim, try using a stronger LED or repositioning the light closer to the lens. Avoid overheating by using LED bulbs instead of traditional ones—they stay cool and last longer.
To boost clarity, check the cleanliness of your lenses and mirrors. Dust or fingerprints can blur the image, so wipe them gently with a soft cloth. You can also experiment with different screen surfaces—white matte paint or a smooth white sheet often works best.
- Use blackout curtains or darken the room to improve contrast.
- Reduce ambient light that competes with your projector’s brightness.
- Adjust your device’s brightness and contrast settings if available.
Have you noticed how small lighting tweaks can change your entire viewing experience? Making these final adjustments yourself not only saves money but also gives you a deeper understanding of how your projector works. What will you try first?
Troubleshooting Tips
Troubleshooting your homemade electronic projector can save time and avoid frustration. Understanding common problems helps you fix issues quickly. This section guides you through typical faults and simple solutions.
Common Issues
- No image appears on the screen.
- Image is blurry or out of focus.
- Projector light does not turn on.
- Colors look faded or incorrect.
- Overheating or strange smells during use.
Quick Fixes
- Check all cable connections for secure fitting.
- Adjust the focus lens slowly to sharpen the image.
- Replace or recharge the light source if it is dim or off.
- Clean the lens and mirrors gently with a soft cloth.
- Ensure proper ventilation to prevent overheating.
Creative Variations
Adding creative variations to your homemade electronic projector can make the experience more enjoyable and tailored to your needs. These tweaks can enhance functionality and portability, making your projector not just a simple device but a versatile tool for entertainment or presentations.
Adding Sound
Imagine watching a movie projected on your wall but without any sound—it loses half its charm. Adding sound to your projector can be as simple as connecting a small Bluetooth speaker or building a basic amplifier circuit alongside your projector.
You can use affordable, compact speakers that pair easily with your smartphone or laptop. Alternatively, if you enjoy tinkering with electronics, try integrating a small amplifier using basic components like transistors and resistors. This hands-on addition can boost your understanding of audio circuits while improving your projector’s output.
Portable Designs
Creating a portable projector means you can share your visuals anywhere—be it a backyard movie night or a presentation at a friend’s house. Focus on lightweight materials such as cardboard or thin plastic sheets for the body to keep it easy to carry.
Consider using a foldable stand or a compact enclosure that fits into a backpack. Power options matter here; a rechargeable battery pack can free you from cords and outlets. Have you thought about how portability could change where and when you use your projector?

Credit: www.youtube.com
Frequently Asked Questions
What Materials Do I Need To Make A Home Projector?
You need a smartphone, a magnifying glass, a cardboard box, tape, and a black paper sheet. These materials help create the projector lens and body. They are easy to find and affordable, making the project simple and accessible for beginners.
How Do I Adjust The Focus Of A Homemade Projector?
Focus is adjusted by moving the magnifying glass closer or farther from the smartphone. This changes the image clarity on the projection surface. Experiment with distance until the image appears sharp and clear. Proper focus enhances viewing experience significantly.
Can I Use Any Smartphone For The Projector?
Yes, most smartphones work as long as the screen is bright enough. Larger screens provide a bigger projection image. Ensure your phone can play videos or display images in landscape mode for best results.
What Is The Best Surface For Projecting Images?
Use a smooth, white wall or a white sheet as the projection surface. This reflects light evenly and shows images clearly. Avoid textured or colored surfaces, as they distort or dim the projected image.
Conclusion
Building an electronic projector at home is simple and fun. You only need a few common parts and some patience. Follow the steps carefully, and you can create your own projector. This project helps you learn about electronics and optics.
Plus, it saves money compared to buying one. Try different ideas to improve your design. Enjoy watching movies or presentations with your homemade device. Keep practicing, and your skills will grow. Anyone can do this with a little effort and time.
Start your project today and see the results yourself.
Leave a Reply