Replacing a heat-only electronic home thermostat can feel like a daunting task. You might worry about making a mistake or causing damage to your heating system.
However, with the right guidance, you can handle this task with confidence. Imagine the satisfaction of knowing you’ve upgraded your home’s thermostat all by yourself, potentially saving money on professional installation fees. By following a few straightforward steps, you’ll not only improve your home’s comfort but also gain a sense of accomplishment.
Stick with us as we unravel the process, making it simple and stress-free for you. Discover how this small change can lead to a more energy-efficient home, putting you in control of your environment like never before. Keep reading, and you’ll learn everything you need to know to replace your thermostat quickly and easily.
Credit: www.doityourself.com
Tools And Materials Needed
Before you begin replacing your heat-only electronic home thermostat, gathering the right tools and materials is crucial. Having everything at hand saves time and prevents frustration during the process. Let’s look at what you’ll need to ensure a smooth and safe installation.
Essential Tools
- Screwdriver Set:A small flathead and Phillips screwdriver are must-haves for removing the old thermostat and securing the new one.
- Wire Stripper:This tool helps you cleanly strip the insulation off wires if needed, ensuring a good connection.
- Voltage Tester:Safety first—use this to confirm the power is off before you touch any wires.
- Drill (optional):Sometimes new thermostat models require different mounting holes; a drill will make this easier.
- Level:To make sure your thermostat sits straight on the wall, a small level is handy.
- Masking Tape and Marker:Label wires before disconnecting to avoid confusion during reconnection.
Compatible Thermostat Models
Choosing the right thermostat model matters more than you might think. Not all electronic thermostats work with heat-only systems, so check compatibility before purchasing.
Look for models specifically labeled for heat-only or single-stage heating systems. Popular brands like Honeywell and Nest often list compatibility details clearly. If you’re unsure, consult the user manual of your current thermostat or your heating system’s specifications.
Have you checked if your new thermostat supports features like programmable schedules or remote control? Sometimes, simpler models offer better reliability for heat-only setups. Knowing these details can save you from buying a device that doesn’t fit your needs or wiring.
Prepare For Replacement
Preparing to replace a heat-only electronic home thermostat is a crucial step. Proper preparation ensures safety and makes the process smoother. Taking time to prepare avoids damage to your system and prevents accidents. Follow these steps carefully before removing the old thermostat.
Turn Off Power
Safety is the top priority. Turn off the power to your heating system at the circuit breaker. This stops electrical current and protects you from shocks. Double-check that the thermostat display is off. If it still shows power, verify the correct breaker is off. Never skip this step.
Remove Old Thermostat
Start by gently pulling the thermostat off the wall plate. Most models snap or slide off easily. Use a screwdriver to remove the mounting screws if needed. Take a picture of the wiring setup before disconnecting wires. Label each wire with tape and a marker. This helps during installation of the new thermostat. Carefully disconnect each wire and keep them separate to avoid confusion.
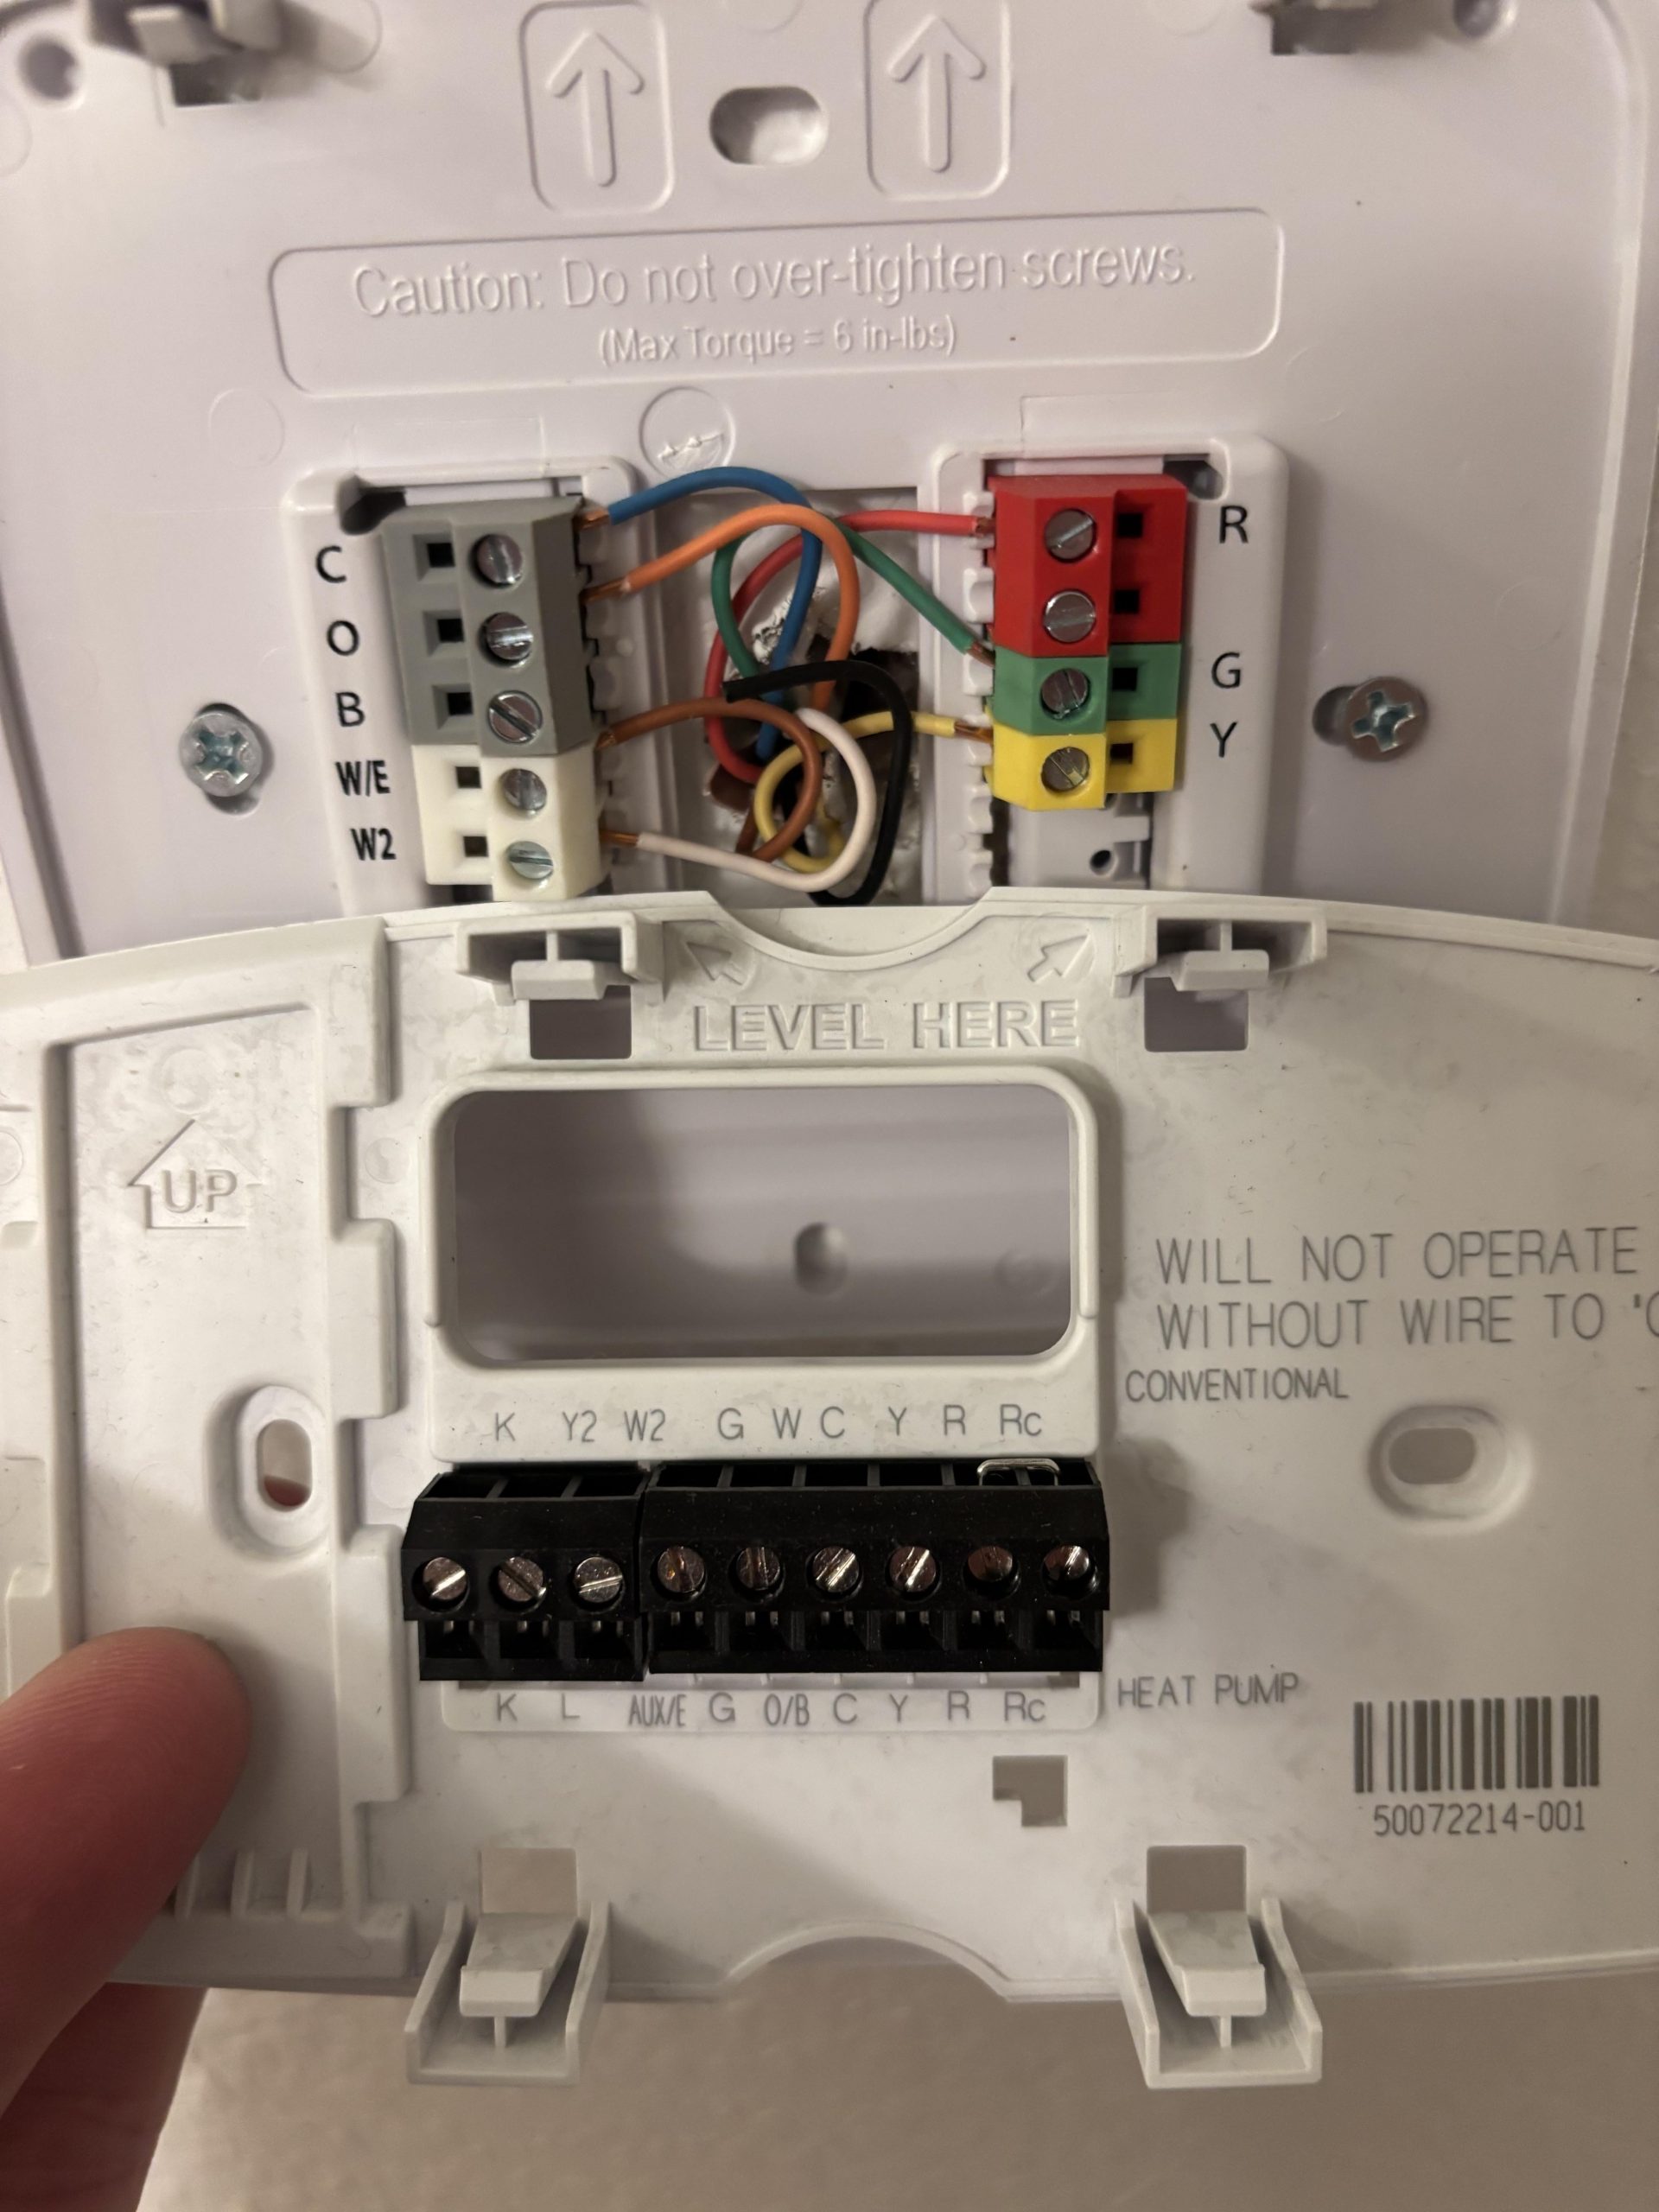
Identify Wiring Connections
Before you dive into replacing your heat only electronic thermostat, identifying the wiring connections is crucial. Miswiring can cause your system to malfunction or even damage the thermostat. Taking time to understand and label each wire sets a strong foundation for a successful installation.
Label Existing Wires
Start by turning off the power to your heating system to avoid any electrical hazards. Then, carefully remove the thermostat cover to expose the wires connected to the terminals.
Use small pieces of masking tape or pre-made wire labels to mark each wire according to the terminal it’s connected to, such as R, W, or C. This simple step helps you remember where each wire goes and makes reconnecting much easier.
Take a photo of the wiring setup before you disconnect anything. This visual reference can save you from confusion later on.
Check Wire Compatibility
Not all thermostats use the same wiring system, especially older heat-only models. Verify that the wires you have match the terminals on your new thermostat.
Most heat-only systems use just two wires: one for power (R) and one for heat call (W). If you see extra wires, they might be for additional functions like a fan or auxiliary heat.
Ask yourself: Does the new thermostat support the wiring configuration of your current system? Checking the manufacturer’s wiring diagram can clarify this quickly.
If your wires don’t match, or if you have unfamiliar wires, consider consulting a professional. This ensures safety and that your new thermostat operates properly.

Credit: www.honeywellhome.com
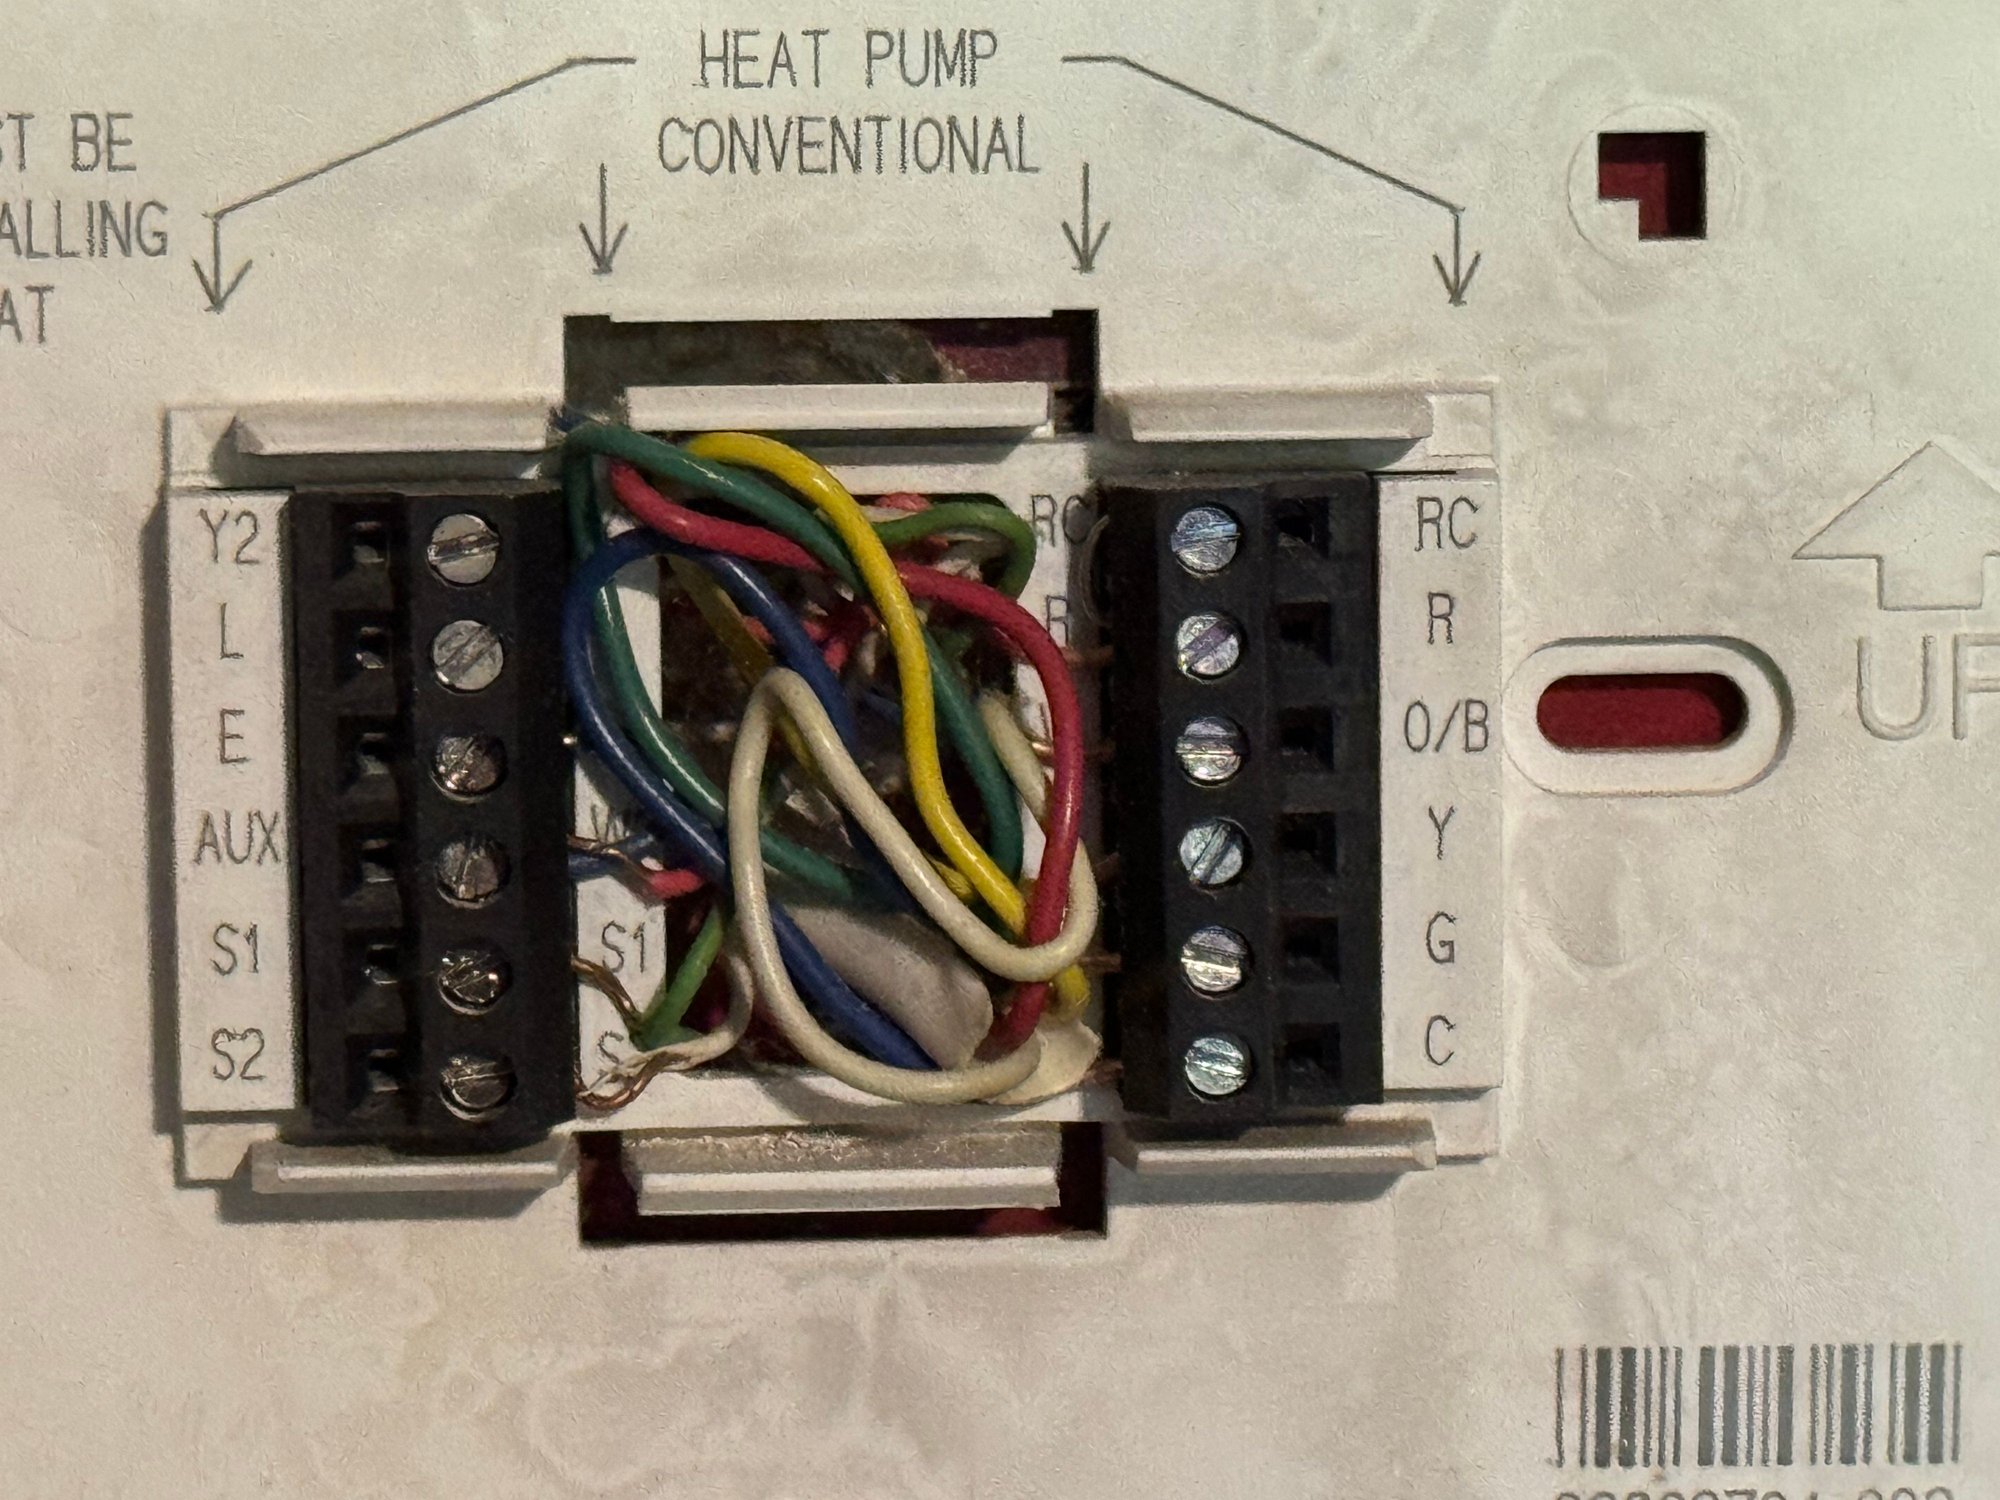
Install New Thermostat
Installing a new heat-only electronic thermostat is a straightforward process that can save you money and improve your home’s comfort. The key is to handle the wiring carefully and ensure the thermostat is mounted correctly. Let’s focus on how to connect the wires properly and secure the thermostat for optimal performance.
Connect Wires Properly
Before connecting, double-check that the power to your heating system is off to avoid any risk of electric shock. Identify each wire by its color and label, matching them to the corresponding terminals on the new thermostat.
Most heat-only thermostats have just two wires: one for power (usually red) and one for heating control (often white). Use a screwdriver to loosen the terminal screws, insert the wires firmly, and then tighten the screws back.
If your wires don’t match the standard colors, trace them back to your heating system’s control board or use a multimeter to confirm their function. Have you ever tried to guess wire functions without a guide? It’s frustrating and can cause mistakes, so take the time to verify.
Mount Thermostat Securely
After wiring, position the thermostat on the wall where it can accurately sense the room temperature—away from direct sunlight, drafts, or heat sources. Use the mounting plate provided, aligning it with the screw holes you’ve marked or drilled.
Secure the thermostat firmly using screws, ensuring it sits flush against the wall to avoid any gaps that could affect temperature readings. If your thermostat has a cover, snap it on gently but firmly to protect the wiring and components.
Think about how often you adjust your thermostat. A loose or poorly mounted unit may wobble or fall, disrupting your comfort and requiring more repairs. Taking a few extra minutes to mount it well pays off in consistent performance.
Configure And Test
After installing your new heat-only electronic thermostat, configuring and testing it is essential. This ensures your home stays comfortable and your system works properly. Follow clear steps to set the temperature and check the system’s response.
Set Temperature Settings
Begin by adjusting the thermostat to your desired temperature. Use the control buttons or touchscreen to raise or lower the heat setting. Set a comfortable level for your living space.
Many thermostats allow you to program schedules. Choose times when you want the heat to turn on or off automatically. This saves energy and keeps your home warm when needed.
- Check the user manual for specific programming instructions.
- Set daytime and nighttime temperatures for better comfort.
- Save your settings before exiting the menu.
Test System Functionality
After setting the temperature, test if the heating system responds. Increase the thermostat setting above the current room temperature. Listen for the furnace or heater to start operating.
Observe if warm air flows from the vents within a few minutes. If the system does not turn on, double-check wiring connections and power supply. Confirm the thermostat’s batteries are fresh if applicable.
- Lower the temperature setting after testing to turn off the heat.
- Repeat testing at different times to ensure consistent function.
- Contact a professional if the heater does not respond correctly.
Troubleshooting Tips
Replacing a heat-only electronic thermostat can be straightforward, but some issues might arise during installation or use. Troubleshooting these problems helps save time and ensures your heating system works well. This section covers simple tips to identify and fix common thermostat problems before calling a technician.
Common Issues
- The thermostat does not turn on or respond to settings.
- Heating system runs continuously without stopping.
- Temperature readings are inaccurate or fluctuate wildly.
- Display screen is blank or flickering.
- Thermostat wiring feels loose or disconnected.
- Heating does not turn on despite correct settings.
Check the power supply and batteries first. Confirm the thermostat is wired properly. Resetting the device can fix minor glitches. Make sure the settings match your heating system type. Clean the thermostat sensors gently to improve accuracy.
When To Call A Professional
- Wiring issues seem complex or unsafe to handle.
- Heating system fails to respond after thermostat replacement.
- Thermostat or heating unit shows signs of electrical damage.
- Persistent temperature problems continue despite troubleshooting.
- Uncertainty about compatibility between thermostat and heating system.
Working with electrical components can be risky without experience. A certified technician ensures correct installation and prevents damage. Professional help guarantees your heating system operates safely and efficiently.

Credit: www.doityourself.com
Frequently Asked Questions
How Do I Safely Remove An Old Heat-only Thermostat?
Turn off power at the breaker. Remove the thermostat cover. Unscrew and gently pull the unit from the wall. Label wires before disconnecting to ensure easy reconnection. This prevents electrical hazards and wiring mistakes during replacement.
What Tools Are Needed To Replace The Thermostat?
You need a screwdriver, drill (optional), wire stripper, and voltage tester. These tools help remove the old unit, prepare wires, and ensure safe installation of the new thermostat.
Can I Install A Heat-only Thermostat Myself?
Yes, if you have basic electrical knowledge. Follow the manufacturer’s instructions carefully. Always turn off power before starting. If unsure, consult a professional to avoid damage or injury.
How Do I Connect Wires To The New Thermostat?
Match the labeled wires to corresponding terminals on the new thermostat. Secure each wire tightly. Double-check connections against the wiring diagram to ensure proper operation and avoid malfunctions.
Conclusion
Replacing a heat-only electronic thermostat is simple and saves money. Follow each step carefully for safety and success. Double-check wiring to avoid mistakes. Test the new thermostat before closing the wall panel. Enjoy better temperature control and energy savings. Small effort brings big comfort at home.
Try it yourself and feel confident in your skills.
Leave a Reply