Have you ever wanted to build your own gadgets or understand how electronics work? Starting hobby electronics might be easier than you think.
Imagine creating simple devices with your own hands—turning ideas into reality. This guide will help you take the first step, avoid common mistakes, and keep you motivated along the way. Ready to discover how you can bring your electronic projects to life?
Keep reading, and you’ll find everything you need to get started today.

Credit: www.reddit.com
Getting Started With Hobby Electronics
Starting with hobby electronics opens a world of creativity and learning. It helps you understand how devices work and lets you build your own gadgets. This section guides you through the first steps to begin your journey in hobby electronics.
Choosing Your First Project
Select a simple project that matches your interest and skill level. Projects like blinking LEDs or small alarms work well for beginners. These projects teach basic concepts without overwhelming you. Focus on projects that use common parts and clear instructions.
Basic Tools And Components
Gather essential tools and parts before you start. You need a soldering iron, wire cutters, and a multimeter for testing. Basic components include resistors, LEDs, capacitors, and a breadboard. Keep your workspace clean and organized for better results.
Essential Safety Tips
Safety matters in every electronics project. Always work in a well-lit area with good ventilation. Avoid touching live wires and unplug devices before working on them. Use safety glasses to protect your eyes from sparks or debris. Follow instructions carefully to prevent accidents.
Learning Electronics Fundamentals
Learning the basics of electronics is the key to starting any hobby project. It helps you understand how devices work and how to build your own circuits. Grasping these fundamentals gives you the confidence to explore more complex ideas later. This section breaks down essential concepts into easy parts.
Understanding Circuits And Components
Circuits are paths for electric current to flow. They connect different parts called components. Common components include resistors, capacitors, and transistors. Each part has a specific role in controlling or modifying the flow of electricity.
Resistors reduce current, capacitors store energy, and transistors can switch or amplify signals. Learning what each component does helps you design and troubleshoot circuits. Start with simple circuits and build your knowledge step by step.
Reading Schematics And Diagrams
Schematics are like maps for circuits. They show symbols for components and how they connect. Understanding these symbols helps you follow circuit designs easily. Practice by studying simple schematics to see how parts work together.
Diagrams can be drawn in different styles, but the basic symbols stay the same. Knowing how to read them saves time and avoids mistakes when building projects. Use printed guides or online resources to practice reading schematics daily.
Basic Soldering Techniques
Soldering joins electronic parts to a circuit board. It creates a strong, lasting electrical connection. Learning to solder well is important for reliable projects. Use a small soldering iron and lead-free solder for safety.
Start by heating the joint, then apply solder until it flows smoothly. Avoid too much solder or cold joints that look dull or cracked. Practice on spare parts to build steady hands and good habits. Clean your tools often to keep them working well.
Building Your First Circuit
Building your first circuit is an exciting milestone in your hobby electronics journey. It transforms abstract ideas into real, working devices. You’ll learn how components fit together and how electricity flows through your creation.
Starting with simple setups helps you avoid frustration and builds confidence. You’ll also discover which parts excite you the most. Are you ready to bring your first electronic project to life?
Using Breadboards For Prototyping
Breadboards are your best friend when building initial circuits. They let you connect components without soldering, so you can easily change your design. This flexibility saves time and money, especially when you’re experimenting.
The board is a grid of holes connected internally in rows and columns. You insert wires and component leads into these holes to create circuits. It’s like a puzzle where pieces snap together without permanent glue.
Start by placing power rails and connecting your battery or power supply. Then add components like resistors, LEDs, and capacitors. The visual layout on a breadboard often helps you understand circuit flow better than a schematic alone.
Common Starter Projects
- LED Blink Circuit:The classic beginner’s project. It teaches you how to control current using resistors and switches. Watching an LED blink is surprisingly satisfying.
- Simple Light Sensor:Use a photoresistor to detect light changes. This project introduces sensors and analog signals.
- Buzzer Alarm:Combine a buzzer with a switch to create an alert system. It’s a practical way to learn about output devices.
These projects help you understand basic concepts like voltage, current, and resistance. They are small enough to finish quickly, giving you a sense of achievement and motivation to try more.
Troubleshooting Tips
Expect things not to work perfectly on your first try. That’s part of learning. When your circuit doesn’t light up or beep, don’t panic—start by checking simple things.
- Make sure all connections are secure and in the correct holes.
- Verify that your power supply is connected and turned on.
- Look for reversed components, like LEDs or batteries inserted backward.
- Use a multimeter to test voltage and continuity if you have one.
Sometimes stepping away for a few minutes helps you spot mistakes you missed before. What’s the most surprising thing you’ve learned from fixing your own mistakes?
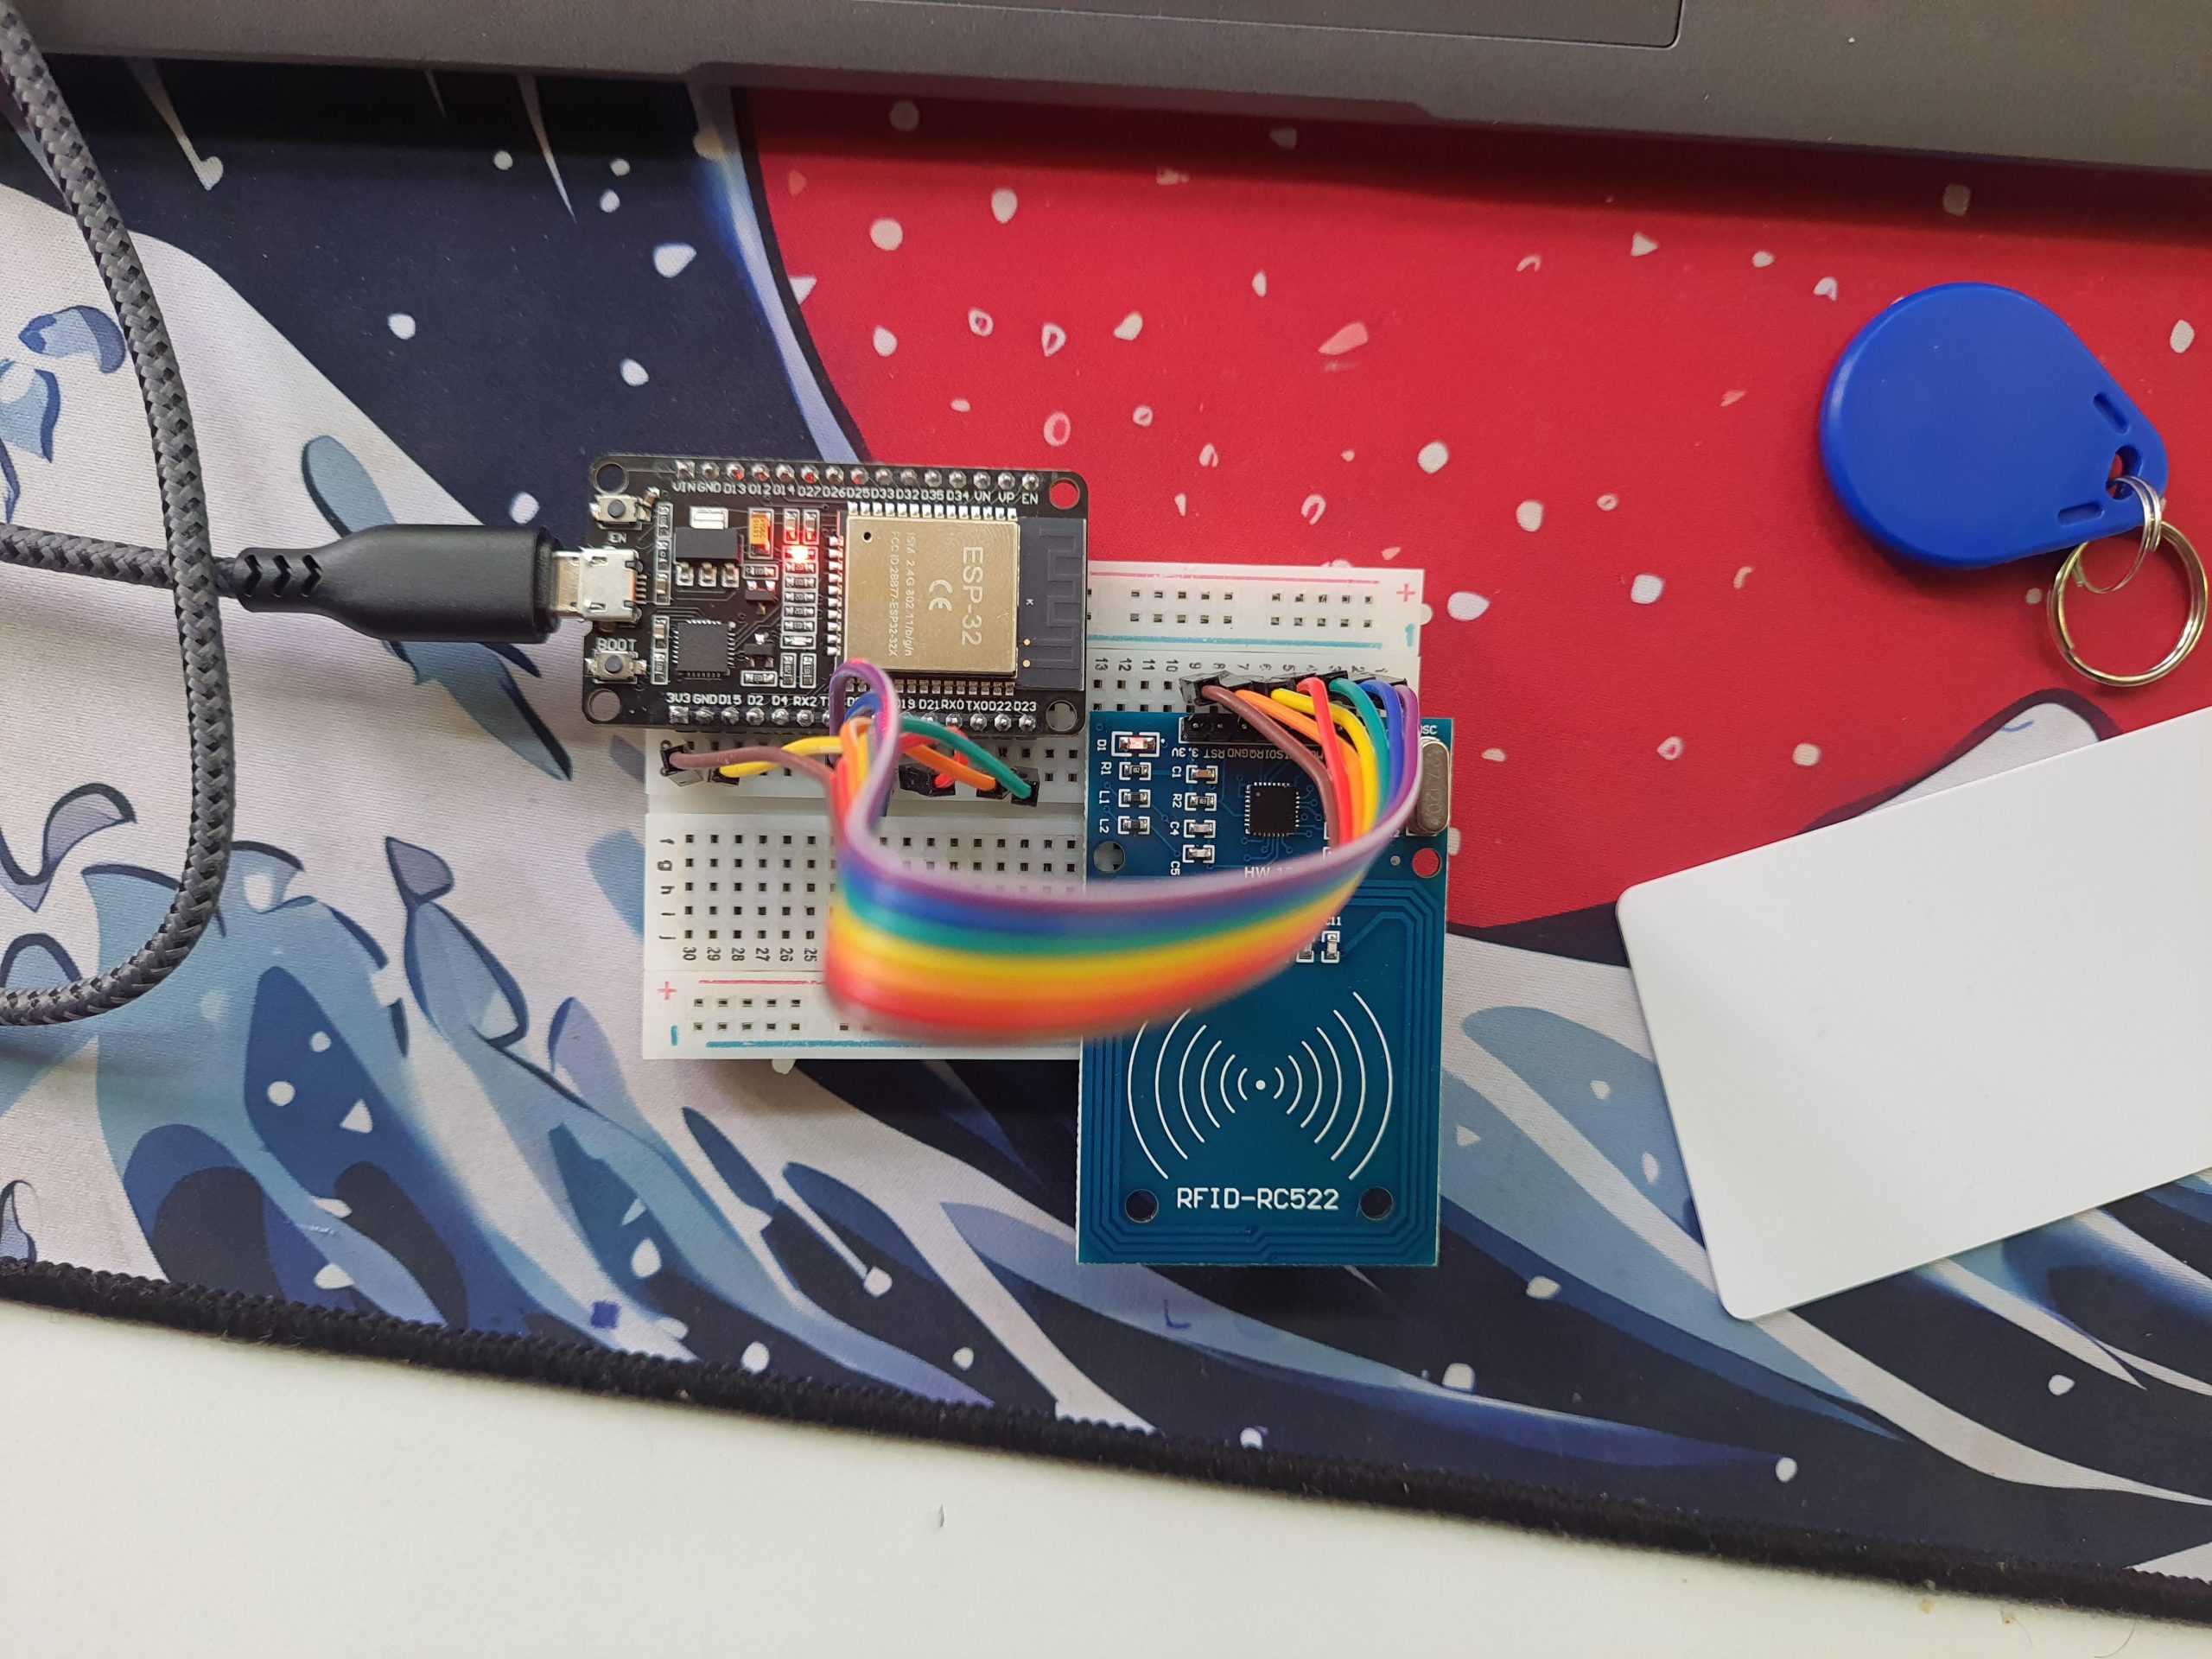
Exploring Microcontrollers
Microcontrollers are the heart of hobby electronics projects. They let you control devices, read sensors, and create interactive gadgets. Getting comfortable with microcontrollers opens up endless possibilities for what you can build.
Intro To Arduino And Raspberry Pi
Arduino and Raspberry Pi are two of the most popular microcontroller platforms for beginners. Arduino is great for simple projects—it’s easy to use and focuses on controlling hardware like LEDs, motors, and sensors.
Raspberry Pi is more like a tiny computer. It can handle complex tasks and run a full operating system, which makes it perfect for projects that need more processing power or internet connectivity.
Choosing between them depends on your project needs. Do you want to build a basic weather station? Arduino might be enough. Want to create a smart home hub? Raspberry Pi could be better.
Programming Basics
Programming your microcontroller brings your ideas to life. Both Arduino and Raspberry Pi use languages that are beginner-friendly—Arduino uses C/C++ while Raspberry Pi supports Python and many others.
Start with simple commands like turning an LED on and off. This helps you understand how your code controls hardware. Don’t worry about writing perfect code; testing and tweaking are part of learning.
Try breaking down your project into small tasks. Write code for each task separately, then combine them step by step. This approach keeps your work organized and less overwhelming.
Integrating Sensors And Actuators
Sensors let your microcontroller sense the world—light, temperature, motion, and more. Actuators respond by moving or changing something, like motors or buzzers.
Start with simple sensors like a temperature sensor or a push button. Connect them to your microcontroller, then write code to read their values. You’ll see how your project reacts to real-world input.
Think about what you want your device to do. Do you want it to turn on a fan when it gets hot? Or maybe alert you when someone opens a door? Combining sensors and actuators lets you build these smart responses.
Expanding Your Skills
Expanding your skills in hobby electronics is a key part of growing as a maker. Building a strong foundation opens doors to more complex projects. Try new components, connect with others, and learn from real-world examples. This approach keeps learning fun and rewarding.
Advanced Components To Explore
After mastering basic parts, try advanced components. Examples include microcontrollers like Arduino and Raspberry Pi. Sensors for light, temperature, or motion add new project ideas. Motors and displays bring your projects to life. Experimenting with these parts helps improve your skills.
Joining Online Communities
Online groups connect hobbyists worldwide. Forums, social media, and chat apps offer help and advice. Share your projects and get feedback. Seeing others’ work inspires new ideas. These communities keep motivation high and learning ongoing.
Learning From Open Source Projects
Open source projects provide real examples to study. Many hobbyists share code and designs freely. Download, test, and modify these projects to understand how they work. This hands-on learning deepens your knowledge and builds confidence.

Credit: www.reddit.com
Organizing Your Electronics Workspace
Organizing your electronics workspace boosts creativity and efficiency. A clean and orderly area helps you focus and avoid mistakes. It also protects your tools and components from damage. Setting up the right space makes hobby electronics more enjoyable and productive.
Setting Up Workbench
Choose a sturdy table with enough surface area. Good lighting is essential—use bright, focused lamps. Arrange power outlets nearby for easy access. Keep a comfortable chair to avoid strain during long sessions. Clear space on the bench for building and testing circuits.
Storing Components Efficiently
Sort components by type and size. Use clear plastic bins or small drawers. Label each container for quick identification. Group similar items like resistors, capacitors, and LEDs together. Keep small parts in divided boxes to prevent loss. Store frequently used parts within arm’s reach.
Maintaining Your Tools
Clean tools after every use to keep them working well. Store soldering irons in holders to avoid accidents. Sharpen or replace blades and tips regularly. Check multimeters and other devices for accuracy. Organize tools in racks or magnetic strips to save space. Treat your tools gently to extend their life.

Credit: jdc-cunningham.medium.com
Frequently Asked Questions
What Basic Tools Do I Need To Start Hobby Electronics?
You need a soldering iron, multimeter, breadboard, jumper wires, and a power supply. These tools help you build and test circuits easily.
How Can Beginners Learn Electronics Fast?
Start with simple kits and online tutorials. Practice building circuits regularly. Join electronics forums for tips and support.
Which Components Are Essential For Hobby Electronics Projects?
Resistors, capacitors, LEDs, transistors, and microcontrollers are fundamental. These components allow you to create and control various electronic circuits.
What Safety Tips Should I Follow In Hobby Electronics?
Always work in a well-ventilated area. Use safety glasses and avoid touching live circuits. Double-check connections before powering devices.
Conclusion
Starting hobby electronics can be both fun and rewarding. Begin with simple projects. Gradually, build your skills and confidence. Explore various components like resistors and capacitors. Don’t rush; take your time to learn. Practice safety when working with electricity. Join online forums for advice and tips.
Learning from others’ experiences helps a lot. Remember, mistakes are part of the process. Enjoy the journey of creating and learning. Keep experimenting and stay curious. With patience, you’ll see progress. Happy tinkering with your hobby electronics!
Leave a Reply