Ever wonder exactly where you can move while wearing an electronic home monitor? You’re not alone.
Many people find themselves in this situation and feel a bit lost. Understanding the boundaries of your electronic home monitoring area can be crucial for maintaining peace of mind and ensuring you stay compliant. This blog post will guide you step-by-step through the process of determining your specific monitoring area.
By the end, you’ll have a clear understanding of your limitations and freedom, helping you make informed decisions and avoid any unnecessary stress. Stick around, because this could be the key to navigating your situation with confidence and ease.
Check Your Device Model
Checking your electronic home monitor’s device model is essential to understand its coverage area accurately. The model number holds key details that help you identify the specific features and limitations of your device. Knowing this information can save you time and frustration when troubleshooting or seeking support.
Locate The Model Number
Start by looking for a label or sticker on your device. Common spots include the back, bottom, or inside the battery compartment. The model number is usually a combination of letters and numbers, like “EH1234” or “XMP-5678.”
If you can’t find a physical label, check the device’s settings menu. Many monitors display the model number on the screen under “About Device” or “System Info.” Have you ever overlooked this simple step and spent hours searching online for the wrong information?
Identify Manufacturer Details
Once you have the model number, the next step is to pinpoint the manufacturer. This info is typically near the model number on the label. Knowing the manufacturer helps you visit the correct website for manuals, support, and detailed specs.
Sometimes, devices from the same manufacturer share similar model numbers but differ in supported areas. Visiting the official site and entering your model number can reveal precise coverage maps and updates. Have you noticed how different brands handle customer support and information access?
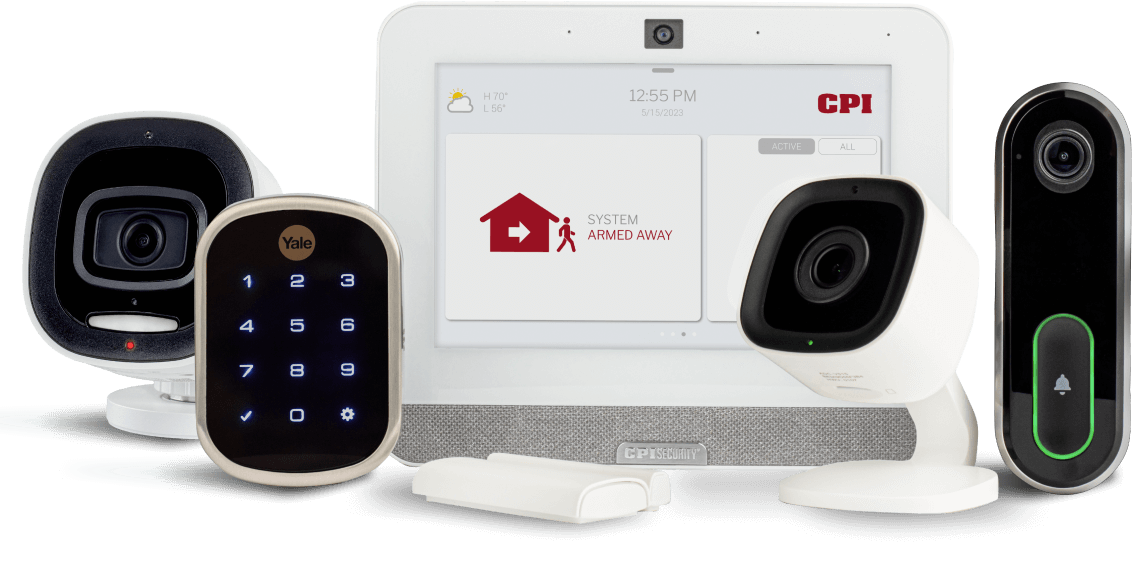
Credit: cpisecurity.com
Review The User Manual
Reviewing the user manual is the first and most reliable step to understand your electronic home monitor’s coverage area. It contains detailed information straight from the manufacturer, tailored to your specific device model. Skipping this step can lead to confusion or incorrect assumptions about how your monitor operates.
Find Area Specifications
The user manual usually lists the exact area specifications for your electronic home monitor. This includes the size of the coverage zone, often measured in square feet or meters. Look for sections labeled “Specifications,” “Coverage Area,” or “Technical Details.”
These specs tell you how far the monitor’s sensors or signals can reach. For instance, a monitor might cover a 1000-square-foot area, which helps you decide where to place it for maximum effectiveness. If the manual mentions adjustable settings, note those too—they can affect the coverage size.
Understand Coverage Limits
Coverage limits are crucial for knowing where your monitor will work best and where it might fail. The manual may explain obstacles that reduce effectiveness, like walls, furniture, or electronic interference.
Pay attention to warnings about signal drop-offs or blind spots. Some manuals include diagrams showing optimal and non-optimal placements. Have you noticed areas in your home where the monitor doesn’t perform well? The manual can often explain why and suggest fixes.
Use Device Settings
Using your device settings is often the quickest way to find out your electronic home monitor area. Most modern monitors come with built-in options that let you view and adjust the monitored space right from the device interface or its app. This approach puts control directly in your hands, making it easy to customize your home’s security coverage.
Access Area Information
Start by opening the app or device menu linked to your home monitor. Look for sections labeled “Area Settings,” “Monitoring Zones,” or something similar. These sections typically display your current monitored area, often highlighted on a map or grid.
If you’re unsure where to find this, check the user manual or the device’s help section. Sometimes, tapping on the device icon itself brings up a detailed view of the monitored space. Have you ever discovered your monitor was covering a much smaller or larger area than you expected just by checking these settings?
Adjust Monitoring Zones
Once you access your area information, you can often fine-tune the zones that your monitor tracks. This is especially helpful if you want to avoid false alarms caused by pets or street traffic. Many devices let you draw or resize zones directly on the app’s map interface.
Try adjusting the zones by dragging corners or creating new boundaries. Some apps even allow you to set different sensitivity levels for each zone. This flexibility helps you focus on the areas that matter most, like your front door or garage, while ignoring less important spaces.
Have you ever adjusted your monitoring zones to stop alerts from your playful cat or a busy sidewalk? It’s a small change that can save you from constant notifications and improve your overall experience.
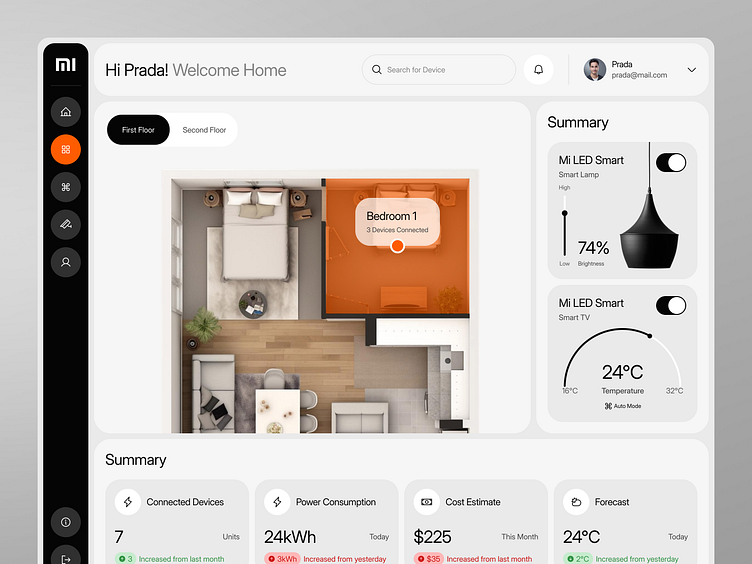
Credit: dribbble.com
Consult The Manufacturer’s Website
Checking the manufacturer’s website is often the quickest way to find out the coverage area of your electronic home monitor. Most companies provide detailed information about their products, including range maps and specifications. This direct source can save you time and help you understand exactly what to expect from your device.
Search By Model
Start by locating your monitor’s exact model number. This is usually found on the device itself or in the user manual. Once you have it, enter the model number into the search bar on the manufacturer’s website.
Many websites have dedicated product pages that list technical details like monitoring range and signal strength. If the information isn’t immediately visible, look for downloadable manuals or FAQs that often contain these specifics. Knowing your model helps avoid confusion between different versions with varying coverage areas.
Download Area Maps
Manufacturers often provide downloadable maps or PDFs that show the effective monitoring zones. These maps can be especially helpful if you want to visualize how far the device’s signal reaches inside your home or yard.
Look for sections labeled “Support,” “Resources,” or “Downloads” on the site. These often include detailed area maps or setup guides that highlight coverage limitations and ideal placement tips. Have you checked whether your device’s area map aligns with your home layout yet?
Contact Customer Support
Contacting customer support can quickly give you clear details about your electronic home monitor area. Support teams have direct access to device information and service boundaries. They help clarify any doubts about coverage and functionality.
Getting the right information requires some preparation. Knowing what details to share speeds up the process. Customer support representatives can guide you based on accurate and complete information.
Prepare Device Details
Gather essential device information before reaching out. Include:
- Device model and serial number
- Installation address
- Account or subscription ID
- Purchase date or activation date
Having these details ready makes the conversation smoother. It helps support identify your device and its coverage accurately.
Ask About Monitoring Areas
Clearly ask about the specific monitoring area of your device. Questions to consider:
- What is the exact range of coverage?
- Are there any blind spots or limits?
- Does the area change based on device location?
- Can the monitoring area be adjusted?
Request clear and simple explanations. Understanding these points ensures you know your device’s full capabilities.
Utilize Mobile Apps
Mobile apps make it easier to check your electronic home monitor area. You can control and view your device from your phone. These apps show where your monitor is active and help you adjust settings quickly. Using an app saves time and gives clear information about coverage. The process is simple and works for most modern electronic monitors.
Connect To Your Device
First, download the official app for your home monitor. Open the app and follow the instructions to connect your phone to the device. Usually, you need to enable Bluetooth or Wi-Fi on both devices. The app will search for your monitor and ask for permission to connect.
Once connected, the app will confirm the link. Check that your phone and monitor are close during setup. This connection lets you control the monitor remotely and view its data.
View Real-time Coverage
After connecting, open the coverage map inside the app. This map shows the active area of your electronic monitor in real time. You can see which zones are monitored and where signals are strong or weak.
The app may allow you to zoom in and out for better detail. It may also display alerts if the monitor moves outside its set area. Watching real-time coverage helps keep your home secure and lets you make changes fast.
Test The Monitor Coverage
Testing the coverage of your electronic home monitor is essential to ensure it works effectively throughout your space. Without checking, you might find blind spots where the signal is weak or nonexistent. Taking time to test the monitor coverage saves you from surprises later and helps you position the device for maximum protection.
Perform A Walk-test
Start by walking slowly around your home with the monitor active. Carry the monitor’s remote or use its app to check if the signal is consistent in every room. Don’t rush; move through each corner, hallway, and floor to detect any weak zones.
During my first test, I found that the basement had almost no signal, which was unexpected. This simple walk-test helped me realize I needed to reposition the monitor for better basement coverage. Have you noticed any dead zones in your home that surprised you?
Record Signal Strength
Keep a notebook or use a digital tool to jot down signal strength at different spots. Note areas with strong signals and those with low or no signal. This record will guide you in adjusting the monitor’s placement or adding signal boosters if necessary.
Signal strength can vary due to walls, furniture, or electronic interference. By tracking these details, you get a clear map of your monitor’s reach. How often do you think you should check signal strength to keep your home fully covered?
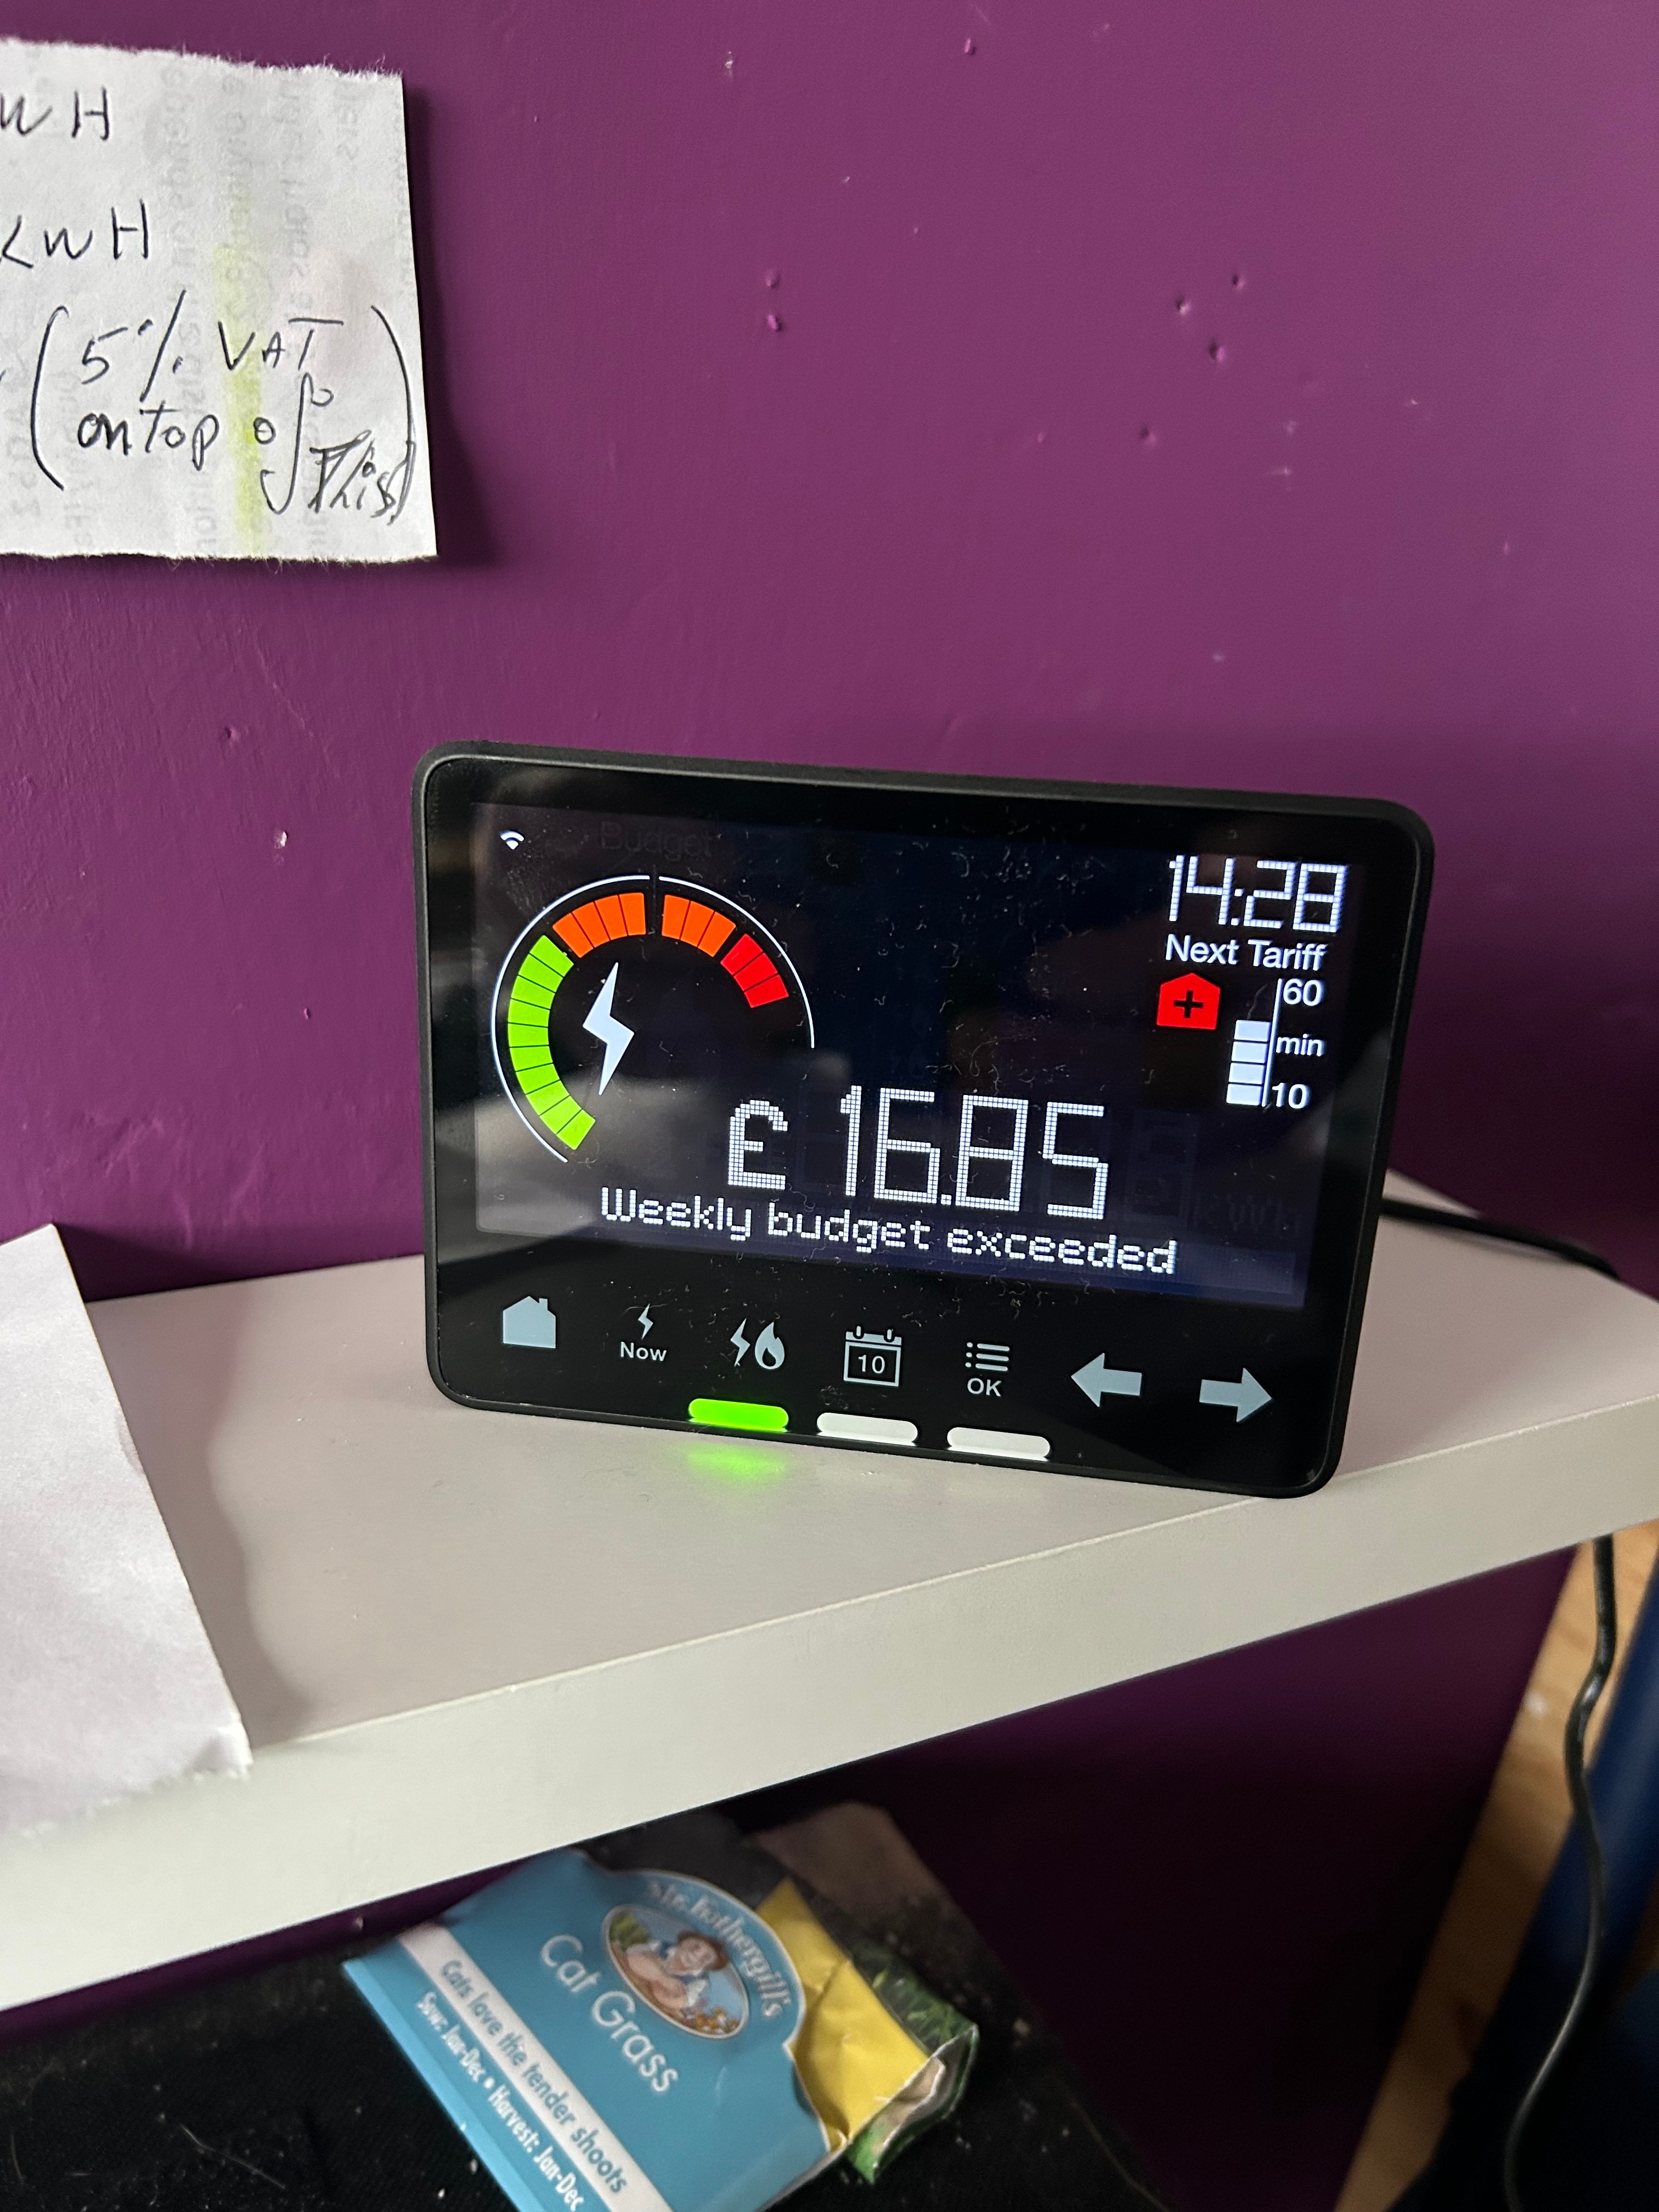
Credit: forum.ovoenergy.com
Frequently Asked Questions
What Is An Electronic Home Monitor Area?
An Electronic Home Monitor Area defines the geographic boundary for your monitoring device. It sets the limits where the device tracks your location. This area ensures you stay within approved zones. Monitoring helps comply with court or legal conditions. Knowing your area prevents violations and alerts authorities if you exit.
How Can I Check My Electronic Home Monitor Area?
You can check your monitor area through your supervising agency or monitoring service provider. They provide maps or GPS data showing your allowed boundaries. Some devices offer mobile apps or online portals displaying your zone. Always confirm the exact perimeter to avoid accidental breaches.
Regularly reviewing your area ensures compliance.
Can I Change My Electronic Home Monitor Area?
Changing your monitor area usually requires court or supervising authority approval. Requests must demonstrate valid reasons like moving residence or work changes. Unauthorized changes can lead to penalties or violations. Always consult your assigned officer before seeking modifications. Proper approval ensures legal protection and accurate monitoring.
What Happens If I Leave My Electronic Home Monitor Area?
Leaving your assigned area triggers alerts sent to your supervising agency. You may receive warnings or immediate contact from authorities. Repeated violations can result in penalties or legal action. It is crucial to stay within boundaries at all times. Understanding your area helps prevent accidental breaches.
Conclusion
Finding your electronic home monitor area does not have to be hard. Start by checking your device’s settings or user guide. Use simple tools or apps that show signal strength. Ask for help if you feel stuck. Knowing your monitor area helps keep your home safe.
Stay patient and try different methods. Soon, you will understand your device better and protect your space well. Keep it simple and take small steps. Your safety matters most.
Leave a Reply