Have you ever faced the frustrating challenge of epoxy stuck on your electronic components? Whether it’s a small drip or a thick layer, removing epoxy can feel like a tough, delicate job.
If you’re worried about damaging your valuable electronics while trying to get rid of that stubborn epoxy, you’re not alone. In this guide, you’ll discover simple, effective methods to safely remove epoxy without harming your components. Keep reading, and you’ll gain the confidence and know-how to tackle this problem like a pro.
Understanding Epoxy In Electronics
Epoxy is a common material in electronics. It protects components from damage and moisture. This makes devices last longer and work better. Understanding epoxy helps in removing it safely from electronic parts.
Epoxy is a type of strong adhesive. It hardens after mixing two parts: resin and hardener. This solid form holds parts firmly in place. It also insulates electrical connections.
What Is Epoxy Used For In Electronics?
Epoxy secures wires and components on circuit boards. It protects delicate parts from shocks and vibration. It also stops dust and water from reaching sensitive areas.
Types Of Epoxy Found In Electronics
- Thermosetting epoxy: Hardens permanently when heated or mixed.
- UV-curing epoxy: Sets quickly under ultraviolet light.
- Conductive epoxy: Conducts electricity while bonding parts.
Challenges In Removing Epoxy From Electronics
Epoxy sticks very tightly to surfaces. It is resistant to water and many solvents. Removing it risks damaging tiny components. Careful methods and tools are needed to avoid harm.
Signs Of Epoxy Damage To Components
- Discoloration of circuit board areas.
- Cracks or chips in electronic parts.
- Loose connections or broken wires.
Tools And Materials Needed
Removing epoxy from electronic components requires the right set of tools and materials to avoid damaging delicate parts. Having everything prepared before you start saves time and reduces the risk of errors. Let’s look at what you’ll need to tackle this task effectively.
Protective Gear
Safety should be your top priority. Epoxy removal involves chemicals and heat, so gloves and safety goggles are essential. A mask can protect you from fumes, especially if you’re working in a confined space.
Heat Source
A controlled heat source helps soften the epoxy, making it easier to remove. A heat gun is ideal because it provides steady, adjustable heat. Avoid open flames; they can damage components or cause accidents.
Solvents
Specific solvents dissolve epoxy without harming electronics. Isopropyl alcohol (90% or higher) is commonly used for cleaning after removal. For tougher epoxy, acetone or specialized epoxy removers work well, but test them on a small area first.
Precision Tools
Small tools help you gently scrape off softened epoxy without scratching the components. Look for plastic picks, tweezers, and precision screwdrivers. Metal tools can be risky, so use them carefully.
Cleaning Supplies
Once epoxy is removed, residue can remain. Soft brushes, lint-free cloths, and compressed air help clean the surface. Keeping components dust-free ensures better performance after repair.
Workspace Setup
A well-lit, organized workspace makes the process smoother. Use a non-static mat to protect sensitive parts from electrostatic discharge. Having all your tools within reach keeps you focused and efficient.
Do you have the right tools ready before starting? Preparing properly can mean the difference between a clean removal and a damaged circuit board.
Safety Precautions
Removing epoxy from electronic components requires care and attention. Safety is the top priority during this process. Epoxy removal often involves chemicals and tools that can harm you or damage the device.
Understanding safety precautions protects your health and the electronics. Use the right equipment and follow safe steps to avoid accidents.
Wear Protective Gear
Always wear gloves to protect your skin from chemicals. Use safety goggles to shield your eyes from splashes. A mask can prevent inhaling fumes from solvents or heated epoxy.
Work In A Well-ventilated Area
Choose a space with good airflow to avoid buildup of harmful fumes. Open windows or use a fan to keep air moving. Avoid working in confined or closed rooms.
Handle Chemicals Carefully
Read labels and instructions before using solvents or cleaners. Use only small amounts to reduce risk. Store chemicals away from children and pets.
Use Proper Tools
Use plastic or wooden tools to scrape epoxy gently. Avoid metal tools that can damage components. Keep tools clean and in good condition.
Disconnect Power Sources
Always unplug electronic devices before starting epoxy removal. Remove batteries if possible. This prevents electrical shock and damage.

Credit: www.reddit.com
Methods For Removing Epoxy
Removing epoxy from electronic components requires care and the right approach. Each method suits different situations and types of epoxy. Choosing the correct technique helps protect delicate parts and avoid damage. Some methods work better for small spots, others for larger areas. Understanding these options lets you pick the safest and most effective way to remove epoxy.
Mechanical Removal Techniques
Mechanical methods use physical force to remove epoxy. Tools like small knives, tweezers, or scrapers can chip away hardened epoxy. Gentle scraping avoids harming electronic parts. Fine sandpaper or abrasive pads work for stubborn spots but require caution. Use magnification to see small details clearly. Work slowly and carefully to prevent scratches or breaks. Mechanical removal suits dry, fully cured epoxy.
Chemical Solvents
Chemical solvents dissolve epoxy to ease removal. Acetone and isopropyl alcohol are common choices. Apply solvents with a cotton swab or brush. Let the solvent soak briefly to soften the epoxy. Avoid soaking sensitive components to prevent damage. Some solvents may affect plastics or coatings, so test first. Use chemicals in a well-ventilated area and wear gloves. Chemical removal works best on fresh or thin epoxy layers.
Thermal Methods
Thermal methods use heat to soften epoxy for easier removal. A heat gun or soldering iron on low settings gently warms the epoxy. Softened epoxy becomes pliable and easier to peel off. Avoid overheating, which can damage components or circuit boards. Use heat in short bursts and keep the tool moving. Thermal removal suits cured epoxy but requires careful temperature control. Cooling the area afterward prevents heat damage.
Step-by-step Removal Process
Removing epoxy from electronic components requires care and patience. Follow a clear, step-by-step process to avoid damage. This guide helps you safely remove epoxy while protecting delicate parts.
Preparation And Setup
Start by gathering all necessary tools and materials. Use safety gear like gloves and goggles. Work in a well-ventilated area to avoid fumes.
- Identify the epoxy-covered components.
- Turn off and unplug the device.
- Place the device on a clean, stable surface.
- Have isopropyl alcohol, plastic scrapers, and a soft brush ready.
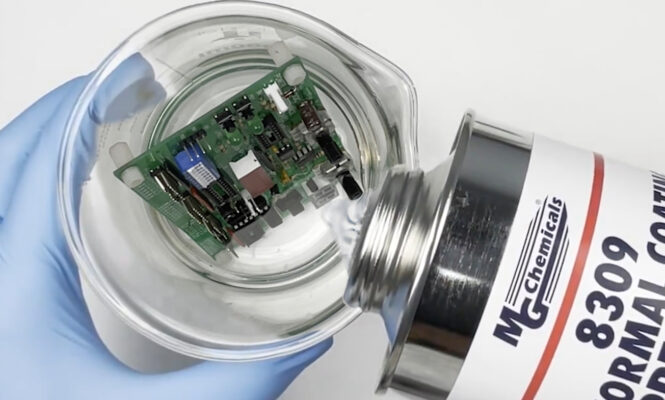
Prepare a small container with isopropyl alcohol for soaking. This will help soften the epoxy.
Application Of Removal Technique
Begin by gently heating the epoxy to soften it. Use a heat gun or hair dryer on low heat. Keep the heat source moving to avoid damage.
Next, apply isopropyl alcohol to the epoxy surface. Let it sit for a few minutes to weaken the bond.
- Use a plastic scraper to lift softened epoxy edges.
- Work slowly to avoid scratching components.
- Repeat alcohol application and gentle scraping as needed.
A soft brush can help remove small epoxy residues in tight spaces.
Post-removal Cleaning
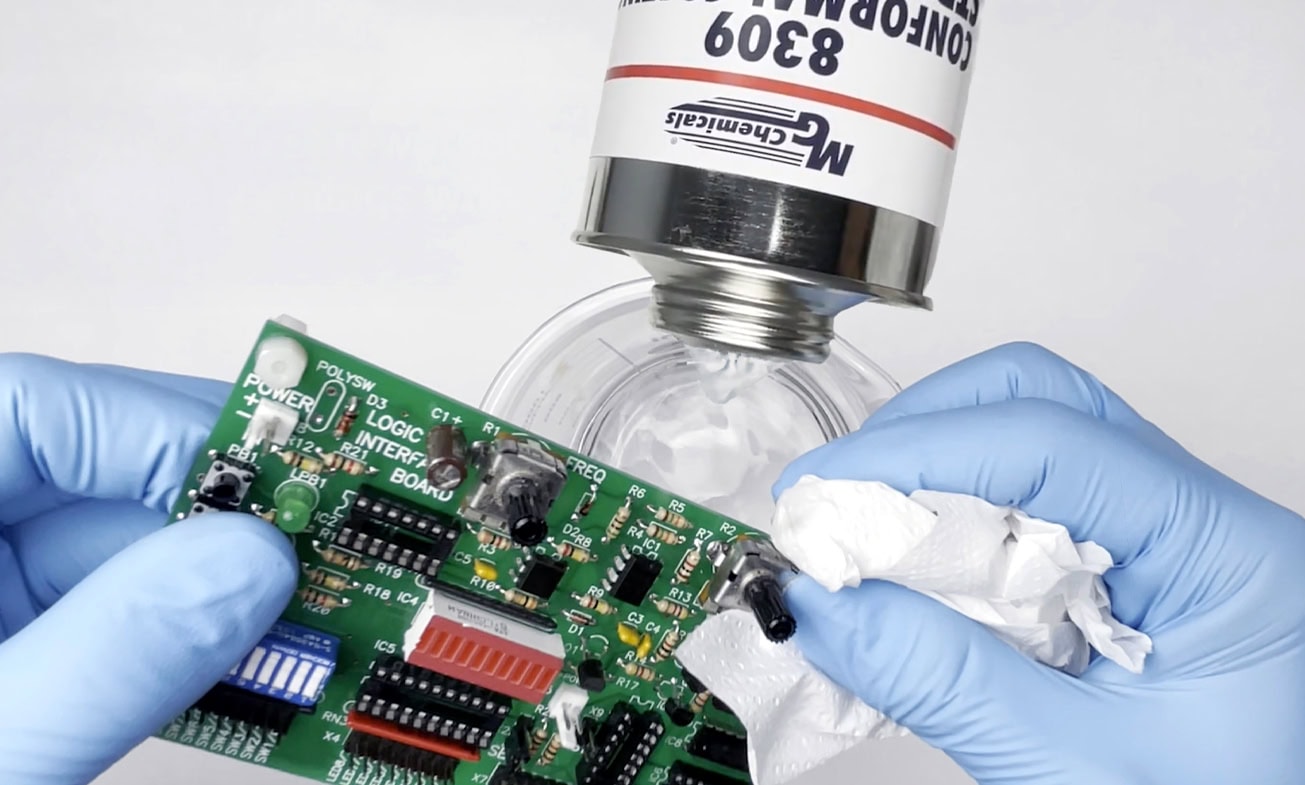
After epoxy removal, clean the components thoroughly. Use a lint-free cloth dampened with isopropyl alcohol. This removes any leftover residue.
- Inspect components for damage or remaining epoxy.
- Use a soft brush to clean hard-to-reach areas.
- Allow components to dry completely before reassembly.
Proper cleaning ensures the device functions well after epoxy removal.
Avoiding Damage To Components
Removing epoxy from electronic components requires care to avoid damage. Epoxy is hard and sticks firmly to parts. Using harsh tools or chemicals can break delicate circuits and parts. Taking careful steps helps keep components safe and working well.
Understanding the type of epoxy and component sensitivity helps choose the best removal method. Patience and gentle techniques reduce risks of permanent damage. Protecting tiny pins, wires, and boards is critical during the process.
Use Appropriate Tools For Delicate Parts
Select small, soft tools like plastic picks or wooden sticks. Avoid metal tools that can scratch or break circuits. Use gentle pressure to lift epoxy without bending or cracking components. Work slowly and carefully around sensitive areas.
Test Solvents On A Small Area First
Choose solvents designed for electronic use or mild chemicals. Apply a small amount on a hidden spot to check for damage. Some solvents can dissolve protective coatings or melt plastics. Stop immediately if the material changes or weakens.
Work In A Well-lit And Clean Area
Good lighting helps spot hidden epoxy and fragile parts. A clean workspace prevents dust and debris from causing shorts or corrosion. Organize tools and components to avoid accidental damage during removal. Clear focus reduces mistakes.
Keep Components Cool During Removal
Heat can soften epoxy but may harm electronics. Use low heat sources like a heat gun at safe distances. Avoid direct contact with chips or plastic parts. Cooling periods between heating prevent overheating and warping.
Handle Components With Anti-static Precautions
Static electricity can damage electronic parts instantly. Use anti-static wrist straps or mats to discharge static safely. Avoid working on carpets or dry surfaces that increase static risk. Ground yourself before touching sensitive parts.
Document And Label Components
Keep track of parts before and after epoxy removal. Label components to prevent confusion during reassembly. Take photos to record original positions and connections. This helps avoid damage from incorrect handling or installation.
Common Mistakes To Avoid
Removing epoxy from electronic components is tricky, and many people make mistakes that can damage the delicate parts. Knowing what to avoid is just as important as knowing the right techniques. Avoiding common errors saves you time, money, and frustration.
Avoid Using Excessive Heat
Many believe heating epoxy will make removal easier, but too much heat can fry sensitive components. Applying a controlled, low temperature is key. Have you ever overheated a chip and ended up with a costly repair?
Don’t Use Harsh Chemicals Without Testing
Strong solvents might dissolve epoxy, but they can also eat away at circuit boards or plastic parts. Always test a small, hidden area first to check for damage. Could your quick fix turn into a bigger problem?
Skip Rushing The Process
Trying to remove epoxy too quickly often leads to tearing or scratching the surface. Patience pays off—allow solvents or heat sufficient time to work. Have you noticed how rushing often worsens the mess?
Never Use Sharp Tools Without Caution
Sharp blades or picks can gouge the board or break tiny traces if used carelessly. Instead, use plastic scrapers or soft tools and apply gentle pressure. Are you risking your component’s integrity by being too aggressive?
Don’t Ignore Electrostatic Discharge (esd) Precautions
Handling electronic parts without grounding can cause ESD damage, invisible but deadly. Always use anti-static wrist straps or mats before starting epoxy removal. Could you be unknowingly frying your components?

Credit: mgchemicals.com
Alternative Solutions
Removing epoxy from electronic components can be tricky. Sometimes, the usual methods might not work or could damage the parts. Alternative solutions offer safer and effective ways to deal with epoxy. These options help protect your electronics while cleaning them thoroughly. Exploring these ideas can save time and avoid costly repairs.
Consulting Professionals
Experts have the right tools and skills for epoxy removal. They know how to handle delicate electronic parts carefully. Professionals can assess the damage and suggest the best cleaning method. This reduces the risk of breaking or short-circuiting the components. Seeking help is wise when epoxy covers sensitive areas or large sections.
Preventative Measures
Stopping epoxy from sticking to electronics is the best approach. Use protective tapes or covers before applying epoxy nearby. Choose low-residue or removable epoxy types for easier cleanup. Work in small sections to control the application better. These steps help avoid tough cleanup jobs and keep electronics safe from damage.
Faqs On Epoxy Removal
Epoxy often bonds electronic components tightly. Removing it can seem difficult. This section answers common questions about epoxy removal. Clear, simple answers help avoid damage to electronics. Follow these tips for safe and effective epoxy removal.
What Is The Safest Way To Remove Epoxy From Electronics?
Use gentle heat or chemical solvents made for electronics. Avoid harsh chemicals that may harm components. Always test on a small area first.
Can Heat Damage Electronic Parts During Epoxy Removal?
Yes, too much heat can damage parts. Keep temperature low and controlled. Use a heat gun or hairdryer carefully.
Are Chemical Solvents Effective On Cured Epoxy?
Some solvents soften cured epoxy. Isopropyl alcohol and acetone may work but can harm plastics. Use solvents designed for electronics.
How Long Does Epoxy Removal Usually Take?
Time varies by epoxy thickness and method. Softening epoxy with heat or solvents can take minutes to hours. Patience is key.
Will Epoxy Removal Affect Electronic Functionality?
Proper removal should not harm function. Avoid excessive force and harsh chemicals. Always power off and disconnect devices before starting.
What Tools Are Best For Scraping Off Epoxy?
- Plastic scrapers
- Wooden sticks
- Soft brushes
Metal tools can scratch or damage parts. Use gentle tools to prevent harm.
Is It Possible To Remove Epoxy Without Professional Help?
Yes, with care and patience. Follow safety guidelines. Use proper tools and methods to avoid damage.
Credit: mgchemicals.com
Frequently Asked Questions
How Can I Safely Remove Epoxy From Electronic Components?
Use isopropyl alcohol and a soft brush to gently dissolve epoxy. Avoid harsh chemicals to prevent damage. Work slowly and carefully to protect delicate parts.
What Tools Help Remove Epoxy From Circuit Boards?
Use plastic scrapers, cotton swabs, and isopropyl alcohol. A heat gun can soften epoxy, but use low heat to avoid damage.
Is It Possible To Remove Epoxy Without Damaging Electronics?
Yes, by using gentle solvents and minimal heat. Avoid abrasive tools or strong chemicals that may harm components.
How Long Does Epoxy Removal From Electronics Take?
It usually takes 15-30 minutes depending on epoxy thickness. Patience is key to avoid damaging sensitive parts.
Conclusion
Removing epoxy from electronic parts needs care and patience. Use gentle tools and safe methods to avoid damage. Take your time and work slowly to keep components intact. Always check the device after cleaning to ensure it works well. Following these steps helps you fix electronics without extra cost.
Keep safety in mind throughout the process. Now, you can handle epoxy removal with more confidence and less worry.
Leave a Reply